There are lots of good reasons to run a media server at home to host your own content. There are also plenty of legitimate ways to get content, but also many that are less so. I think it is important to pay creators for their efforts, I also really like “owning” the media I enjoy and not paying repeatedly to re-watch things.
Sometimes you’ll end up with a version of the content (say captured OTA) that is both high quality, but huge. An hour long 1080p HDTV capture from my HD Homerun lands in around 7.7GB. A more efficient encoding can significantly drop that, of course these are lossy encodings meaning that the quality can be less. The trick is to figure out how to pick an encoding of the video that retains most of the quality, but is significantly smaller.
Different codecs have different approaches, all with trade-offs, but sometimes it’s really hard to see the differences. Many of the content creators are also faced with the same dilemma, they have high bit-rate master copies of the content and need to squeeze it down to fit on a DVD or Blu-ray.
Let’s dive into how we do this. For this example we’ll take a 45min TV show that starts at 1.9G. It is encoded in AVC1/H.264 at 6000 kb/s. The image quality is very good, but it’s also sort of big and maybe you don’t care that much about this particular TV series but you do want to retain a copy.
FFmpeg can fix this for us. We’ll be moving to H.265 as an encoding, burning a bunch of CPU cycles to get there, and ideally get a video that is substantially the same but uses less storage.
|
1 2 3 |
$ ffmpeg -i original.mp4 -c:v libx265 \ -vtag hvc1 -crf 20 -preset fast \ -c:a copy smaller.mp4 |
You can see we’ve told it to re-encode to the H.265 codec, but to simply copy the audio. The crf flag is important for maintaining quality, lower values will be more quality, higher less. If you don’t supply the flag, a default of 28 is used resulting in more space savings, but to my eyes a softness in the output.
|
1 2 |
Original 2033893144 (1.9G) Smaller 560561334 (535M) |
That is a significant space savings, the new file is only 27% of the original – 3 times smaller! Sure, it’s small, but is it any good?
Let’s look at some stats. While we have maintained the 1920×1080 resolution, we’ve dropped the bitrate to 1510 kb/s. This explains a lot of the saving, we’ve reduce the number of bits used to create each frame of the image.
We will use ffmpeg to extract a few frames of the two videos for comparison. The use of the .png format will give us “lossless” images (but recall the video itself has been encoded in a lossy format).
|
1 2 3 4 5 |
$ ffmpeg -ss 00:04:10 -i original.mp4 -update true -frames:v 1 original-1.png $ ffmpeg -ss 00:22:08 -i original.mp4 -update true -frames:v 1 original-2.png $ ffmpeg -ss 00:04:10 -i smaller.mp4 -update true -frames:v 1 smaller-1.png $ ffmpeg -ss 00:22:08 -i smaller.mp4 -update true -frames:v 1 smaller-2.png |


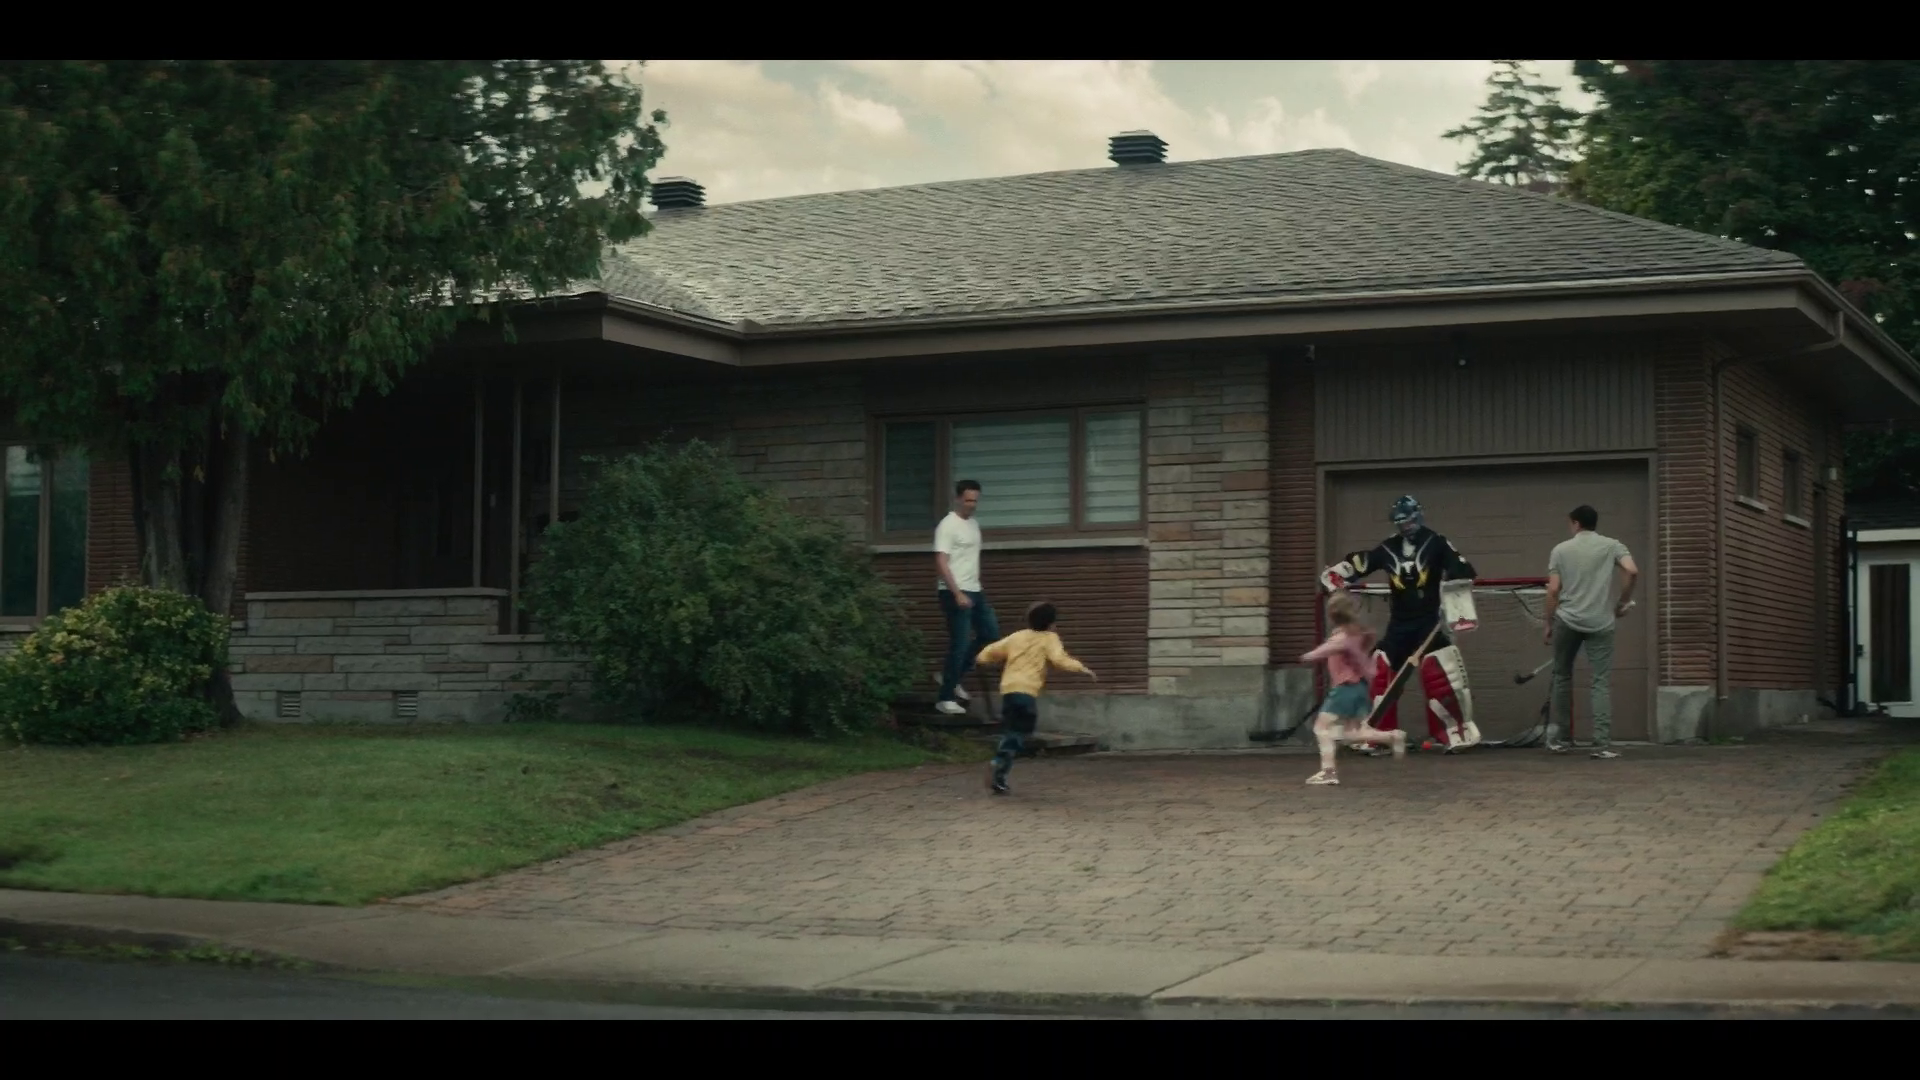
Above are the the frames from 4:10, the first/top is from the original, and the second/bottom is from the smaller version. You can click through to view the original 1920×1080 image. Visually they seem identical.
Using the idiff tool we can create a difference image and get data about how different these two images are from each other.
|
1 2 3 4 5 6 7 8 9 |
$ idiff -o diff-1.png original-1.png smaller-1.png Comparing "original-1.png" and "smaller-1.png" Mean error = 0.00534948 RMS error = 0.00772274 Peak SNR = 42.2446 Max error = 0.145098 @ (834, 553, R) values are 0.19215688, 0.1764706, 0.15294118 vs 0.3372549, 0.29411766, 0.26666668 1614504 pixels (77.9%) over 1e-06 1614504 pixels (77.9%) over 1e-06 FAILURE |
Ok, so they are different but we knew that. What does the difference image look like?

Yup, just a big black box not a lot of obvious differences, this agrees with what we we can see ourselves. Let’s tweak the idiff command to highlight the differences by a scale of 20
|
1 2 3 4 5 6 7 8 9 |
$ idiff -scale 20 -o diff-1X.png original-1.png smaller-1.png Comparing "original-1.png" and "smaller-1.png" Mean error = 0.00534948 RMS error = 0.00772274 Peak SNR = 42.2446 Max error = 0.145098 @ (834, 553, R) values are 0.19215688, 0.1764706, 0.15294118 vs 0.3372549, 0.29411766, 0.26666668 1614504 pixels (77.9%) over 1e-06 1614504 pixels (77.9%) over 1e-06 FAILURE |
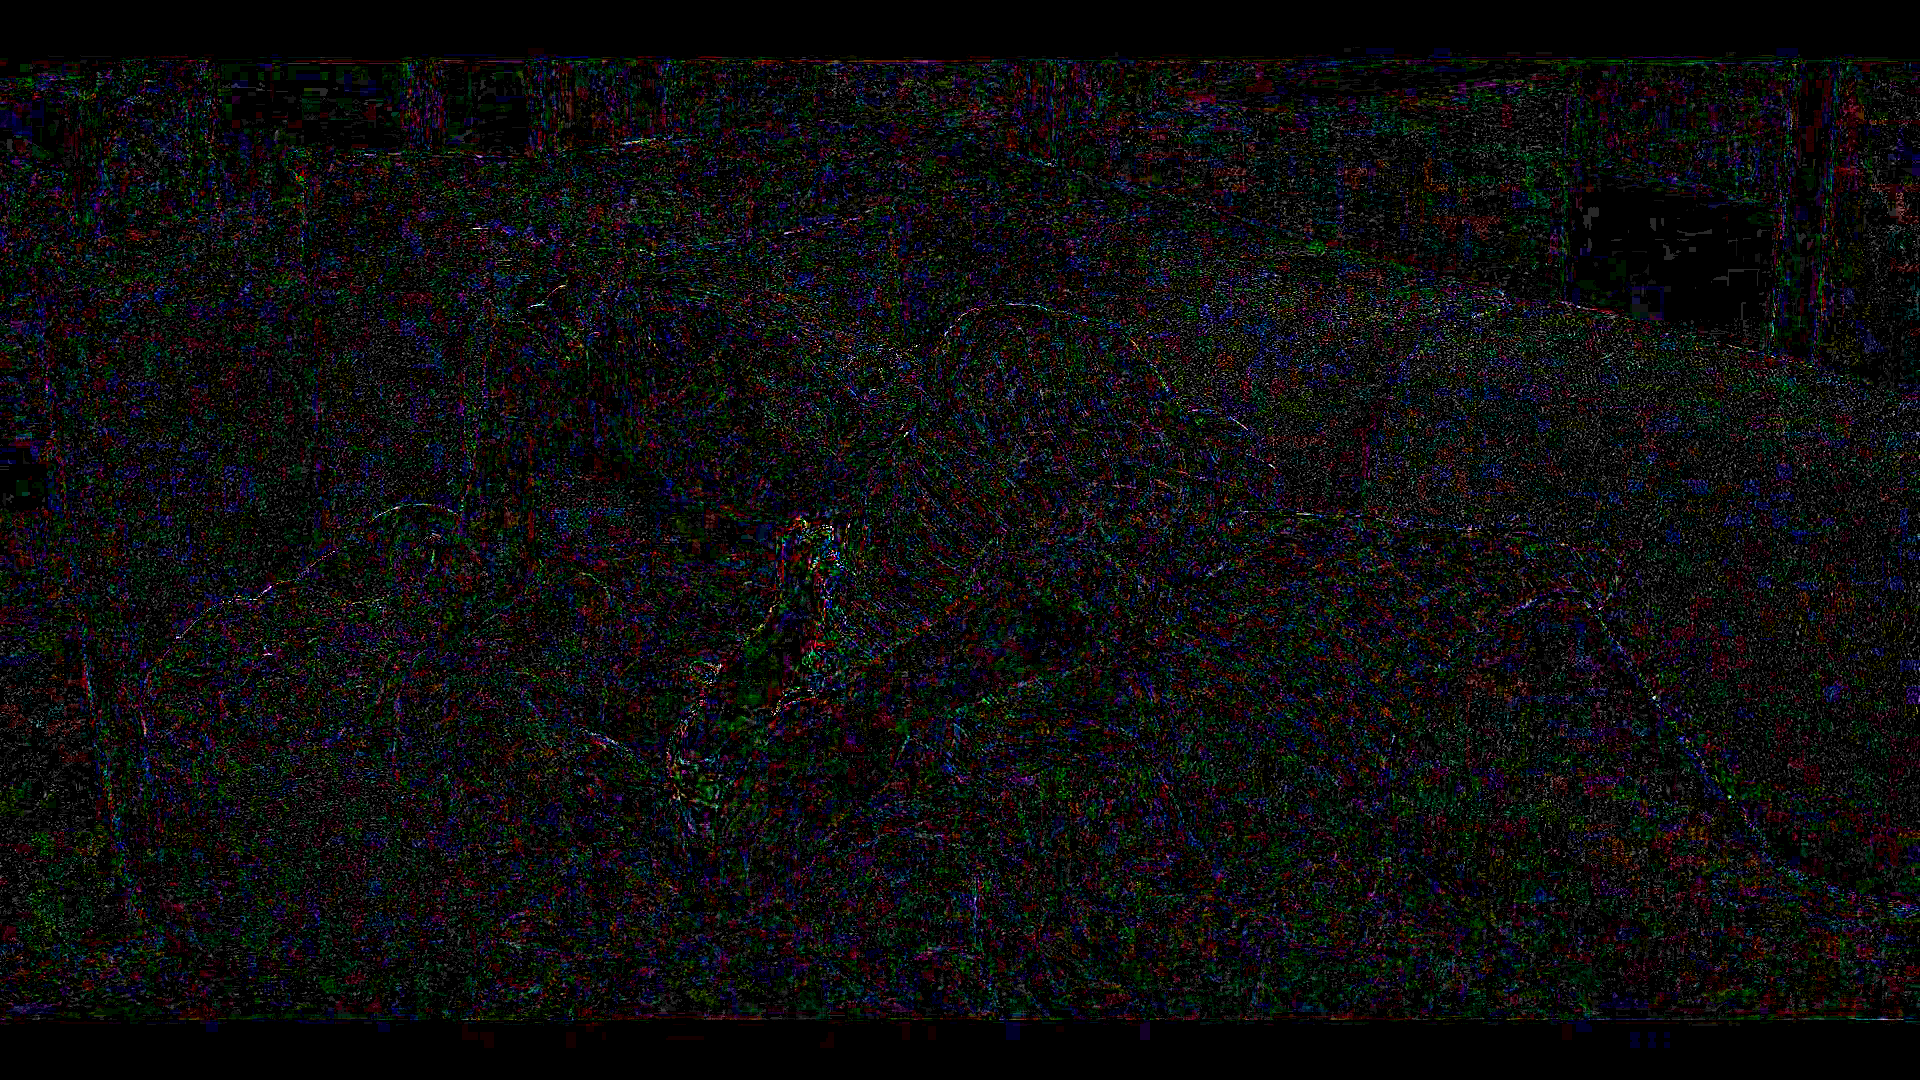 Now we can see the small differences magnified, and it’s in areas you’d expect, around the edges of objects and in the small details.
Let’s look at another frame using the same approach.
 Again, the original is the first, and the smaller is the second. Let’s do the diff, but only grab the scaled version.
|
1 2 3 4 5 6 7 8 9 |
$ idiff -scale 20 -o diff-2X.png original-2.png smaller-2.png Comparing "original-2.png" and "smaller-2.png" Mean error = 0.00534642 RMS error = 0.00788875 Peak SNR = 42.0598 Max error = 0.105882 @ (704, 188, B) values are 0.34117648, 0.3254902, 0.24313727 vs 0.43921572, 0.42352945, 0.34901962 1617659 pixels (78%) over 1e-06 1617659 pixels (78%) over 1e-06 FAILURE |

Again, in the scaled version of the diff image we see that the fine details are were the very small differences are. Try opening the full images, one in each tab and toggling between them – can you see any changes? Yes, we know there are differences – the smaller file is 1/3 of the size – but is this enough to matter? Or even notice?
I’m going to continue to use MakeMKV to rip blu-rays of movies I consider ‘reference material’ – like Dune, because I want all the bits. However, if it’s just some TV show I captured OTA and I’m going to watch once, or at most a handful of times – I’ll take the space savings.