 My desktop at home is based on Ubuntu and generally its a good end user experience. The bonus to running Linux is it gives me a unix system to hack around with and I avoid some of the malware nonsense the plagues the much more popular Windows operating system. Of course, Linux is a poor second cousin and there is a lot of software that is only for Windows. The suite of work-alike applications under Linux is improving, but most people can’t quite get away from Windows entirely.
For my part, one of the key applications is iTunes. Sure you can sort of get by with pure Linux, buts its still pretty messy. Running the real application is much easier. There are a few other less frequently used applications that require me to have a Windows install around too.
Quite some time ago, I took a physical install of WindowsXP Home and virtualized it to run under VMWare Player (you can also choose to use VMWare Server). I’ve lost track of the specific steps I did, but the following how to seems to cover basically what I did. One footnote to this process is that it appears to Windows as if you’ve changed the hardware significantly enough to require revalidation of your license – this shouldn’t be a big deal if you’ve got a legitimate copy.
Now back then, I figured that a 14Gb disk would be plenty of space for Windows. (Ok, stop laughing now). So this worked fine for a couple of years, but the cruft has built up to the point where I’m getting regular low disk warnings in my WindowsXP image. Time to fix it.
You’ll need to get a copy of VMWare Server. This is a free download, but requires a registration that gives you a free key to run it. You actually don’t need the key – as we only need one utility out of the archive: vmware-vdiskmanager. This will allow us to resize the .vmdk file – which will take a little while.
./vmware-vdiskmanager -x 36Gb WindowsXP.vmdk
The vmware server archive also contains another very useful tool: vmware-mount. This allows you to mount your vmware disk and access the NTFS partitions under Linux. Very nice for moving data in or out of your virtualized Windows machine.
I need to credit the blog post which pointed me at the vmware-vdiskmanager, but it goes on to talk about using the Windows administration tools to change the type of the disk from basic to dynamic. This is a feature not available in XP Home.
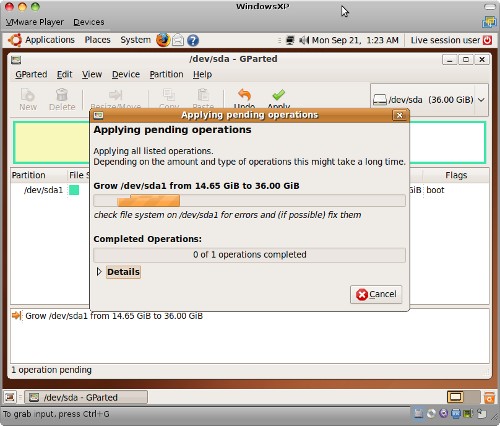
The .vmdk file represents the raw disk, so we’ve now got more drive space avilable but the Windows partition is still stuck at 14Gb. No problem, the Ubuntu live CD contains a copy of GParted which can resize NTFS for us. We need to edit the .vmx file to add the .iso file and boot from it.
ide0:0.present = "TRUE"

ide0:0.fileName = "/MyData/ISOs/ubuntu-9.04-desktop-i386.iso"

ide0:0.deviceType = "cdrom-image"
I did also have to fiddle with the VMWare BIOS (F2 on boot) to enable booting from the CDRom. You may or may not need to do this step.
Once you have the Ubuntu Live CD running, run the partition editor under System->Adminstration->Partition Editor. This is GParted and its got a pretty friendly graphical UI. It may take some time to apply the change.

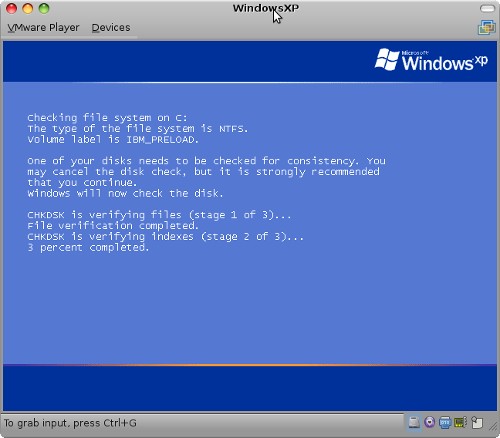
Once you are done, you need to re-edit your .vmx file to remove the .iso and boot Windows once again. Don’t Panic. Windows will detect that there is something amiss on your file system and want to run a check / repair on it. This is normal. Let it run through this process, it is a one time fix up and you’ll boot clean afterwards.

Start to end it takes a couple of hours, but most of that is waiting for longish disk operations. Worth it to now have plenty of drive space available for my Windows VMware image.


