
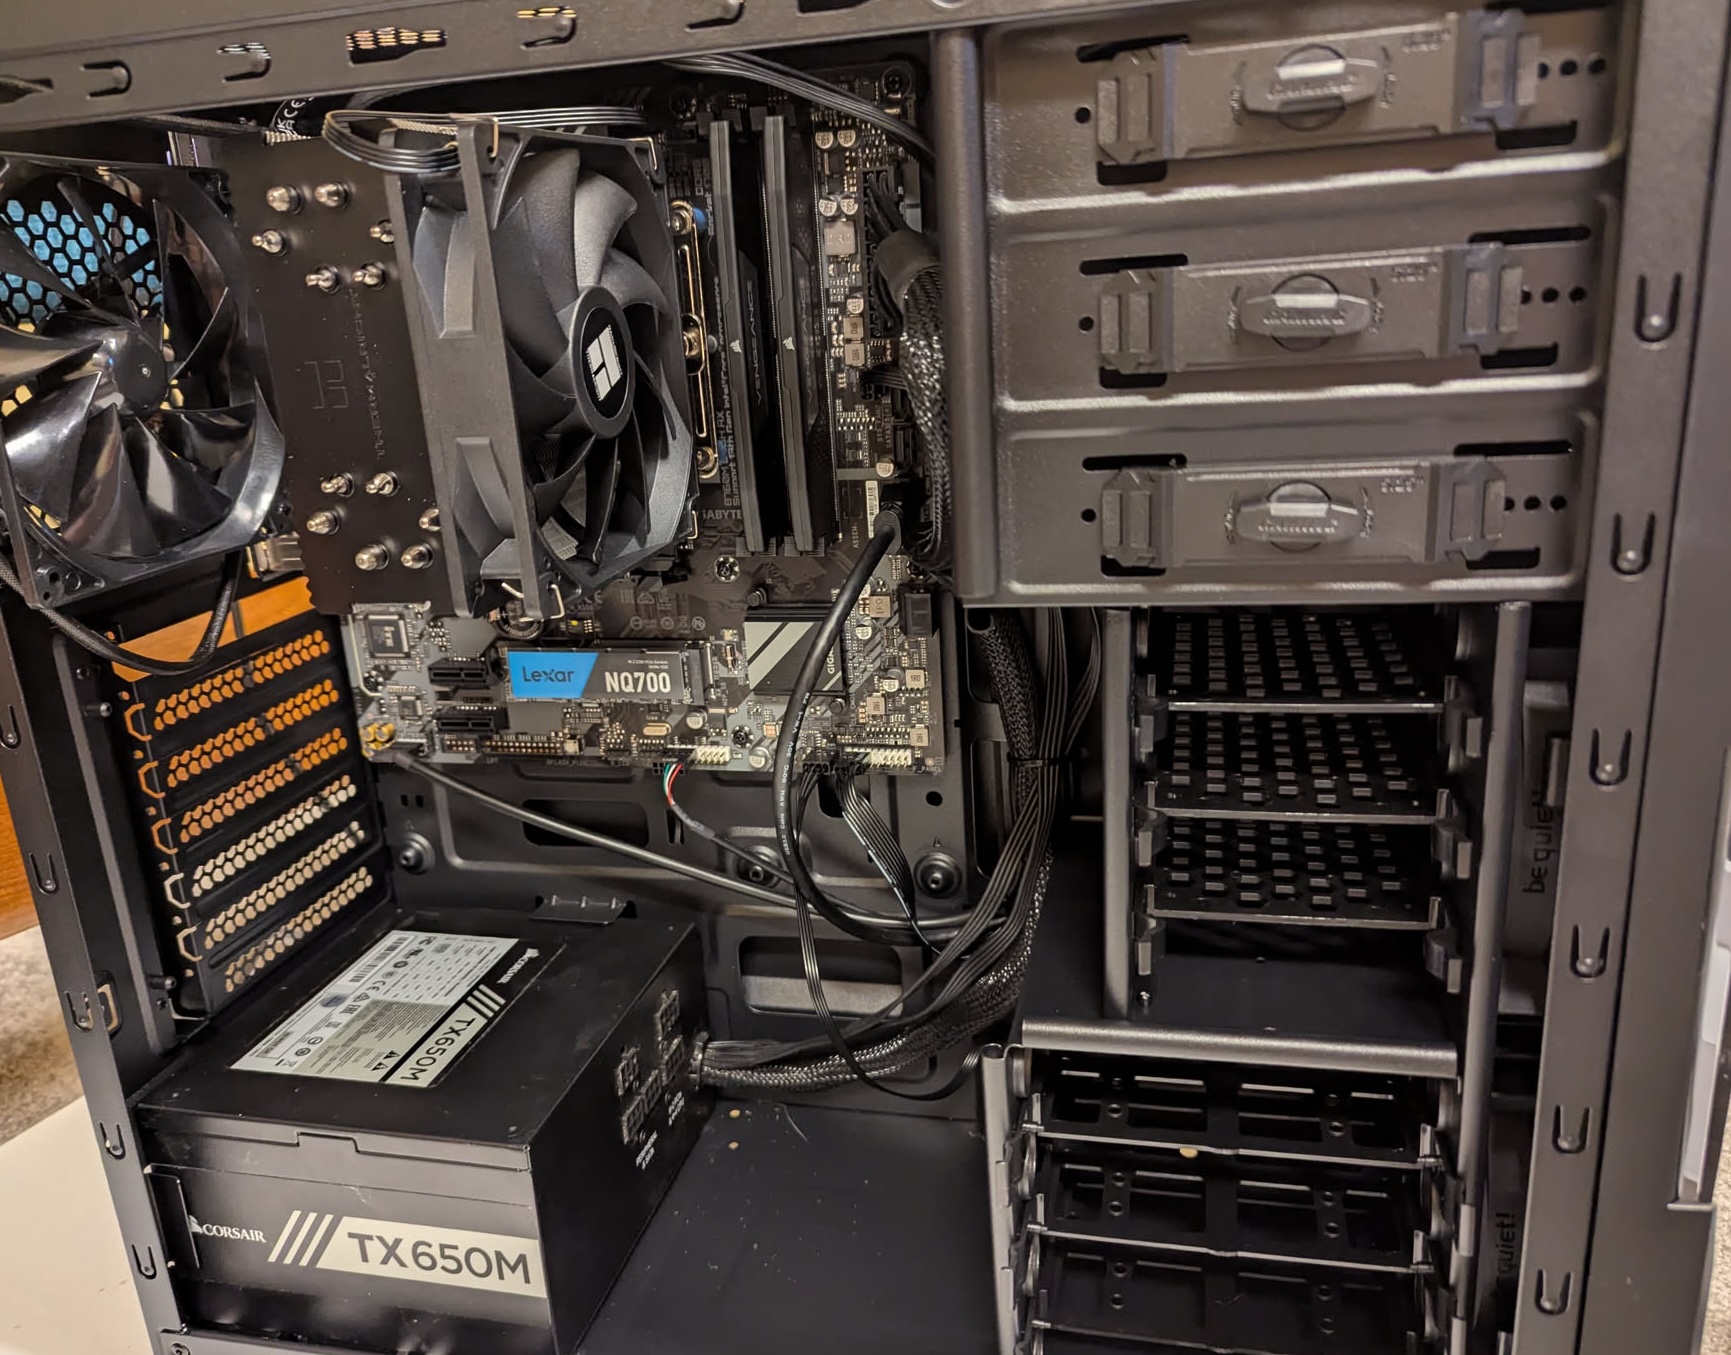
 I’ll start the post off with the end result (pictured above). I don’t yet have the 8TB storage drives installed, but you can see that there is plenty of room for them. There are 3×3.5″ bays, and 3×5.25″ bays which can easily be adapted to store more 3.5″ drives.
The first thing I needed to do was disassemble the Thermaltake Versa H21 case. Both side panels have nice thumb screws to release them. The front panel does just pop off, but it was scary. You really feel like you are going to break something. I was able to get the bottom to come easily, but the last connection at the top was very hard to get out. It finally popped off – I hope I don’t have to do that often.
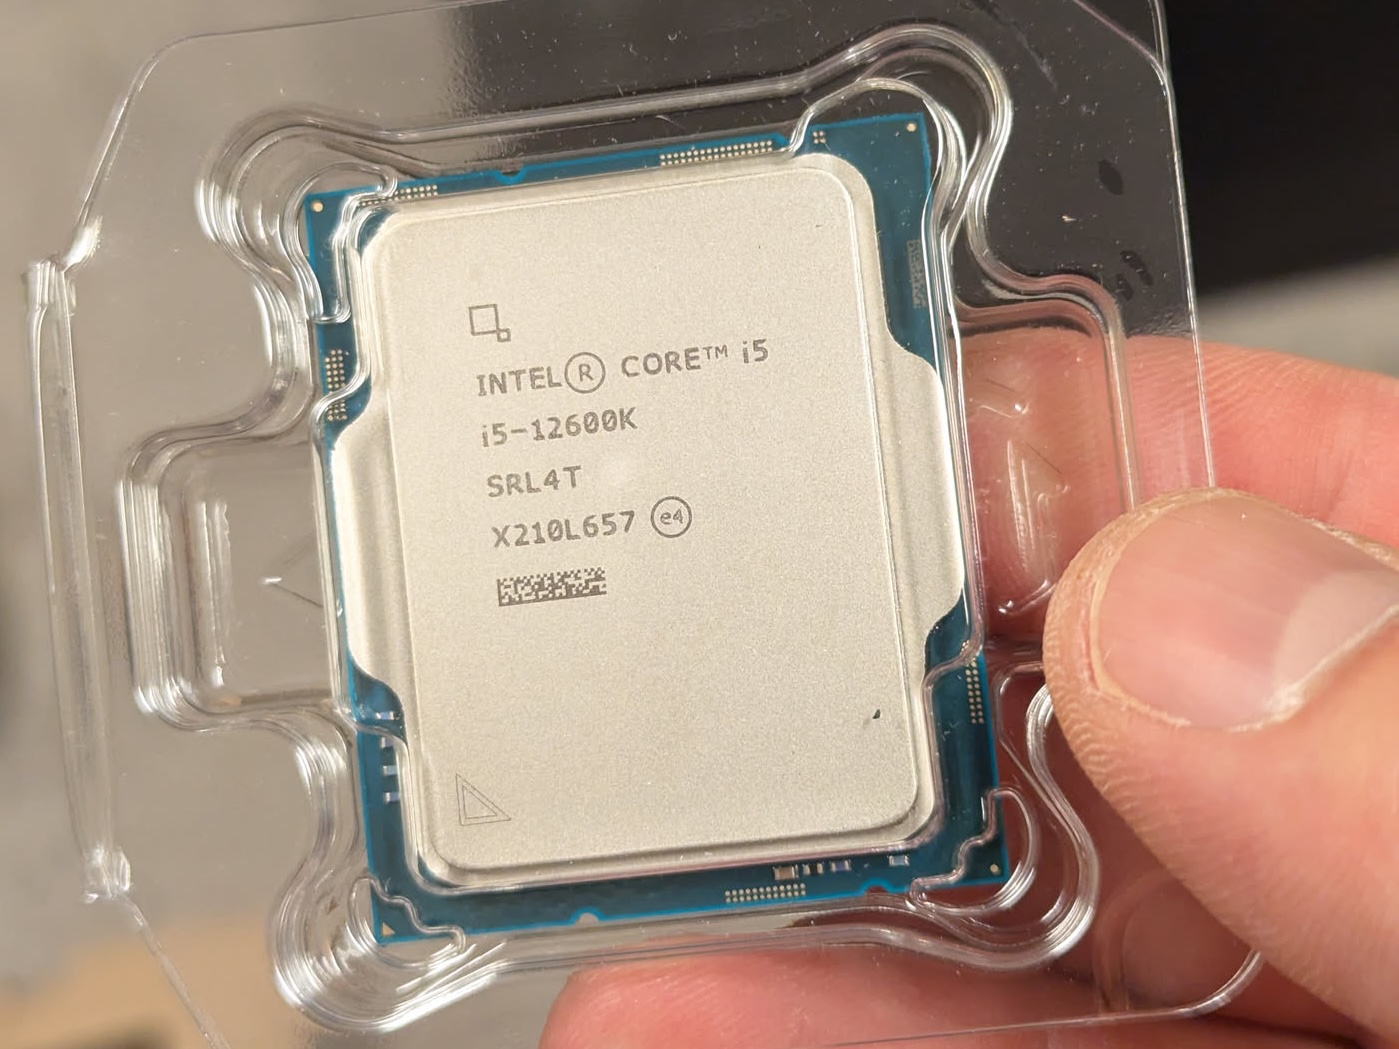 Before I mount the motherboard (MB), I need to install the CPU. If you look carefully at the picture above you will see a very faint triangle in the lower left side. Remember that, it’s pin 1 and we want to align that pin1 with the socket on the MB.
The MB itself is also not well marked, but there was a bit of documentation on where they expected pin 1 to go. They also marked it with a triangle (black on black) so you just have to line up the two triangles.
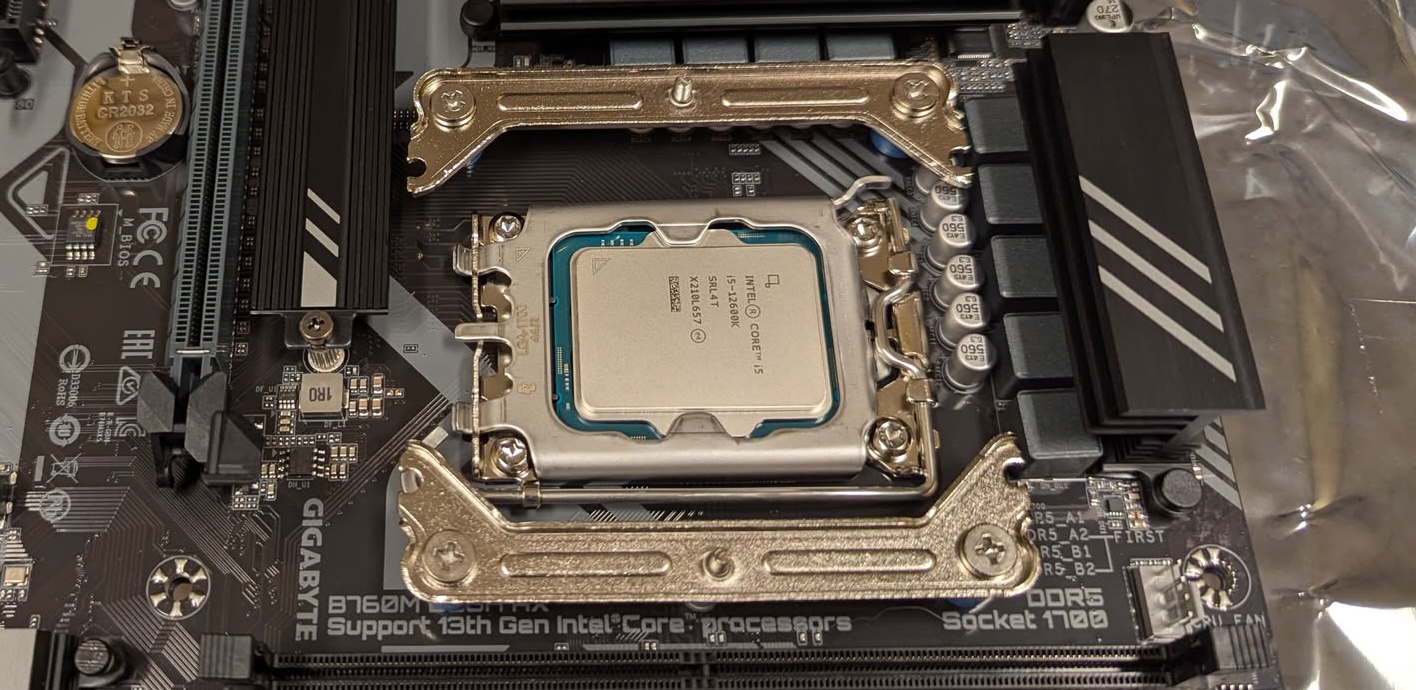
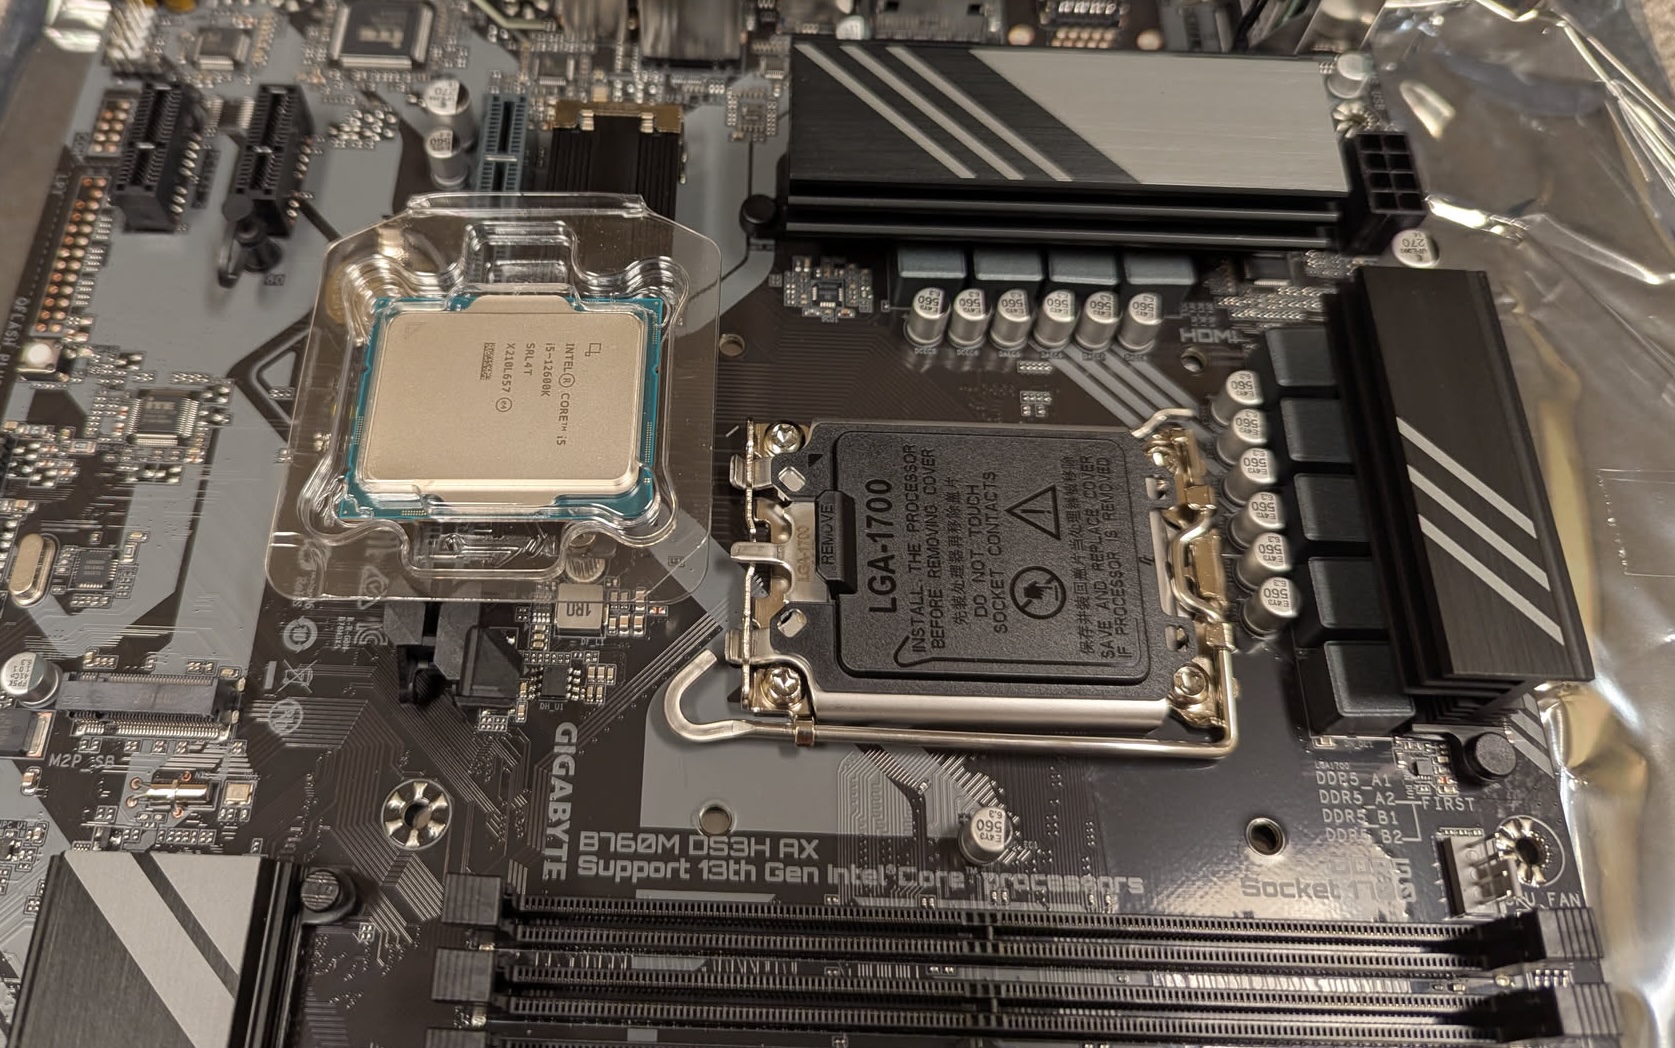 Above is the CPU in the correct orientation relative to the socket. If you look closely you’ll see how this is confusing in person. Yes, you can see the faint triangle on the CPU, and if you zoom in you can see a black triangle on the socket cover. Oh, but the writing on the chip, is 180deg from the writing on the socket cover — so confusing.
 Next we’re adding the Thermalright Burst Assassin 120 SE heat sink. There is a large bracket you mount on the underside of the MB. Then you mount some spacers and brackets. I did find both the instructions provided, and the packaging to be very clear – even though this heat sink can be used with several different socket types.
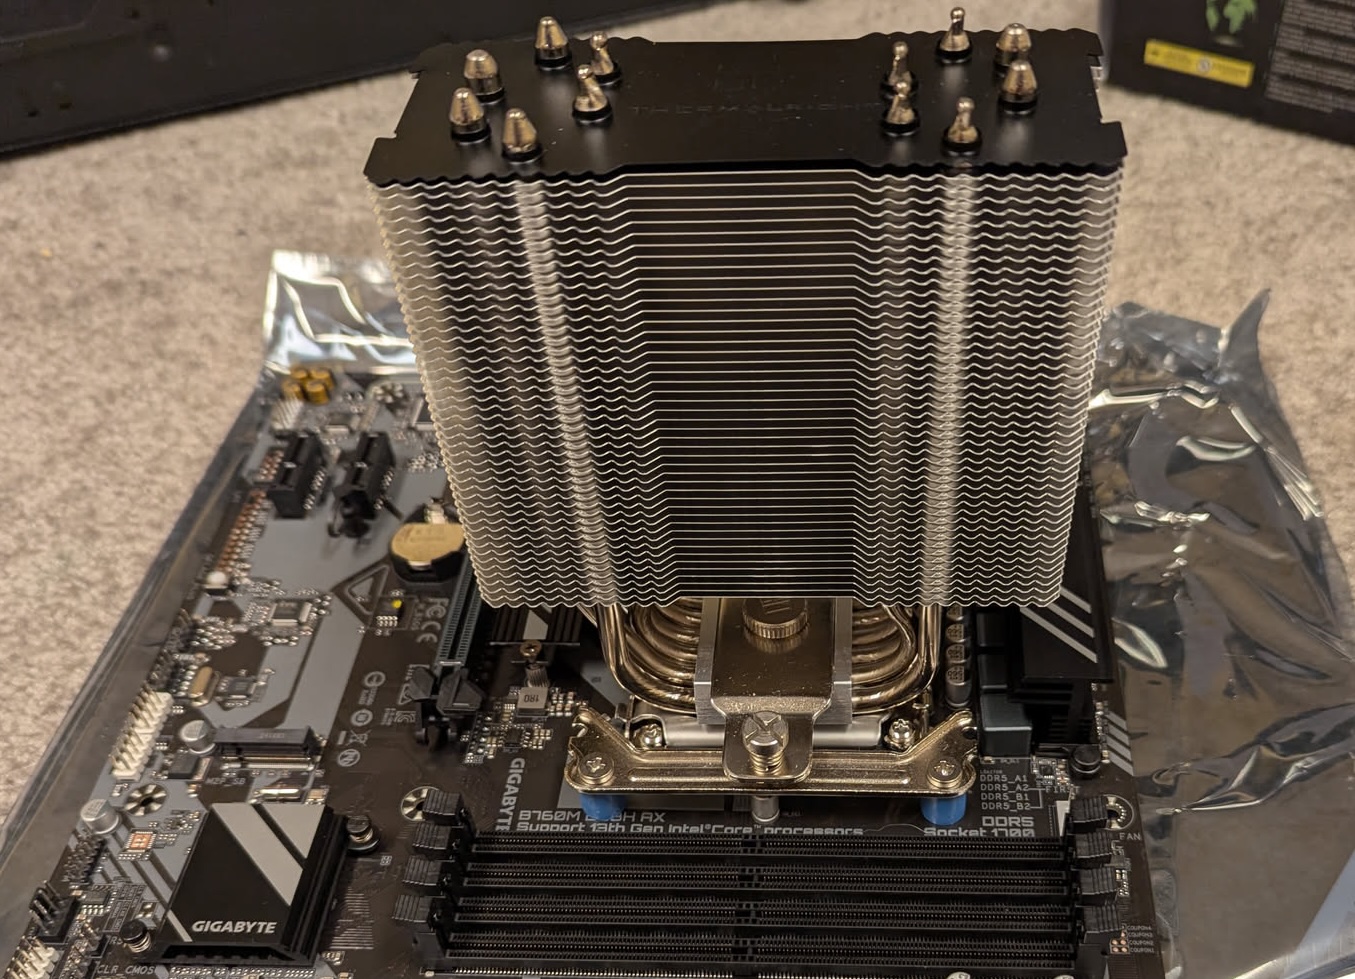 The heat sink is huge. I’m pretty sure this will keep things cool. It also seems to provide reasonable clearance for the RAM sockets. The MB also has a CPU fan header just to the right, almost perfectly placed for the fan power connector. If you look very closely, you’ll see that while the MB didn’t come with a lot of documentation, the markings on the board itself are nicely descriptive.
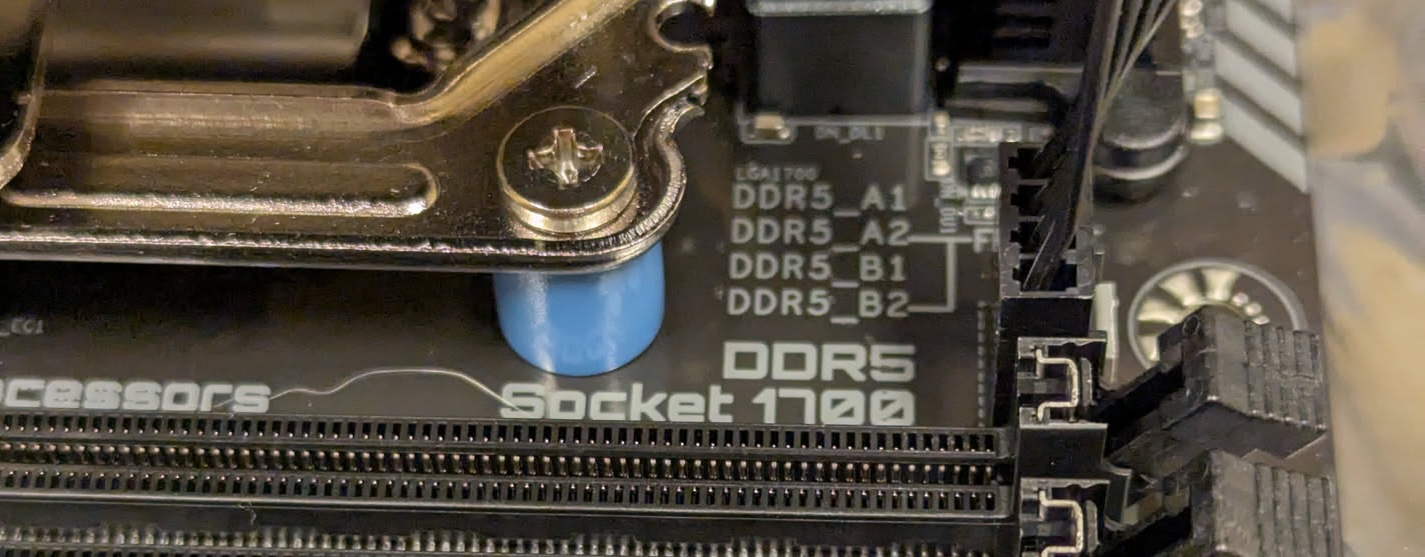 This is showing the order and pairing of the DDR5 modules. If you are installing a single stick, use A2. For a single pair use A2 and B2. I thought that was pretty slick. The Corsair Vengeance RAM clicked in nicely, I’m pretty happy with that selection.
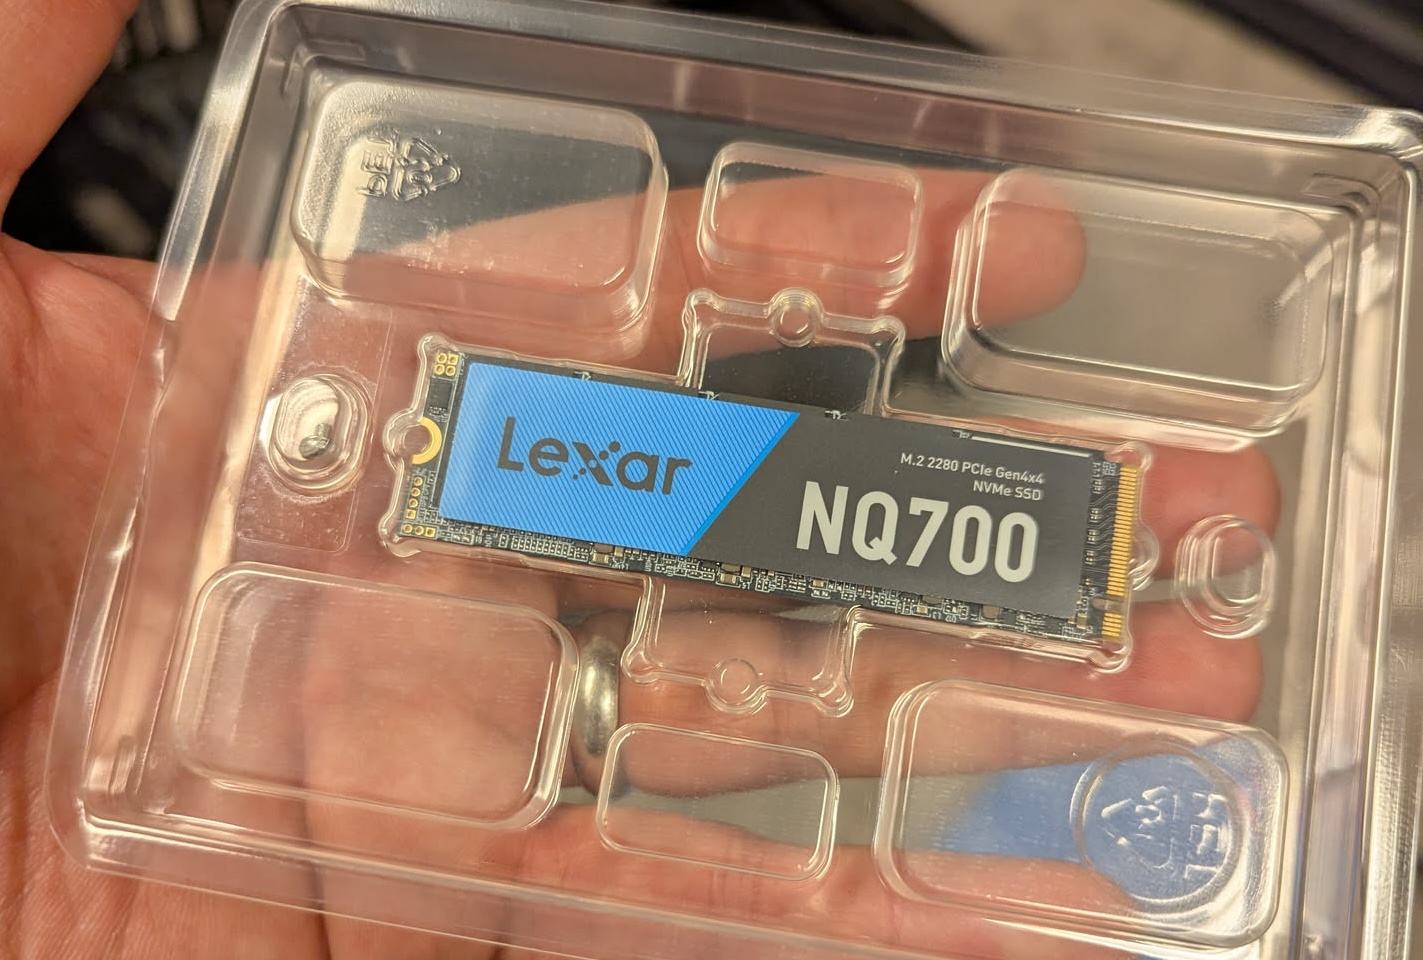 The physical size of the M2 SSD was surprising to me. It’s just so small. The MB only provides a single heat spreader for the first M2 slot. I suppose I could get an aftermarket one for the second but I’ll wait to see if heat is a problem.
There is reasonable room inside of the case to work. While the case has built in raised mounts for the motherboard, I had to add a few stand-offs (included) to adapt to my motherboard (mATX). There was little to no documentation, but having done this a few times – it’s mostly common sense. The included screws come in a single bag, and there is a mix of sizes / types. Again, if you have no experience doing this it may be mysterious as to which screw is used for which hole. There are at least 3 different threads / sizes provided and they are difficult to identify.
I’m not super happy about how the rear panel that came with the MB fit into the case, it fits and isn’t coming out – but did not really pop in nicely – it’s more a pressure fit. I’m not sure if this is due the case, or the MB, or both. One or two of the screws for mounting the MB feel like they stripped while I was installing things. Again, maybe this was user error – but it may be lack of precision in the case.
Under the front panel is a filter, which supports a pair of 120mm fans. This is a nice snap in setup and the cables easily route to the side. On the topic of routing cables, I did find it quite easy to snake the various cables around the case and keep them mostly out of the way. The fact that the case isn’t flat on the sides assists here too. Zip ties are provided to keep things neat.
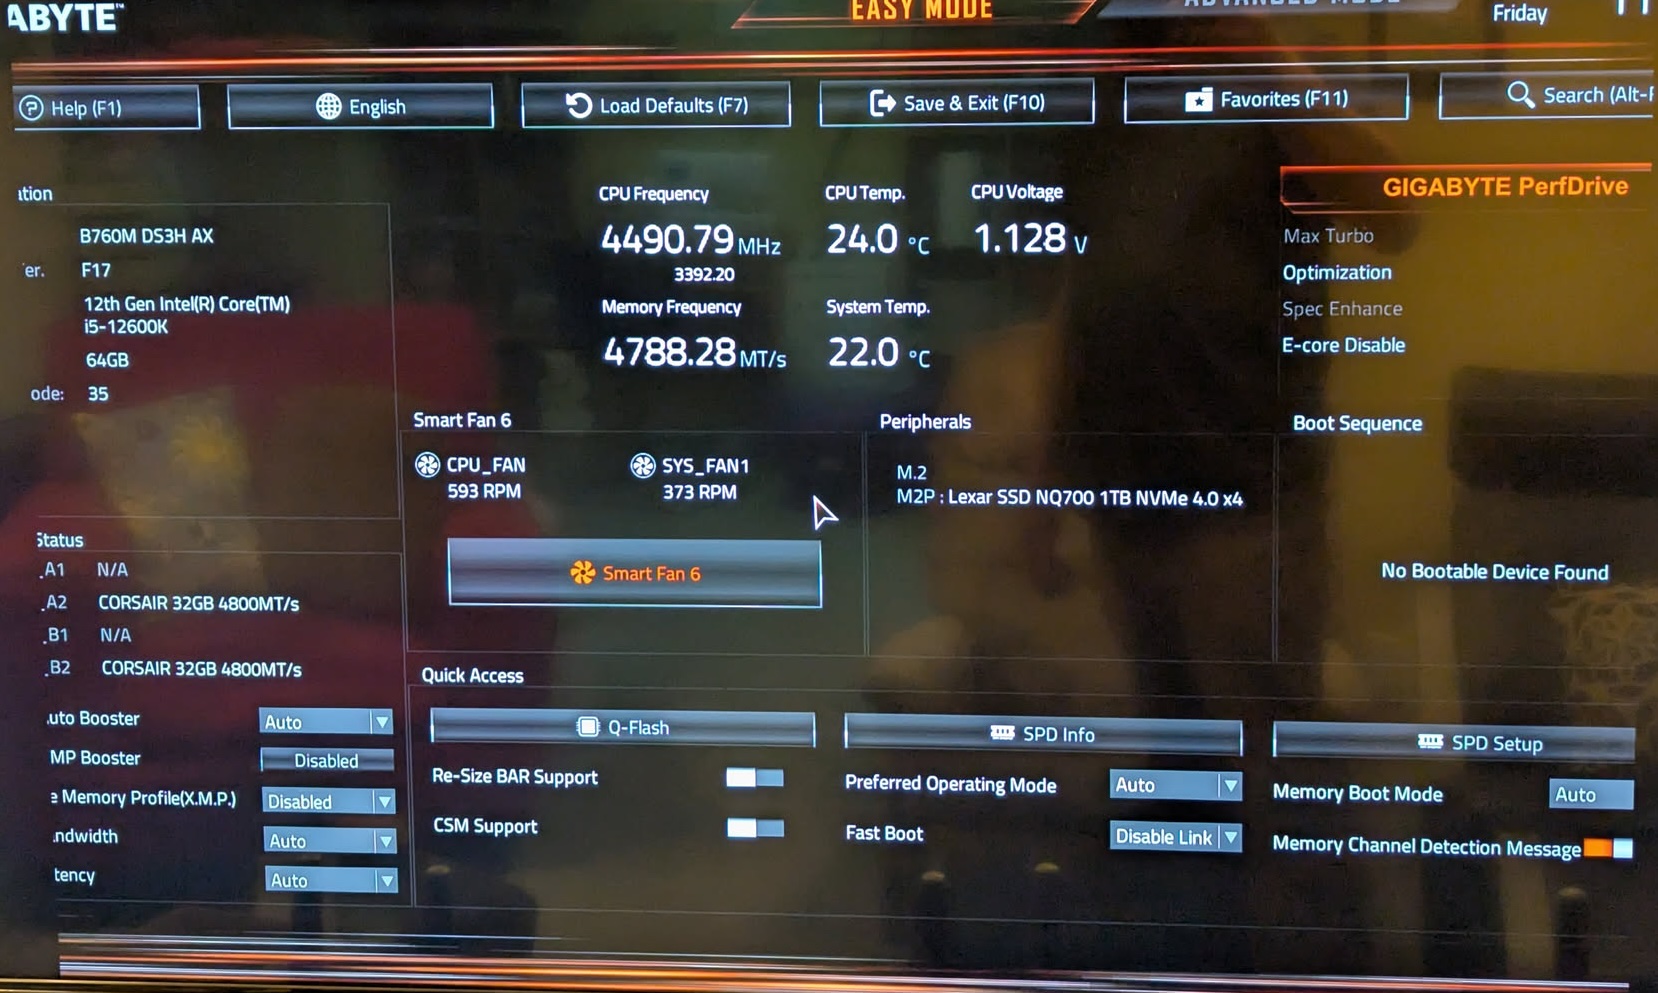 It’s always a bit spooky to boot up the first time, but it came up without any drama. I needed to update the BIOS which was more than a year out of date, and turn on XMP to move my memory speed up from ~4800 -> ~5200. It runs nice and cool, and is quiet.
I’ll do a mini review of a subset of the components:
Thermalright Burst Assassin 120 SE [5/5 stars] This is a very reasonably priced air cooler, but you get good documentation, everything fits like it should and it feels solid once installed.
Gigabyte B760M DS3H AX [4/5 stars] I haven’t had a chance to really explore all of the options, but I knocked off a star for the minimal documentation provided – and the confusing CPU orientation information. For the price, it feels like it wouldn’t be all that hard to make this a better experience.
Thermaltake Versa H21 [4/5 stars] Given the value you are getting based on the price, and the number of drive bays – this might be the best choice for a home server. It easily fit my large cooler, cable routing options were good, it has great ventilation and is mostly tool free for common things. Negatives were the lack of documentation, janky MB mounts, and the scary front panel removal.