Google Pixel 10

I didn’t need a new phone, the Pixel 7 I’d been using for almost 2 years was doing everything I needed. The battery life was good, it still felt fast, and the photos were great.

I think my downfall was that I needed to upgrade the kids to newer (working) phones, and managed to get a couple of Pixel 7 Pros for a great price. This meant my phone, while still great, was the lowest spec phone in the family. I think since Black Friday we’d seen cell phone plan promotions that included the Pixel 10, leading to a lot of them hitting the market (new in box). The asking price was often $750 with low points being around $600, still a bit high for my frugal self.

Then a friend of mine did the plan upgrade dance and had a Pixel 10 he was willing to let go a bit lower than the typical asking price – while I didn’t need an upgrade – now I’m rocking the Pixel 10.

Above is an animation that compares the 7 vs the 10. The specifications say the 10 is slightly heavier than the 7, but the size of the phone is a tiny bit smaller. Notable are the more pronounced rounded corners. The 10 feels smaller in my hand, it’s still a giant phone as all phones seem to be today, but something about the shape makes it feels smaller.

The internals are all newer, better, faster. The 10 has a laundry list of improvements over the 7: A 5x optical telephoto camera; Satellite SOS service; 12GB RAM; updates until 2032.

If you want more comparisons I found this article which runs down a comparison of the 10 vs. many of the previous models.

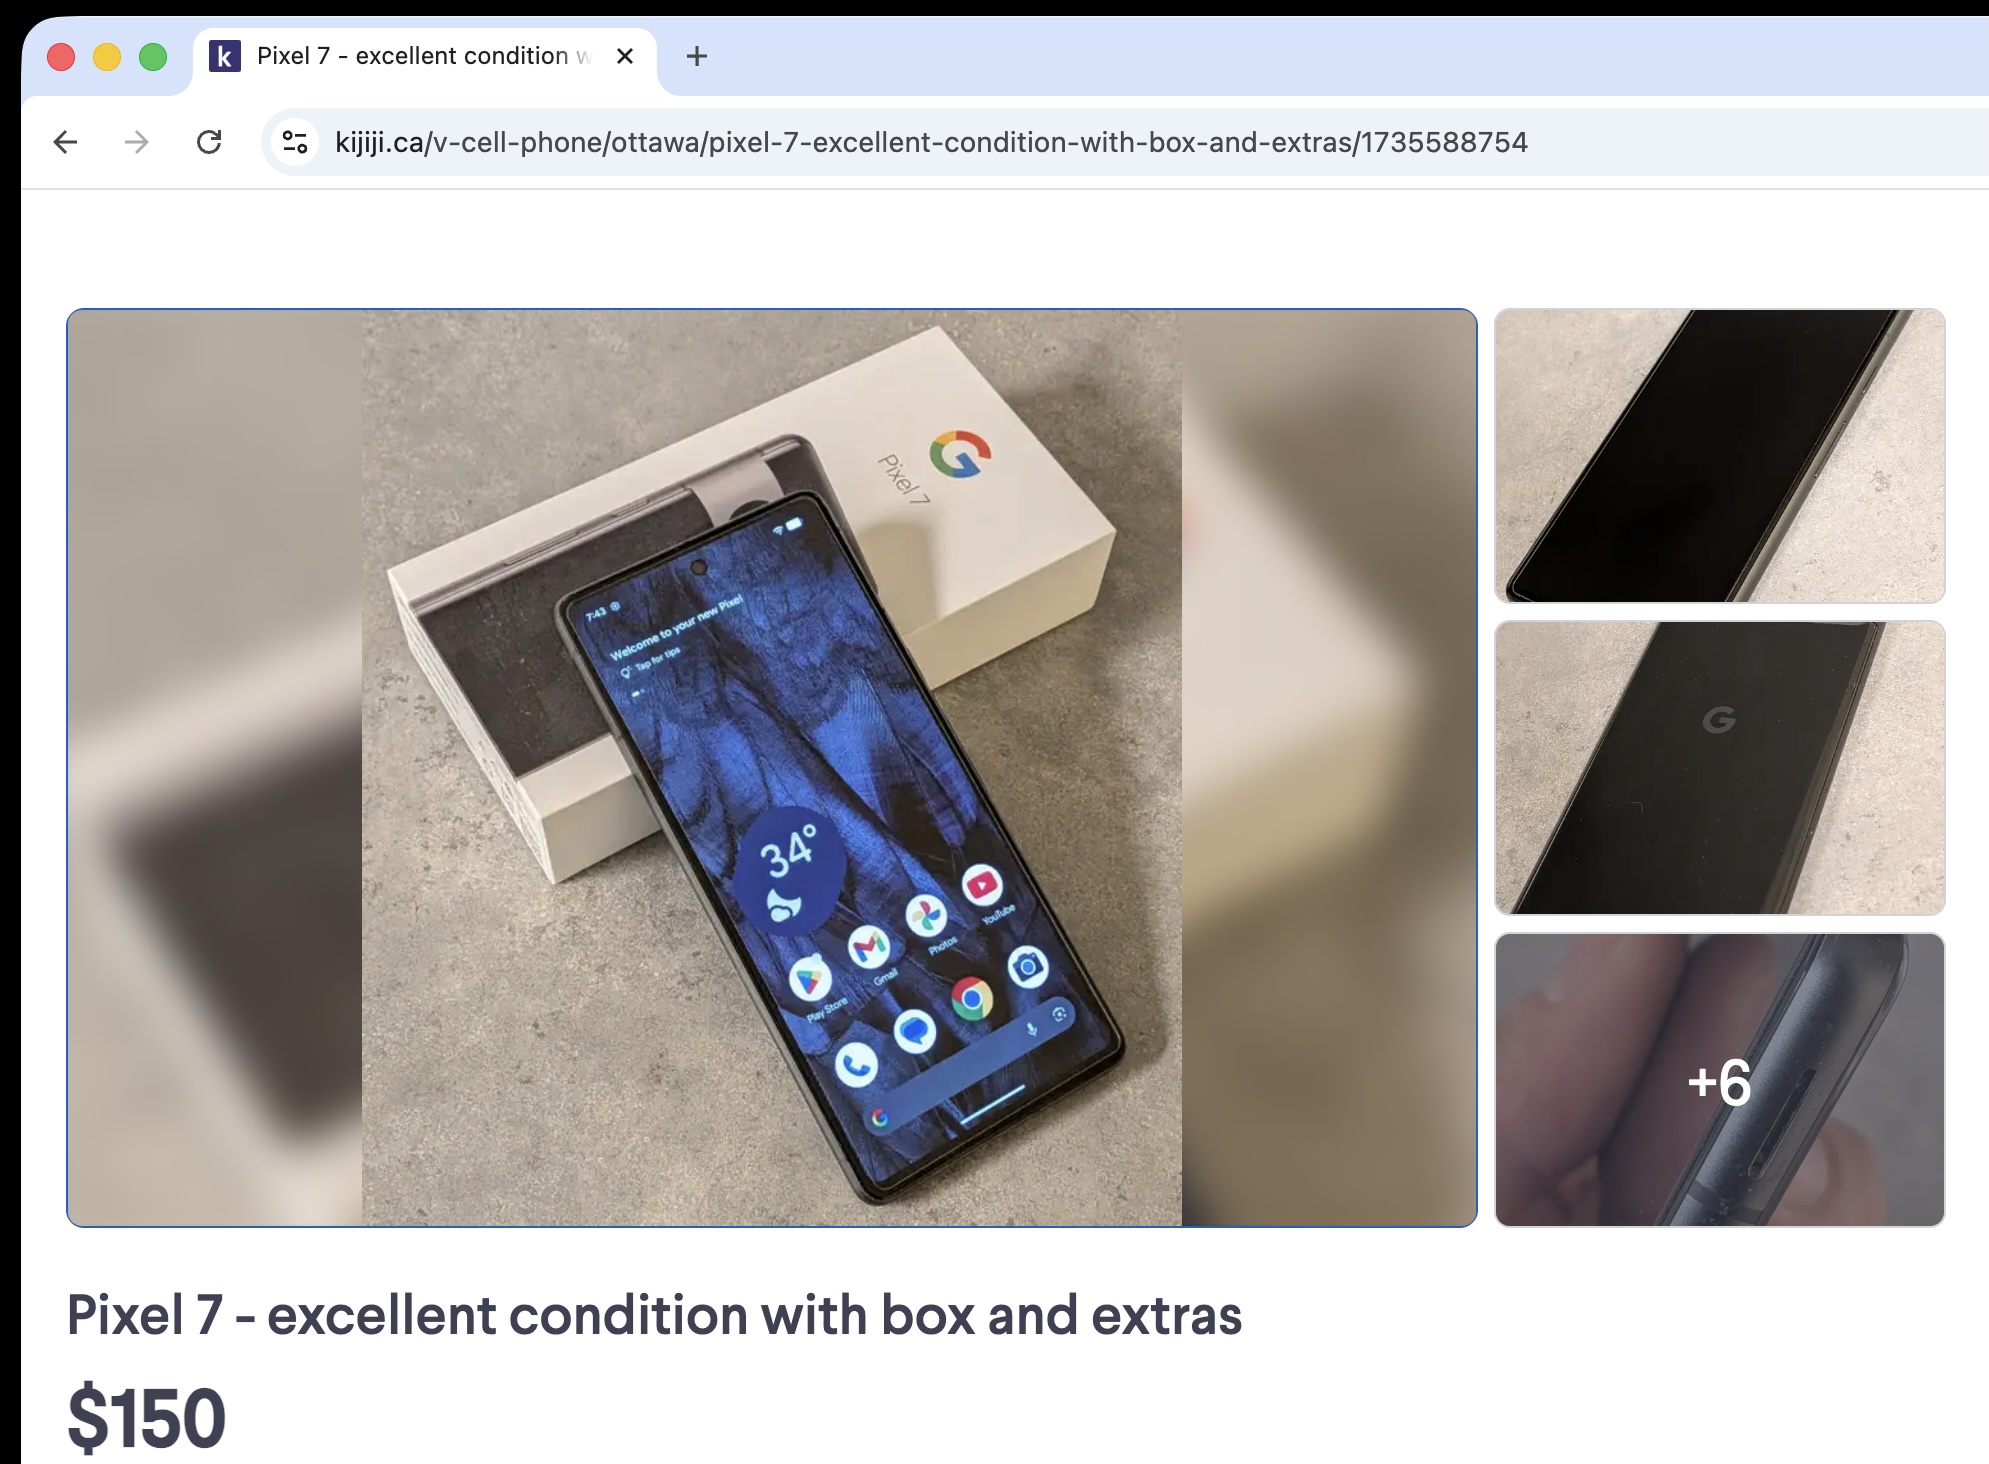
I was able to move my old Pixel 7 along for a fair price, it turned out the person who bought it from me was someone I used to work with. Nice.

Over the 2+ years I used it, it only accumulated 293 charge cycles – and the battery should be good for 80% capacity at 800 cycles. It’s still got more than a year of Google support and after that you can always go to GrapheneOS or LineageOS.

Back to talking about the Pixel 10. Let’s start with the Google AI summary of the upgrade from the 7 to the 10.

Upgrading from the Pixel 7 to the Pixel 10 (2025) offers significant improvements in battery life, display brightness (3000+ nits), and processing power (Tensor G5), largely addressing the heat and battery degradation issues found in older models. The Pixel 10 features a smoother 120Hz display, faster charging, and 12GB of RAM compared to the 7’s 8GB

As usual, I grabbed a generic bumper case off Amazon, which came with a screen protector. I particularly like the cases that have extra bumps on the corners, both for fall protection – but also I find them handy to help grip the phone.

Unfortunately the screen protector didn’t work with the finger print sensor. The 7 used an optical sensor, whereas the 10 uses an ultrasonic sensor. The generic screen protector was too thick preventing it from working. Google has introduced a ‘made for Google‘ certification for screen protectors – boo. While face unlock worked, I’m not sure I wanted to be stuck with that or a password. I broke down and ordered Spigen certified screen protector, $24.99 which turned into almost $30 after tax but next day delivery.

The Spigen protector worked without issue, and the kit I ordered actually included two protectors so the price seemed a bit more worth it. The installation is a bit funky, but worked just like their video describes. I did need to use the squeegee tool to remove the bubbles, but it went smoothly.

Aside from the small issue with a generic screen protector and fingerprint recognition adopting the new phone was straight forward. The migration process from the 7 to the 10 went smoothly. Even the eSIM just magically moved over. All in all it was an easy upgrade.

A few weeks in to using it, I’m still pleased with the upgrade. I keep finding reviews which say all of the things better than I could.

OpenBeken with Globe Electric Smart Plugs

I needed some more home automation friendly outlets, and my preferred Sonoff S31 outlets are hard to get at the moment. It also seems that the S40 has been released as a replacement, but moves away from the ESP micro-controller. This got me looking for what I could get locally.

The Home Depot carries the Defiant series, which when I looked up the details on the FCC website it seemed like a great candidate having an ESP32 inside. However, it seems that the eFuse has been flipped to prevent any further firmware updates. I then moved on and found a sale price of $22.99 for a 3 pack of the Globe Electric Smart Plugs.

Now these plugs do not have an ESP device in them, but a WB2S module. Some folks take advantage of the fact that this is pin compatible with an ESP device and will just swap in a whole new logic board. However, you can also use OpenBeken which I’ve done before. Since these were pretty cheap I picked up 3 boxes (9 plugs).

These plugs are fairly compact and you can fit two in an outlet (top and bottom) if you wanted.

The first thing we need to do is open these. This is fairly easily done using a pocket knife and a little bit of patience / prying. After doing a few of these I got pretty quick, a minute or two to open them. I captured a short video I put up on YouTube showing this process.

Now that it’s open, you can remove the exterior case entirely and you have access to the internals. The micro-controller was easy to spot, it is on it’s own tiny circuit board.

You can see why some folks are simply removing the entire controller board and swapping in a compatible one with a more friendly chip to program. However, with OpenBeken we have the option of reprogramming this chip with some firmware to give us local only control (via Home Assistant).

At the top you can see this is a WB2S board, and the chip is a BK7231TQN32. For the most part this chip is referred to as a BK7231T.

We’re going to need to hook up 4 wires to this to reprogram it, 3.3V, GND, Tx and Rx. Let’s figure out where those pins are.

This is the other side of the board, and if you look carefully you can see at the bottom edge we have starting from the left side BAT, GND, IRX, ITX. These are the 4 pins we need to connect with. Thankfully we can access each of these from the bottom side of the board as the controller board slots into the main circuit board on it’s edge.

Not very pretty, but it gets the job done. The wires are from some stripped ethernet cable and I think they are 26AWG – fairly small. While this was convenient for me to connect some wires to, upon inspection it seems the only reason there is any solder here is to support the board-to-board connection, I’m pretty sure all of the actual interfacing to the circuits is on the other side.

Someone on the Elektroda forum seems to have done the first work on one of these plugs. A lot of people using OpenBeken have used the CloudCutter project to reprogram things without wiring anything up, but this seemed more complicated to me and not guaranteed to work with all devices.

My first attempt I used the same software as I had previously. The only change was to download a different firmware because this is a different module. Unfortunately I goofed somewhere and when flashing the device it failed, then it was no longer responsive to my attempts to connect via serial at all. It may be a brick now, boo.

For my second attempt, I did more reading about the ESPHome support for BK72xx chips. There is quite detailed information about flashing the chips, and it seems to strongly recommend you do not use the old tool I had previously used. There is also a section there on un-bricking things which I’ll have to try later.

Thus I picked the ltchiptool – and installed it under Windows. The easy way to do this on Windows was use the Microsoft Store to install “Python 3.10” – then run pip install ltchiptool[gui]

Once installed, you can launch the GUI with python -m ltchiptool gui

While I may eventually end up using ESPHome, I decided to stick with OpenBeken and grabbed the latest OpenBK7231T_UA_1.17.800.bin from their download page. I first used the ltchiptool to download the existing flash image to confirm my wiring was working. Then I held my breath and uploaded the firmware.. and it worked.

Then it was a simple matter of repeating things. Crack open the case. Solder some wires. Hook it up to ltchiptool, download to confirm things are working, upload new firmware. De-solder the wires. Re-assemble. Now I had 8 outlets reprogrammed.

A dab of crazy glue helped re-seal the exterior cases. So far this seems just fine after a few insert / removals of the plugs.

Next we need to do some configuration. Upon first boot the device will offer up a captive portal. Connect your computer to the “OpenBK76231N_XXXXX” WiFi and visit http://192.168.4.1 in a browser. From here we can pick “Config” then “Configure Wifi & Web” to setup the Wifi connection.

Once the device is on our WiFi network, it can then see the internet which allows us to use the “Web Application” to further configure the device. You can launch the Web Application from the main landing page. I did find that it was important to access the device via IP address (ie: http://192.168.1.56) vs. by name.

Once we launch the Web Application, we can easily configure the device by using the “Config” tab, and searching for the right template from the web. I have to say this is a pretty clever way to do things.

You can see I’ve searched up the “Globe Globe smart plug” and have used “Copy Device Settings” to populate the “Pin Settings”. At the bottom of the page there is a “Save” button to persist the choice. Now if we revisit the Home page we will see the device now offers up control of the power. The button on the side of the plug also now works to toggle power.

The last thing we’ll do is connect this up to Home Assistant. The easy path here is to setup MQTT (Config->Configure MQTT) and get connect to your broker. I was left scratching my head why Home Assistant wouldn’t see these new devices – and after a lot of probing around my MQTT setup and verifying that data was flowing, I finally watched the video the explains it.

Short story was – after you’ve got MQTT setup, and the main page will show you the MQTT State is connected – you need to do one more thing to have it emit a discovery payload to Home Assistant. (Config->Home Assistant Configuration) and hit “Start Home Assistant Discovery”. Then the devices just appeared with their short name in Home Assistant.

New Thermostat – Ecobee Lite 3

I’ve had my eye on the Ecobee 3 Lite for a while. My previous thermostat was starting to show it’s age. The cloud service had been discontinued, but it still worked well with Home Assistant. However, recently it started to be colder at home than was comfortable – this turned out to be the fact that the temperature was set 2 degrees lower than the schedule?! Sure I could have worked around this, but when you can’t trust the device to do what it is supposed to do – time for a change.

I was able to get a used Ecobee 3 Lite pretty much new in box for $60 from someone locally. This is a good price, but I’ve seen it as low as $50, but often higher. Keep in mind the new price is currently only $179.99, so it is a reasonable cost even new.

The Ecobee comes with a white plastic shield you can use to cover up any unsightly holes left in the wall from the previous thermostat. As my drywall patching skills are finally getting to an acceptable level, I opted for a ‘clean’ install and patched and painted the mounting damage.

Since I’d already sorted out the whole C-wire thing for the previous smart thermostat, it was just a matter of removing the old one – and installing the new Ecobee. Included with the Ecobee is a magic box that will let you fix your missing C-wire problems, it is involved and you have to mess with the wiring in your furnace but at least they have a solution.

Here is a photo of my existing wiring.

I’ve got C, W, Y, Rh and G. Following along with the installation manual, it’s easy to map this over to the Ecobee wiring harness.

The old -> new wiring

  • Rh -> Rc
  • G -> G
  • Y -> Y1
  • W -> W1
  • C -> C

Once this is done, you just snap the thermostat in place. I thought it was pretty cool that it detects the wiring setup and confirms as part of the first start experience.

This is a good way to confirm that you’ve got at least good connections to each of the wires on the back plate.

Next up it’ll send you off to download the app and sign up for an account with Ecobee. For now I’m using the ‘cloud’ service but I will say that I wasn’t a huge fan of how much information it wants to gather about your location, size of house, number of people in the house. I can rationalize why they might use that information to provide a better experienced – but we are talking about just a thermostat that is going to turn your HVAC system on and off. It does sound like you can disable it’s internet connectivity and run with just local and you can get by fine.

I do have it integrated with Home Assistant. It seems that Ecobee is no longer offering the ability to create new API keys so the only way to connect is via the HomeKit integration. HomeKit really wants to use mDNS to discover things, and running HomeAssistant (HA) inside of a docker container can make this tricky. Most solutions suggest you run the container using the host networking mode --network:host, but I opted to give my HA a macvlan IP address.

I probably should have done this a while back. Suddenly my HA install was able to find all sorts of compatible devices on my network. The Roku Ultra, the HD Homerun, my printer, and the Sonos speakers. While I was able to make all of these integrations work previously the auto-discovery wasn’t happening.

I was able to easily integrate via HomeKit without any Apple devices in the mix. From the thermostat itself you can enable HomeKit integration, then just use the 8 digit value from the screen to connect to the HA integration.

Of course, many of my IoT devices also live on an isolated network, and I haven’t quite figured out how to get the mDNS reflection stuff to work yet. Hopefully at one point I’ll get there, and maybe that will let me shift the thermostat and Sonos speakers to the IoT network as well.

It’s been a couple of days, and the Ecobee has been working fine. It’s integrated into Home Assistant via HomeKit and as a bonus I now get both temperature and humidity readings from the thermostat. It also look pretty nice on the wall – and no more surprise cold wake ups. The thermostat user interface is touch screen and feels pretty intuitive.