A Tale of Two Macbooks

I like many have been, and continue to, work from home. You may have also heard of the chip shortage making things like laptops a bit more difficult to get your hands on, especially at the scale of a large company. This has delayed the usual upgrade cycle, and meant I was using a machine with no AppleCare warranty.

Up until recently I’ve been using a 2017 macbook pro – yes, the one with the bad butterfly key-switches – that is until recently.

Right from the start the keyboard had given me problems. In the first few weeks my W key was janky and needed extra presses to work. It sorted itself out after a little while and I discovered that if I was careful about dust/crumbs I could avoid problems. When problems happened, giving it a good shake upside-down would help remedy the issue.

In this case the F key started jamming, then broke off entirely. Normal typing would dislodge the key and was generally a pain. Apparently once one key busts off, others are not far behind. This was proved out by a coworker of mine in the same situation, but with 2 busted keys. I guess it was time for a replacement.

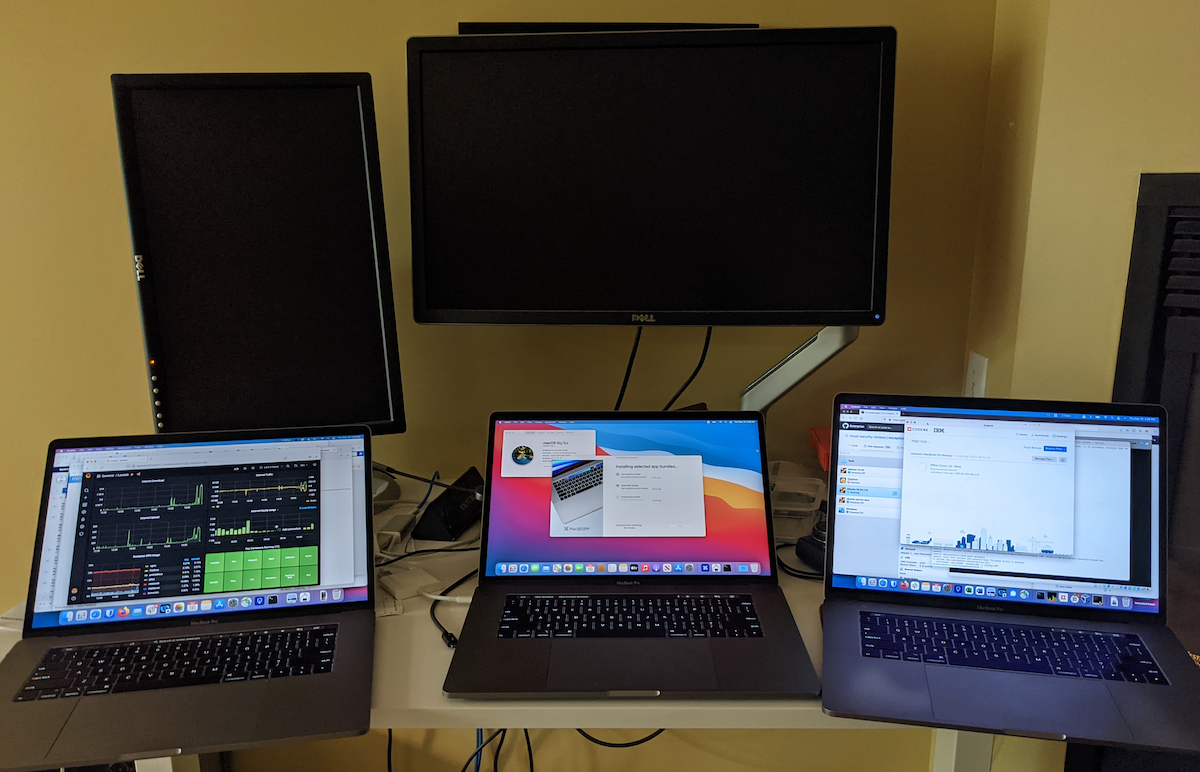
After the usual paperwork, I was back in business – sort of, as the first replacement had a busted microphone and that makes participating in emeetings sort of tough. The second replacement arrived, this was a 2019 with a bit of warranty left and everything works. So now you know why the lead picture has 3 macbooks in it.

The first replacement was a 2018 machine, a little faster than the 2017 but basically on par. I won’t mention much about this because I only had that a day give or take. This is why the post is a tale of 2 macbooks and not 3.
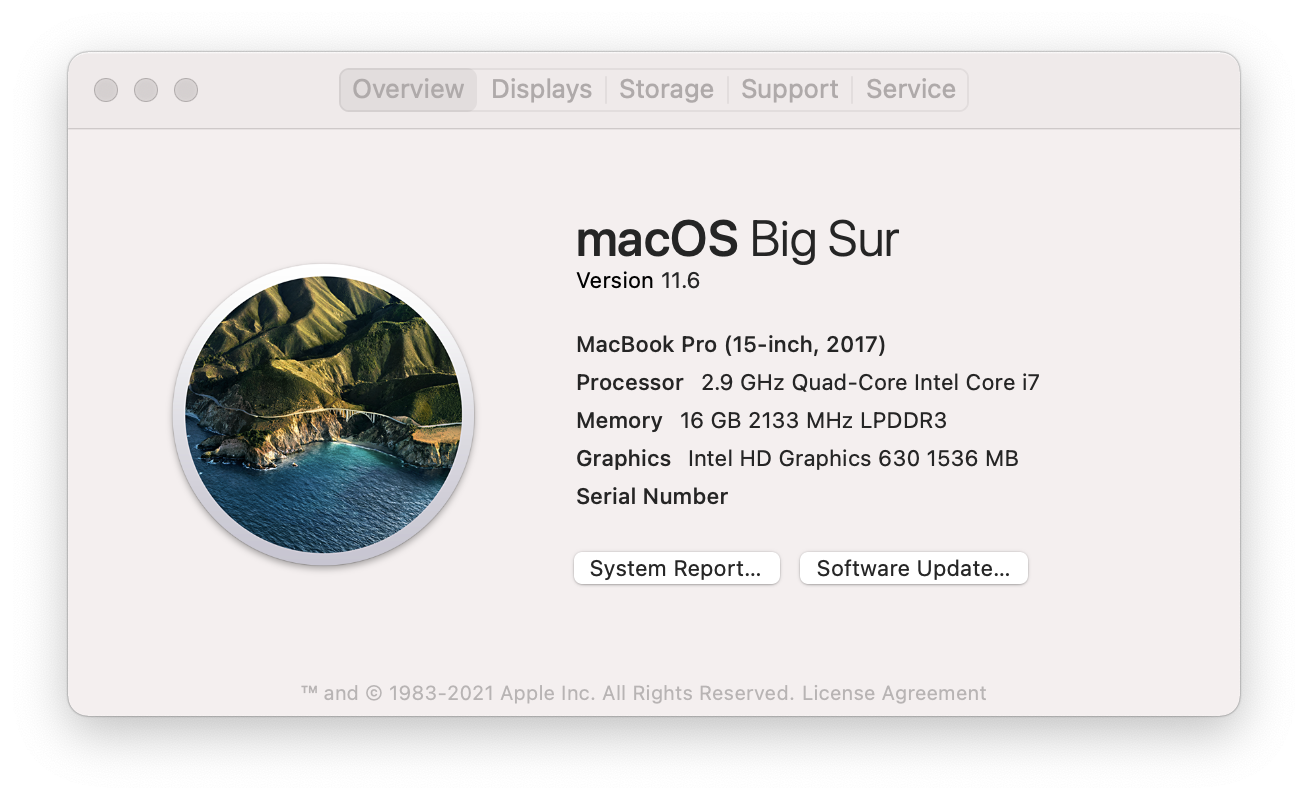
The 2017 was a great machine aside from the keyboard and the cursed touchbar. I don’t regret giving up my previous pre-touchbar macbook pro, because the 2017 was pretty slick and had USB-C charging.

The battery data from the 2017 does tell a longevity story

It had reasonable performance up to the day I stopped using it. Not bad for a 4+ year old machine. The Geekbench score was 867 single-core, 3363 multi-core. I also really liked the stickers I’d accumulated over time.
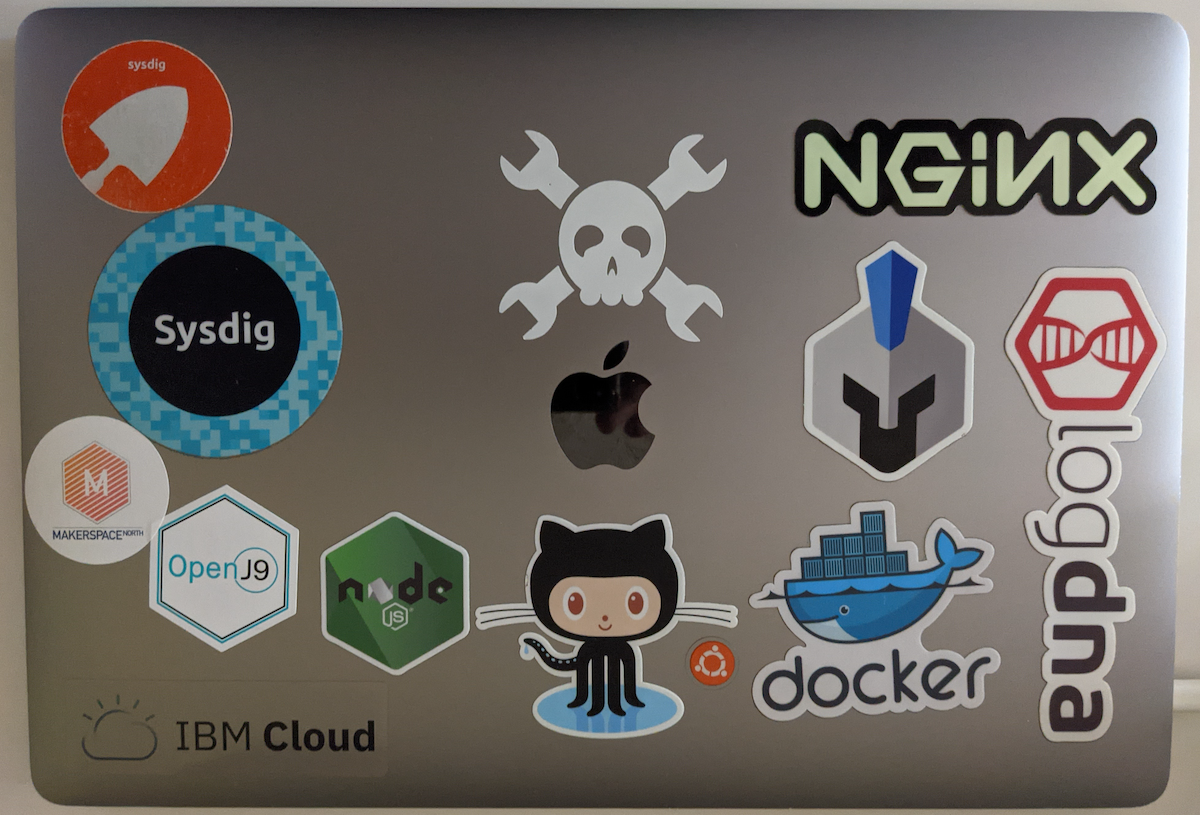
The 2019, while a previously used machine it has a noticeably better keyboard. The keys feel a bit more muted, and seem to have a little more travel. It’s sticker free still, just a boring space grey slab.
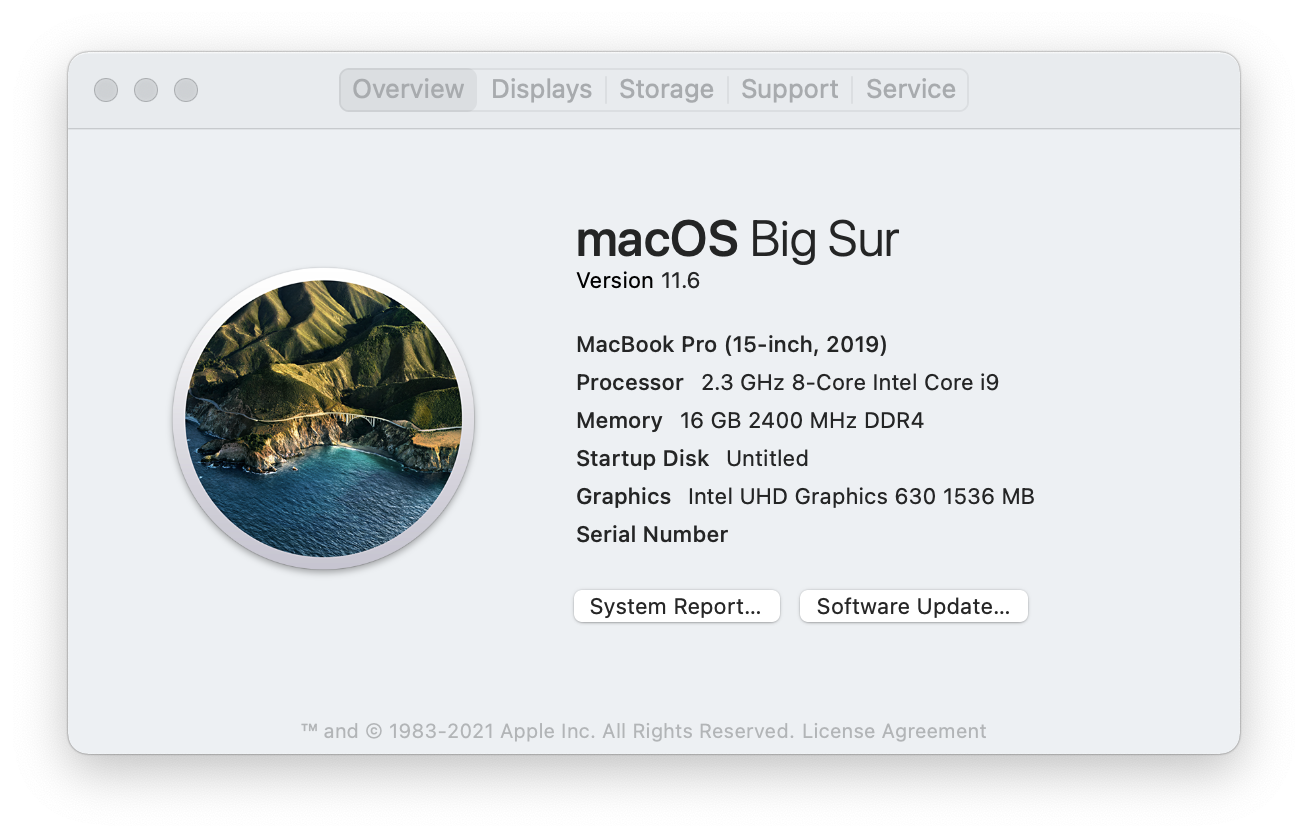
This was still a nice upgrade. Intel i7 -> i9. 4-core -> 8-core. Faster memory 2133 -> 2400. The Geekbench numbers are nicer too: 1059 single-core, 6074 multi-core, a pretty big numbers jump. It does seem a little faster but you get used to the modest speed increase pretty quickly.

Let’s look at the battery stats

There is a nice bump in Full Charge Capacity (+714 mAh).. but things get pretty mysterious when we talk about batteries. It seems the 2017 design capacity was 6669 mAh, and the 2019 design capacity was 8790 mAh.  I’m sure the cycle count factors in here (781 vs 168), as well as many other variables such as charge rates etc.

While I was sad to see the well stickered and travelled laptop go, having a fully working keyboard is a joy you quickly take for granted. I’m still looking forward to a real hardware upgrade to a non-touchbar machine, maybe with the M1X or whatever comes after it. Oh, and 32GB of RAM would be very nice.

Bluemix Virtual Machines

bluemix-vm-header

The Bluemix platform is expanding from being a simple Cloud Foundry (CF) based PaaS, to one with a range of runtime platforms. Today you can pick one of: app, container or virtual machine (VM). I like to think of this as a continuum, sometimes you want the simplicity of an application – or the control of a virtual machine. The decision is really based on a number of factors, but as you gain more control over the environment you also take on more responsibility for securing and maintaining the environment.

If you don’t have a Bluemix account, then you’ll need one (there is a free 30 day trial).

vmtile

From your bluemix dashboard you should see the Virtual Machine (beta) button. Click on the Run Virtual Machines tile.

This in turn will take you to a sign up page which will allow you to submit a request to be enabled for VM access. Within a few minutes you should receive an email thanking you for your interest in virtual machines on Bluemix.

Now you must be patient while the elves that run the service get things ready and then send you another email indicating “You are now ready to start creating virtual machines on Bluemix!” — once you get this you’ll be ready to go.  It’s probably worth emphasizing the point that this is a service in BETA, so getting access might take some time, patience is a virtue.

Now let’s look at what it takes to create a VM on Bluemix. Login to Bluemix and click on the Run Virtual Machines tile (same path we took to sign up for access to the service). You should arrive at this screen

createvm


As this will be your first time, you’ll need to add a security key. This screen capture shows my key named “BluemixVM”.  To add a key, click on the +Add Key which appears under the Security Key box. You can choose to import or create a key. The easy path is to create a key – which will trigger the download of a key in your browser. I used BluemixVM as the key name and the file that was downloaded was BluemixVM.pem.

You can also upload an existing image – but to keep things simple, let’s pick Ubuntu 14.04 from the set of images that are available.

The last thing you need is to “Name your VM group” – for this post I’ll pick RooVM. Then it’s simply a matter of pressing the Create button. There are other options for size etc, but you can play with those another time.

[Insert Jeopardy ‘think’ music here..it’ll take a couple of minutes]

runningvmSo now we have a VM running in the cloud! You can see a public IP address has been assigned and it is using our BluemixVM security key.

Now let’s login, I’ll show examples from a linux machine and leave other OSes as an exercise for the user.

So now you’ve got a ssh session into the cloud based VM.

There are a couple of things you might want to do:

Let’s run a quick update to make sure that we’ve got all the latest patches

Set the default shell for your ibmcloud user

and change the last line to look like this

Let’s also install my favourite shell mosh.

Mosh
(mobile shell)
Remote terminal application that allows roaming, supports intermittent connectivity, and provides intelligent local echo and line editing of user keystrokes.

The VM image we’re using has an iptables firewall. However, ufw is also installed and being used to manage the firewall — the nice thing about ufw is that by default it will persist our changes. Mosh uses the same ports as ssh, but it additionally uses some UDP ports.

Note: the mosh installation appears to add some rules to /etc/ufw/applications.d but I don’t understand why ufw isn’t picking those up. Manually adding them as above works fine.

Now you can use mosh to connect (assuming you have mosh installed on your local laptop)

You still might want to combine mosh with tmux or screen as mosh doesn’t provide a scroll back buffer.

Last tweak – you might have noticed that sudo is providing a warning every time you use it

This is because the /etc/hosts file is badly formed. Edit it such that your hostname appears on the second line (we could probably replace ubuntu, but this is easy and won’t break anything). Below is my modified file

Now sudo executes without warning.

Footnote: this is a BETA service, don’t be surprised if some of what I show above does change. Please provide feedback via comments to this post and I’ll update accordingly.

Adding a package to boot2docker

Docker is seeing rapid adoption among the software development world. So far it seems to me a very nice way to make software installation much less painful, but there is still plenty of room for improvement.

If you’re running Linux then you can stop reading now. Docker is an abstraction layer over Linux Containers (LXC), they’ve also created a repository where pre-defined containers can be found – you can even add your own. LXC is cool stuff, but it does mean Docker runs Linux.

Windows and OSX users need to use boot2docker, a Tiny Core Linux virtual machine that has just enough stuff to run docker. This is a fine solution but often when people ask about missing tools inside of boot2docker, the answer is to install a container that has the tools you want and run inside of that container. Things quickly start to feel like Inception.

Boot2docker is based on Tiny Core Linux, so you can use the tce-load utility to install additional components if needed. So say we wanted to run Perl:

$ tce-load -wi perl5

You can sniff around the repository to figure out what packages are available.

There is documentation on adding a persistent partition to your boot2docker setup. This is useful if you want to run the tce-load every time you run without having to type it in each time. Getting this setup is a little bit fiddly, and if we’re clever we can do something a bit cooler.

Let’s build a custom boot2docker.iso file! The build process is nicely documented. We can use a Dockerfile to create our own iso with the packages we want.

Before we start, you will want to make sure that your boot2docker is running with enough resources. The default should be 2048MB which should work, you will also need enough disk space on /var/lib/docker/aufs inside boot2docker.  If you have problems consider changing your configuration.

Create a Dockerfile with the following contents:

FROM boot2docker/boot2docker

# Append indicator this is modified image
RUN echo "\nMy modified boot2docker.iso\n" >> $ROOTFS/etc/motd

# Install perl5
RUN curl -L -o /tmp/perl5.tcz $TCL_REPO_BASE/tcz/perl5.tcz && \
unsquashfs -f -d $ROOTFS /tmp/perl5.tcz && \
rm -rf /tmp/perl5.tcz

# build the iso
RUN /make_iso.sh
CMD ["cat", "boot2docker.iso"]

Then follow the boot2docker.iso build process.

$ sudo docker build -t my-boot2docker-img .
$ sudo docker run --rm my-boot2docker-img > boot2docker.iso

The FROM is used to declare the base image we want to start from. We’re building our new container on this base.

The RUN directive is executed against the current image at build time. In this case we can’t use tce-load since we’re not actually running Tiny Core Linux at this point, we’re running against the docker image we are building. This is why we’re doing the installation of perl manually. I based the installation from the boot2docker DockerFile.

The last two steps “build the iso” are lifted directly from the same boot2docker Dockerfile, these are the steps required to actually create the iso file.

Figuring out how to run the boot2docker.iso I’ll leave as an exercise for the reader.