 I considered use “Vibe Coding” as the title, but it’s just such a buzz word that I decided to go with a more factual title. I’m old school enough to want to distinguish between generative AI and the more broad AGI (Artificial General Intelligence). I’ll also state that I consider myself a bit of an AI coding skeptic, but hopefully in a healthy way.
Just like any computer program, garbage-in, garbage-out. The modern buzz word for this is AI-slop. I’ll avoid bashing the technology and focus on how you can use it constructively today, even with some of it’s limitations. I will also confess that at work I’ve got access to AI for code generation and it’s been interesting learning a new set of skills, this post will focus on what you can do for free on the web.
Perchance has a no login required, free code generator. I was in the process of setting up karakeep to replace wallabag. Both of these tools perform a similar function, effectively a web based bookmark manager and offline capture of a web resource. A simple list of links + archive.org would solve the same problem, but this is a self-hosted solution and is pretty neat.
The task at hand is to figure out how to export all of my links from wallabag and the import them into karakeep, the more context I can preserve the better. Since there isn’t a common import/export format between the two tools, we’ll use the aforementioned code generator to create something to convert the file.
Luckily both support a JSON based format. I can export from wallabag into JSON. It looks something like this
|
1 2 3 4 5 6 7 8 9 10 11 12 13 14 15 16 17 18 19 20 21 22 23 24 25 26 27 28 29 30 31 32 33 34 35 36 37 38 39 40 |
[ { "is_archived": 1, "is_starred": 0, "tags": [], "is_public": false, "id": 402, "title": "BMW’s “Project i”: How the i3 and i8 Sparked BMW’s EV Future", "url": "https://www.bmwblog.com/2025/07/30/bmw-project-i-electric-car-history/", "origin_url": "https://share.google/61cfoqzvMerCTVuVy", "given_url": "https://share.google/61cfoqzvMerCTVuVy", "archived_at": "2025-08-04T22:44:33+00:00", "content": "<p>The “Neue Klasse” secured BMW’s future.", "created_at": "2025-08-04T22:44:33+00:00", "updated_at": "2025-08-04T22:44:33+00:00", "published_at": "2025-07-30T20:27:25+00:00", "published_by": [ "Hugo Becker" ], "annotations": [], "mimetype": "text/html; charset=UTF-8", "language": "en_US", "reading_time": 7, "domain_name": "www.bmwblog.com", "preview_picture": "https://cdn.bmwblog.com/wp-content/uploads/2017/09/BMW-i3-i3s-i8-03.jpg", "http_status": "200", "headers": { "server": "nginx", "date": "Mon, 04 Aug 2025 22:44:32 GMT", "content-type": "text/html; charset=UTF-8", "transfer-encoding": "chunked", "connection": "keep-alive", "link": "<https://www.bmwblog.com/wp-json/>; rel=\"https://api.w.org/\", <https://www.bmwblog.com/wp-json/wp/v2/posts/503323>; rel=\"alternate\"; title=\"JSON\"; type=\"application/json\", <https://www.bmwblog.com/?p=503323>; rel=shortlink", "vary": "Accept-Encoding, Cookie", "last-modified": "Mon, 04 Aug 2025 22:03:42 GMT", "x-presslabs-stats": "HIT; 0.375s; 21 queries; desktop; ttl 7200s; refresh in 4750s", "x-request-id": "1bb113ca395f884e7a8c04abac9ac38b", "strict-transport-security": "max-age=31536000; preload" } }, |
And karakeep has both an import/export supported into JSON format
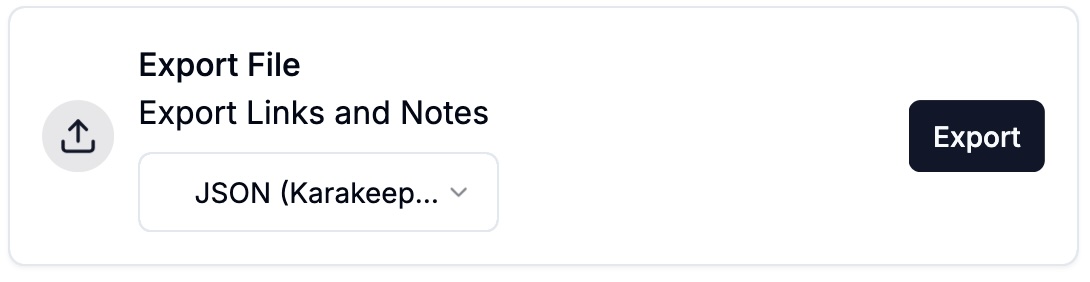 First we will create a few sample entries in karakeep and do an export to figure out what it’s format is. It turns out to look something like this:
|
1 2 3 4 5 6 7 8 9 10 11 12 13 |
{ "bookmarks": [ { "createdAt": 1769880398, "title": "The 75 Best Sci-Fi Books of All Time", "tags": [], "content": { "type": "link", "url": "https://www.esquire.com/entertainment/books/g39358054/best-sci-fi-books/" }, "note": null, "archived": false }, |
If you look at the two formats, you can see some obvious mappings. This is good. I started with the perchance code generator and a very simple prompt:
|
1 2 |
write some nodejs code to read a file that contains JSON and output to the console |
This let me get my feet wet, and make sure I had my environment setup to run code etc. I do have reasonable javascript experience, and that will help me use the code generator as a tool to move quickly. I tend to think of most of these AI solutions as doing pattern matching, they pick the ‘shape’ of your solution and fill in the blanks – this is also where they will make stuff up if there is a blank and you haven’t given it enough context, it’ll just guess at a likely answer.
Once I had the code generator creating code, and I was able to test it, things moved along fairly quickly. I iterated forwards specifying the output format JSON etc.. and I was both a bit amazed, but pleased to see that it had decided to use the map capability in nodejs. This made the generated code quite simple.
My final prompt ended up being:
|
1 2 3 4 5 6 7 8 9 10 11 12 13 14 15 16 17 18 19 20 21 22 23 24 25 26 |
nodejs code to read json file "data.json" as input. The input file is an array of objects. For every object in the input array, take the field "given_url" and map it to the field "url" of an output object as described below. Read the "created_at" field of the input which will be in this format "2025-08-04T22:44:33+00:00" and convert it to a "createdAt" timestamp in the output object The output is a json object, which is an array called "bookmarks". In the array is a series of json objects which have the following format { "createdAt": 1769880398, "title": "a title", "tags": [], "content": { "type": "link", "url": "https://www.example.com" }, "note": null, "archived": false } Print the complete output json object once done. |
And this is the code it generated
|
1 2 3 4 5 6 7 8 9 10 11 12 13 14 15 16 17 18 19 20 21 |
const fs = require('fs'); const data = JSON.parse(fs.readFileSync('data.json', 'utf-8')); const bookmarks = data.map(item => { const createdAt = Math.floor(new Date(item.created_at).getTime() / 1000); return { createdAt, title: item.title || '', tags: item.tags || [], content: { type: 'link', url: item.given_url }, note: null, archived: false }; }); console.log(JSON.stringify({ bookmarks }, null, 2)); |
Notice anything curious here? It has, without me saying anything, decide to map title and tags into the output object. Very nice – I’m impressed.
Was there any really smartness here? Well, I would not have arrived at the idea of using map in the javascript code – it’s the right and elegant solution. A stronger javascript developer would have likely landed here since it is a concise solution to the problem. Maybe I would have found a similar answer on stackoverflow, but the code generator made it easy for me.
The date manipulation is also very slick.
|
1 |
const createdAt = Math.floor(new Date(item.created_at).getTime() / 1000); |
I would have eventually got there, but it just did it for me. A very nice time saver.