Ever since the launch of the Raspberry Pi I’ve been a fan. I’ve bought and been gifted many of them over time. It reminds me a little of the NSLU2 (slug), but builds on the amazing hardware advancements driven by smartphones.
I recently bought my first RPi4 – the base model 2Gb version. BuyAPi.ca is local, but I had it shipped. Great prices, and my order was prepped and shipped within 3hrs of submitting it. Even via regular mail, it showed up quickly (days).
What I bought:
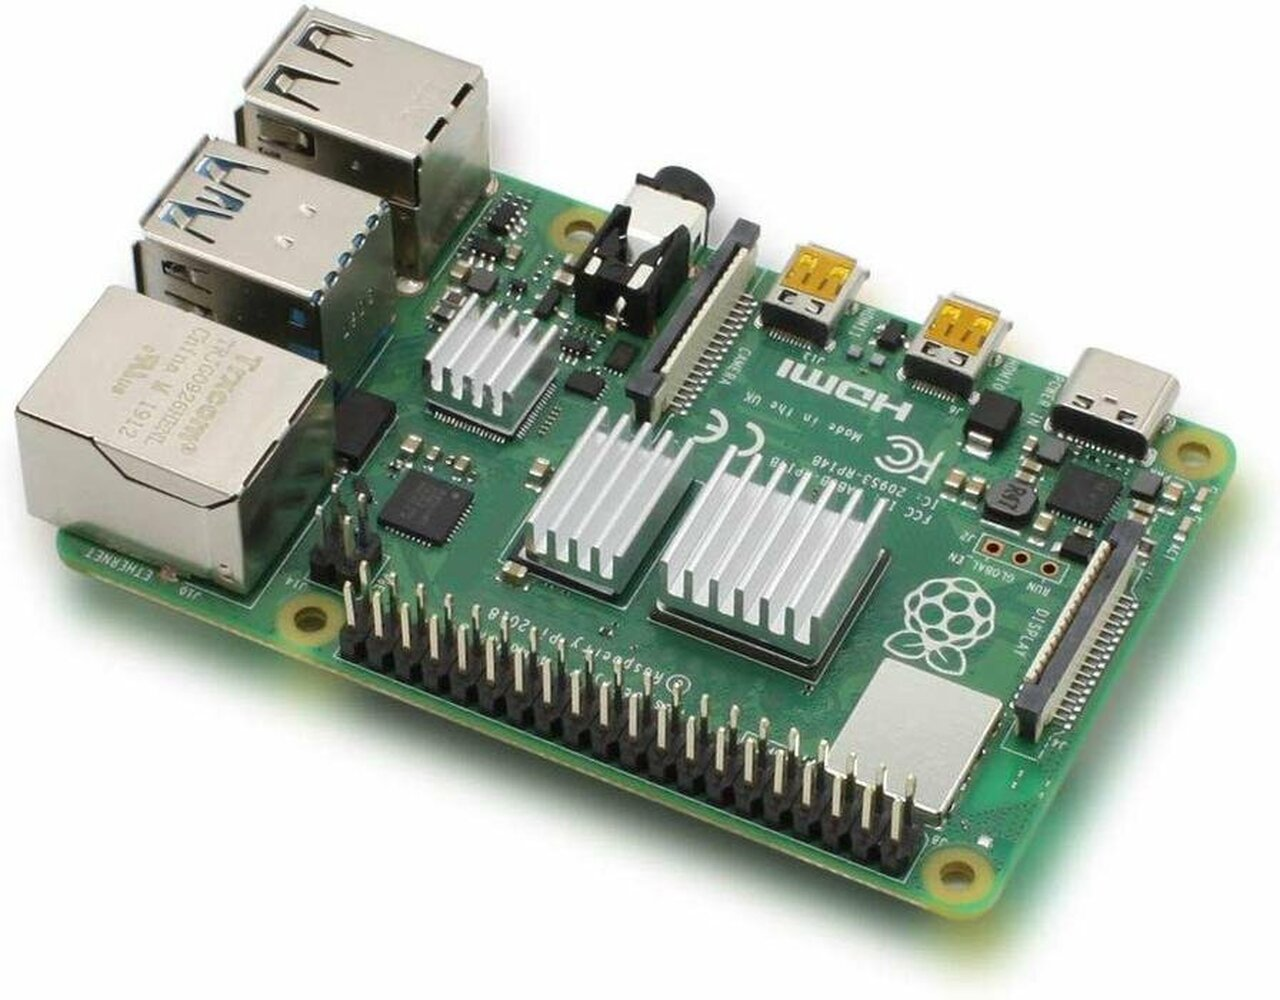
- Raspberry Pi 4 Model B/2GB
- USB-C Power Supply, 5.1V 3.0A, Black, UL Listed
- Aluminum Heatsink for Raspberry Pi 4B (3-Pack)
- Brass Standoffs, M2.5 x 15mm, Package of 4
I have plenty of micro-sd cards around so there was no need to get another.
The Pi ships in a very cute little box.

The first thing I did was to install the heatsinks. I had to visit the web page to figure out where to put them on the board. Peeling the plastic off the adhesive tape was a little tricky, but a sharp knife blade helped me get under the edge.
There are several choices for the OS to run, and for many of my previous projects I’ve stuck with Raspbian (now known as the Raspberry Pi OS). Since my intended use for this Pi is to run it as a server hosting Pi-hole, I opted to go with Ubuntu server.
Downloading and flashing the image file to the sd-card was straight forward. I connected the Rpi4 to wired ethernet and power, and booted right after the card was flashed. By visiting my main router I could see the DHCP address that the Pi had been given.
By default – the device shows up as hostname ‘ubuntu’ and the default user is ‘ubuntu’. You can ssh directly to the machine, and on first login you are forced to change the password. The password policy requires non-trivial passwords, so it’s not a bad solution to getting going.
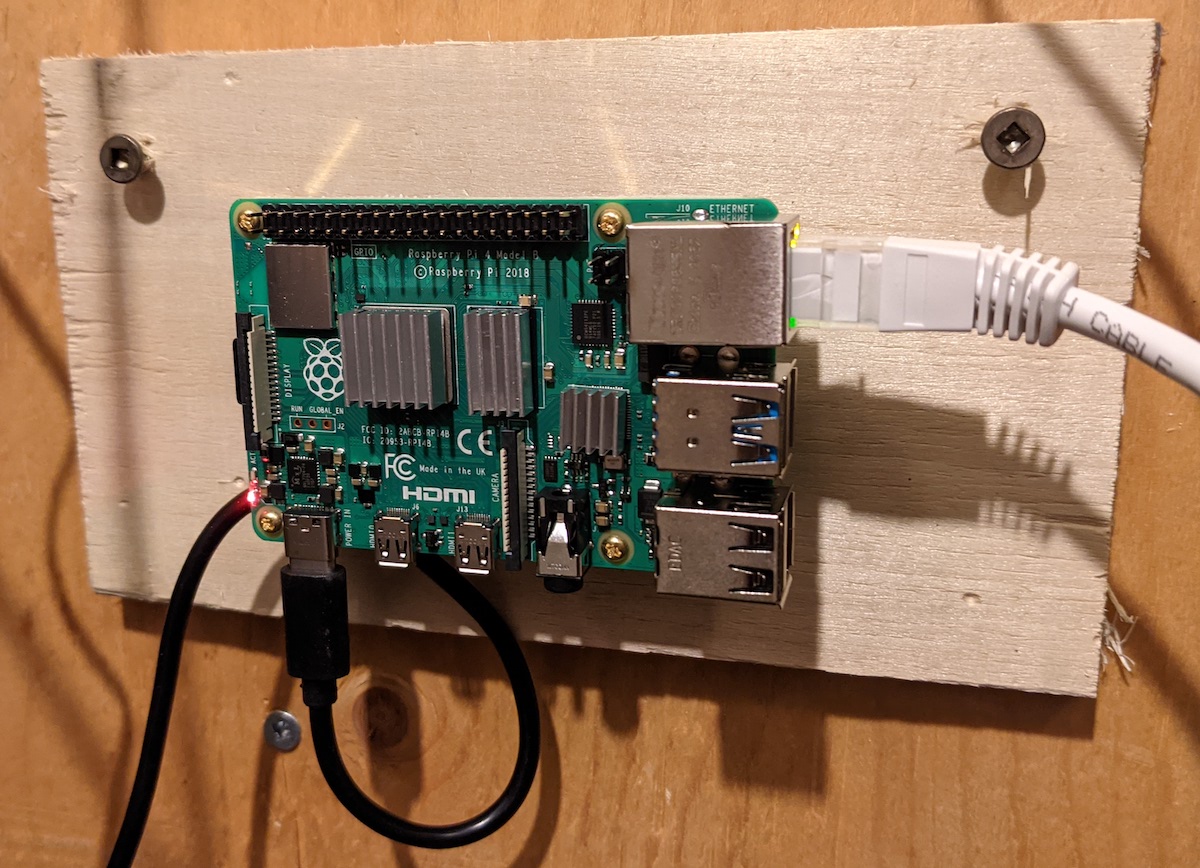
At this point I no longer need to access the device physically (or at least very often). I drilled some holes in a bit of wood to accept the brass stand-offs, then mounted the Pi to the stand offs. This let me mount the whole thing to the wall along side my other infrastructure bits (router, modem, voip box, switch).
Based on my server configuration post – I want the new Rpi4 server to be similarly set up.
Stuff I want to do:
- Change the username
- Change the hostname
- Configure automatic updates
- Forward email
- Fix timezone
- Redirect logs
- Install Prometheus monitoring
The rest of this post is the details on those steps.