For my birthday a few months ago, I got a copy of The Matrix in 4k. Previously I had only the original DVD that I bought when it first came out. I popped the 4k blu-ray into my blu-ray drive and started up MakeMKV only to discover that my system was unable to read a UHD disc.
Thankfully the 4k blu-ray comes with a normal blu-ray that contains a 1080p copy of the movie and I was able to rip that to my personal collection. While I do have a 4k capable TV, my primary projection setup is still only 1080p so having more bits available isn’t actually a better setup. Still, owning a 4k disc and not being able to use it bugged me.
It turns out the MakeMKV folks run a forum, and there are recommendations there for the right drives to buy in order to rip the 4k discs. There is a thread Ultimate UHD Drives Flashing Guide Updated 2024 which is required reading if you want to get started. I also checked out CanadaComputers which is my local go-to computer store, often having better prices than you can find online.
My pick was the LG WH16NS40 which was both low cost, and appeared to be well supported by the MakeMKV forum. Of course, it isn’t as simple as buy the drive and rip 4k media, you need to modify the firmware. The fact that I had to modify the drive to get it to do what I wanted made this a must have item so it went on my Christmas list. Thankfully I was on the good list and when it was time to unwrap gifts I had my hands on a new drive.
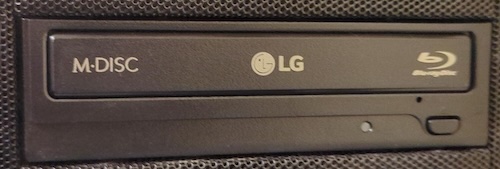 Installing the drive into my Linux machine was pretty straight forward. I ended up replacing another older DVD drive I had in there. On the label of my new drive, I could see the model number (WH6NS40) and manufacture date (June 2024). There was also an indication of the ROM version (1.05).
I run MakeMKV in a container, for me this is a great way to encapsulate the right setup and make it easy to repeat. The new drive showed up just fine to MakeMKV – but I didn’t expect it to support 4k UHD discs just yet.
I will summarize things further down, so you can skip to the summary if you want. However, the bulk of this post will be my discovery process on re-flashing the drive.
Time to head off to the guide and read it carefully.
The first thing I took note of was the correct firmware I wanted based on my drive. This was in the “Recommandation” section near the top.
WH16NS40 on any Firmware directly to > WH16NS60 1.02MK
So I want the 1.02MK version, and it seems I can get there with a single flash vs. needing to do multiple steps.
A bit further down in the same guide, I came across
LG 1.04+ / BU40N 1.03 / Asus 3.10+ and similar
The newer OEM firmwares cannot be flashed easily due to the additional downgrade checks implemented by the drive/firmware manufacturer.
Oh oh. So I may have problems? I am pretty sure I have the 1.05 firmware.
As I read on, it seems the recommended flashing tool is for Windows, and while I have a few Windows systems the drive is installed in a box that only has Linux on it. I spent some time reading through various forum posts and searching for other related material.
At this point I have more confidence that yes, my drive is supported – but it’s a question about how exactly to fix this drive (under Linux) to make it go. Bonus points if I manage to do this all inside of a container.
I did find an older thread that discusses flashing things under Linux. It pointed at a stand alone flashing tool on github, but it was reading through this thread when I discovered that MakeMKV itself contains the sdftool and supports the flashing process. This means I already have the tool inside the MakeMKV container.
Here is how I run the container
|
1 2 3 4 5 6 7 8 9 10 11 12 13 14 |
docker run -d \ --name=makemkv \ -p 5800:5800 \ -v /path/to/data/makemkv:/config:rw \ -v /path/to/home:/storage:ro \ -v /path/to/videos:/output:rw \ --device=/dev/sr0 \ --device=/dev/sr1 \ --device=/dev/sg0 \ --device=/dev/sg1 \ --device=/dev/sg2 \ --device=/dev/sg3 \ --restart=unless-stopped \ jlesage/makemkv |
For your system you will want to adjust the volume mappings and device mappings to match what is on your host system. This works great for me, and I can access both of the blu-ray drives on my system and write newly ripped files to my host filesystem.
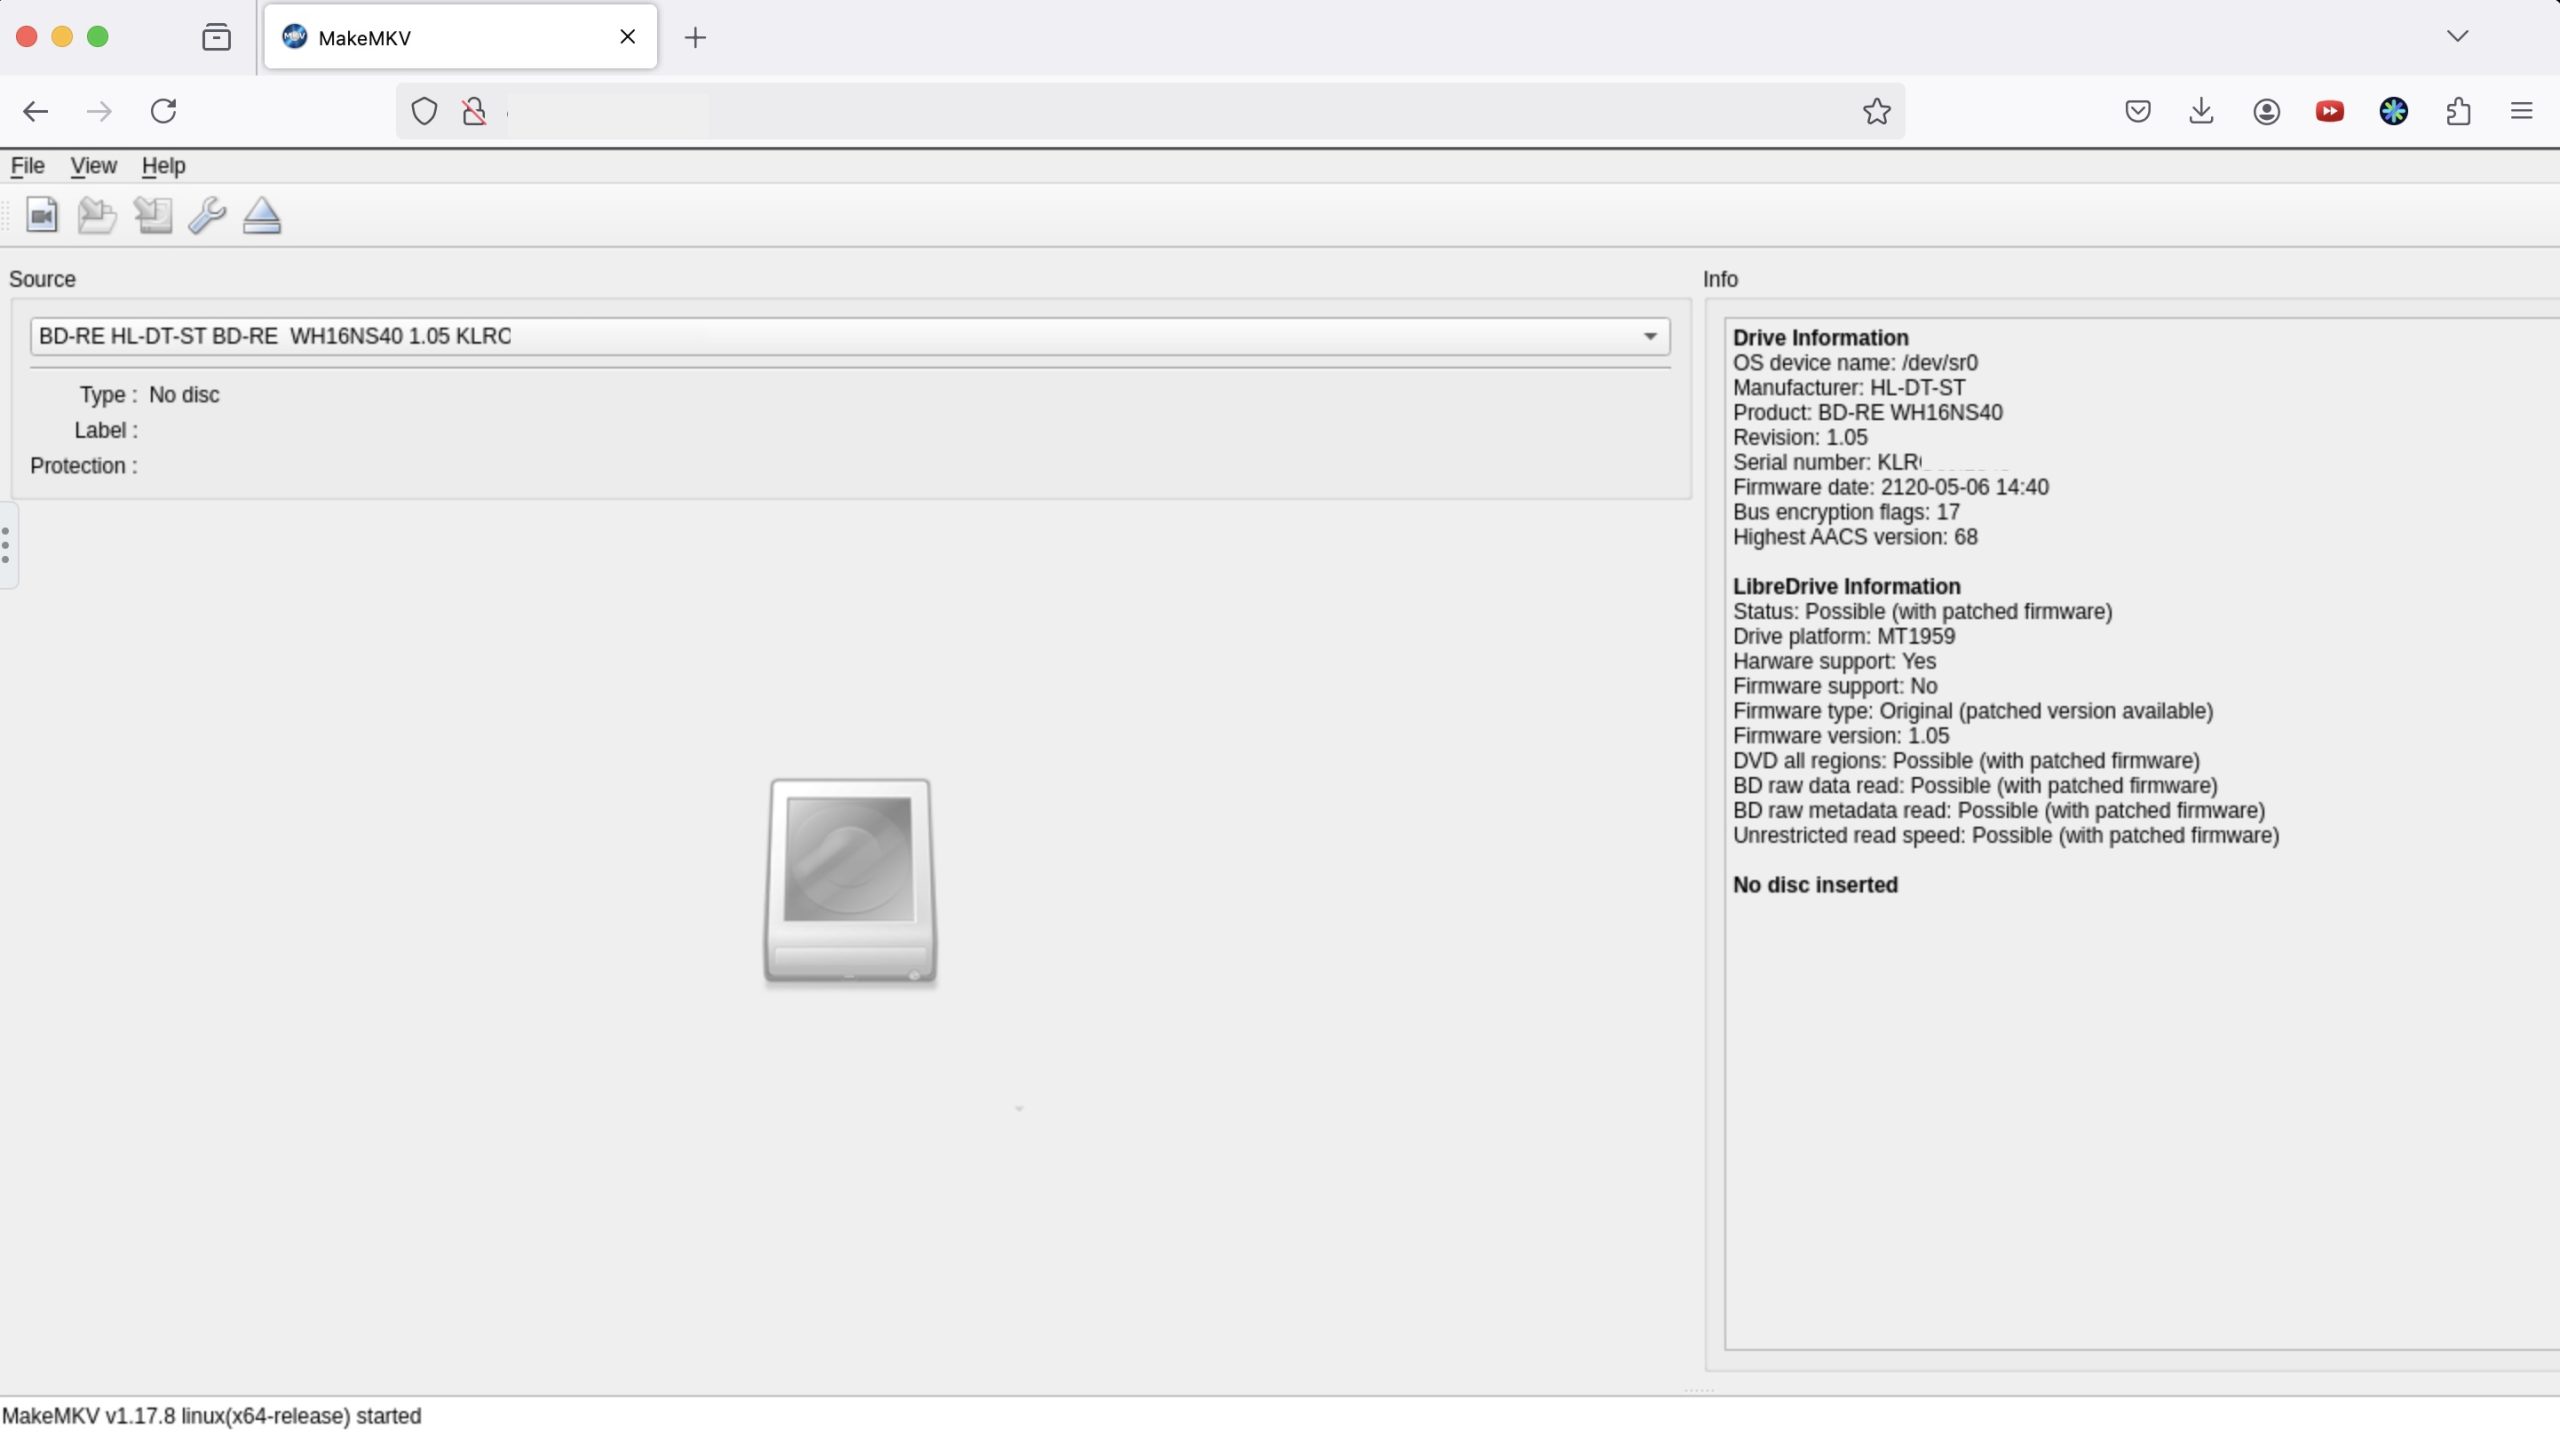 Looking at the browser view of the MakeMKV container I can see that the new drive is recognized, and in the right side panel it even calls out the details for LibreDrive support.
|
1 2 3 4 5 6 7 8 9 10 11 |
LibreDrive Information Status: Possible (with patched firmware) Drive platform: MT1959 Harware support: Yes Firmware support: No Firmware type: Original (patched version available) Firmware version: 1.05 DVD all regions: Possible (with patched firmware) BD raw data read: Possible (with patched firmware) BD raw metadata read: Possible (with patched firmware) Unrestricted read speed: Possible (with patched firmware) |
Shelling into the docker container, I can see that sdftool is a link to makemkvcon.
|
1 2 3 4 5 6 7 8 9 10 11 12 |
$ docker exec -it makemkv sh /tmp # ls -l /opt/makemkv/bin/ total 37980 -rwxr-xr-x 1 root root 10921 Dec 7 17:27 autodiscripper -rwxr-xr-x 1 root root 30579560 Dec 7 02:58 makemkv -rwxr-xr-x 1 root root 1139 Dec 7 17:27 makemkv-set-key -rwxr-xr-x 1 root root 1045 Dec 7 17:27 makemkv-update-beta-key -rwxr-xr-x 1 root root 8077464 Dec 7 03:18 makemkvcon -rwxr-xr-x 1 root root 85016 Dec 7 02:58 mmccextr -rwxr-xr-x 1 root root 120760 Dec 7 02:58 mmgplsrv lrwxrwxrwx 1 root root 10 Dec 7 03:18 sdftool -> makemkvcon |
I had read about the possibility of dumping the original firmware as a backup plan in case things go very badly, but it seems this is actually not possible. It seems the manufacturers have made this more complicated in the name of security or something.
I grabbed the “all you need firmware pack” from the guide. This is a very small set of alternative firmwares, only one matches my LG ‘desktop’ sized drive so it was easy to identify the one I wanted to use.
I also needed the SDF.bin file that is hosted on the makemkv site.
In theory, I have all the bits I need. The sdftool, the SDF.bin, and the modified firmware.
At this point, I’m back following the guide. The Mac/Linux portion which walks you through things. I can dump information about the current firmware from my drive
|
1 2 3 4 5 |
# /opt/makemkv/bin/makemkvcon f -l Found 1 drives(s) 01: dev_21:0, /dev/sr0, /dev/sr0 HL-DT-ST_BD-RE__WH16NS40_1.05_212005061440_KLRXXXXXXXX |
Now I know the existing firmware version, it does not appear to be an exact match to the ones in the list from the guide under “Newer OEM Firmwares and encrypted”. However, the following is a pretty close match:
|
1 |
HL-DT-ST-BD-RE_WH16NS40-NS50-1.05-N000900-212005061440.bin |
This drive was made in June 2024 and most probably has a firmware from after 2020 – so a very close match to the list above, and the date of manufacture makes it very likely that my drive has ‘encrypted’ firmware.
Ok – to recap what the plan looks like.
- Grab the sdf.bin file
- Download the modified firmware(s)
- Dump existing firmware versions – determine if you are encrypted or not (likely you are)
- Flash the drive
Easy right?
From outside the container we can copy in the firmware we need
|
1 |
$ docker cp HL-DT-ST-BD-RE_WH16NS60-1.02-NM00100-211810291936.bin makemkv:/tmp |
And inside the container we can pull down the SDF.bin file.
|
1 |
/tmp # wget https://makemkv.com/sdf.bin |
Then we just need to do the very scary flash part.
|
1 |
/tmp # /opt/makemkv/bin/makemkvcon f -d /dev/sr0 -f /tmp/sdf.bin rawflash enc -i /tmp/HL-DT-ST-BD-RE_WH16NS60-1.02-NM00100-211810291936.bin |
There is a very long (minutes) pause where the flashing is taking place.. longer than I can hold my breath.. uh.. did I just make a brick?? fuuuuuu….
I can see from another terminal session that it is eating CPU, pegged at 100%.
After 10+ mins of hanging.. I hesitantly CTRL-C’d the thing..
Thankfully, everything seems ok – I’m exactly where I started. Whew.
I found that adding the verbose (-v) flag was probably a good idea, and a forum thread that indicated that there should be more output from the command. Maybe it’s getting stuck starting up?
I had a few thoughts. Maybe I need to run the container with less restrictions? (docker –privileged) No, that didn’t change anything.
Then I found someone having the same problem recently. It seems the solution they used was to just use Windows. I did ponder how I might setup a temporary Windows install to do this. Then I found this thread that discusses MakeMKV hanging after loading the SDF.bin file, this feels like it may be the same problem. In that case the issue is with the most recent version of MakeMKV (1.17.8).
I started looking for an older version of the container I’ve been using, one that has MakeMKV (1.17.7). It turns out that jlesage/makemkv:v24.07.1 is a few tags back, but has that version. Let’s see if using this version will work better.
|
1 2 3 4 5 6 7 8 9 10 |
# /opt/makemkv/bin/makemkvcon f -v -d /dev/sr0 -f /tmp/sdf.bin rawflash enc -i /tmp/HL-DT-ST-BD-RE_WH16NS60-1.02-NM00100-211810291936.bin Loaded SDF.bin version 0x98 Reading input file /tmp/HL-DT-ST-BD-RE_WH16NS60-1.02-NM00100-211810291936.bin Flashing flags = 0x0 : 0 0 0 0 : ---- ---- ---- ---- Sending image in encrypted format There is a disc in drive, please remove it and try again DEBUG: Code 4278542595 at wfCw3OE9o6xoDD[;$ZOJdpeNgiQob2>_:29396644 Command produced error code 0xff056103 |
This seems to be much better, I’m now getting an error message instead of a 100% CPU hang. Also, apparently I need to remove the disc from the drive which is something I can do.
|
1 2 3 4 5 6 7 8 9 10 11 12 13 14 15 16 17 |
/tmp # /opt/makemkv/bin/makemkvcon f -v -d /dev/sr0 -f /tmp/sdf.bin rawflash enc -i /tmp/HL-DT-ST-BD-RE_WH16NS60-1.02-NM00100-211810291936.bin Loaded SDF.bin version 0x98 Reading input file /tmp/HL-DT-ST-BD-RE_WH16NS60-1.02-NM00100-211810291936.bin Flashing flags = 0x0 : 0 0 0 0 : ---- ---- ---- ---- Sending image in encrypted format Current Drive ID: HL-DT-ST_BD-RE__WH16NS40_1.05_212005061440_KLRO6JI2348 Ready to write drive flash memory. Type "yes" to continue, "no" to abort yes Operation started: Sending flash image to drive 100% Operation finished Operation started: Programming flash 100% Operation finished Done successfully Command produced 0 file(s) |
I only very briefly held my breath as I typed in ‘yes’ and let it continue to do the work. It only took a minute or so to flash the drive and report success.
I needed to re-start the makemkv container. Then it was showing me my drive was good to go
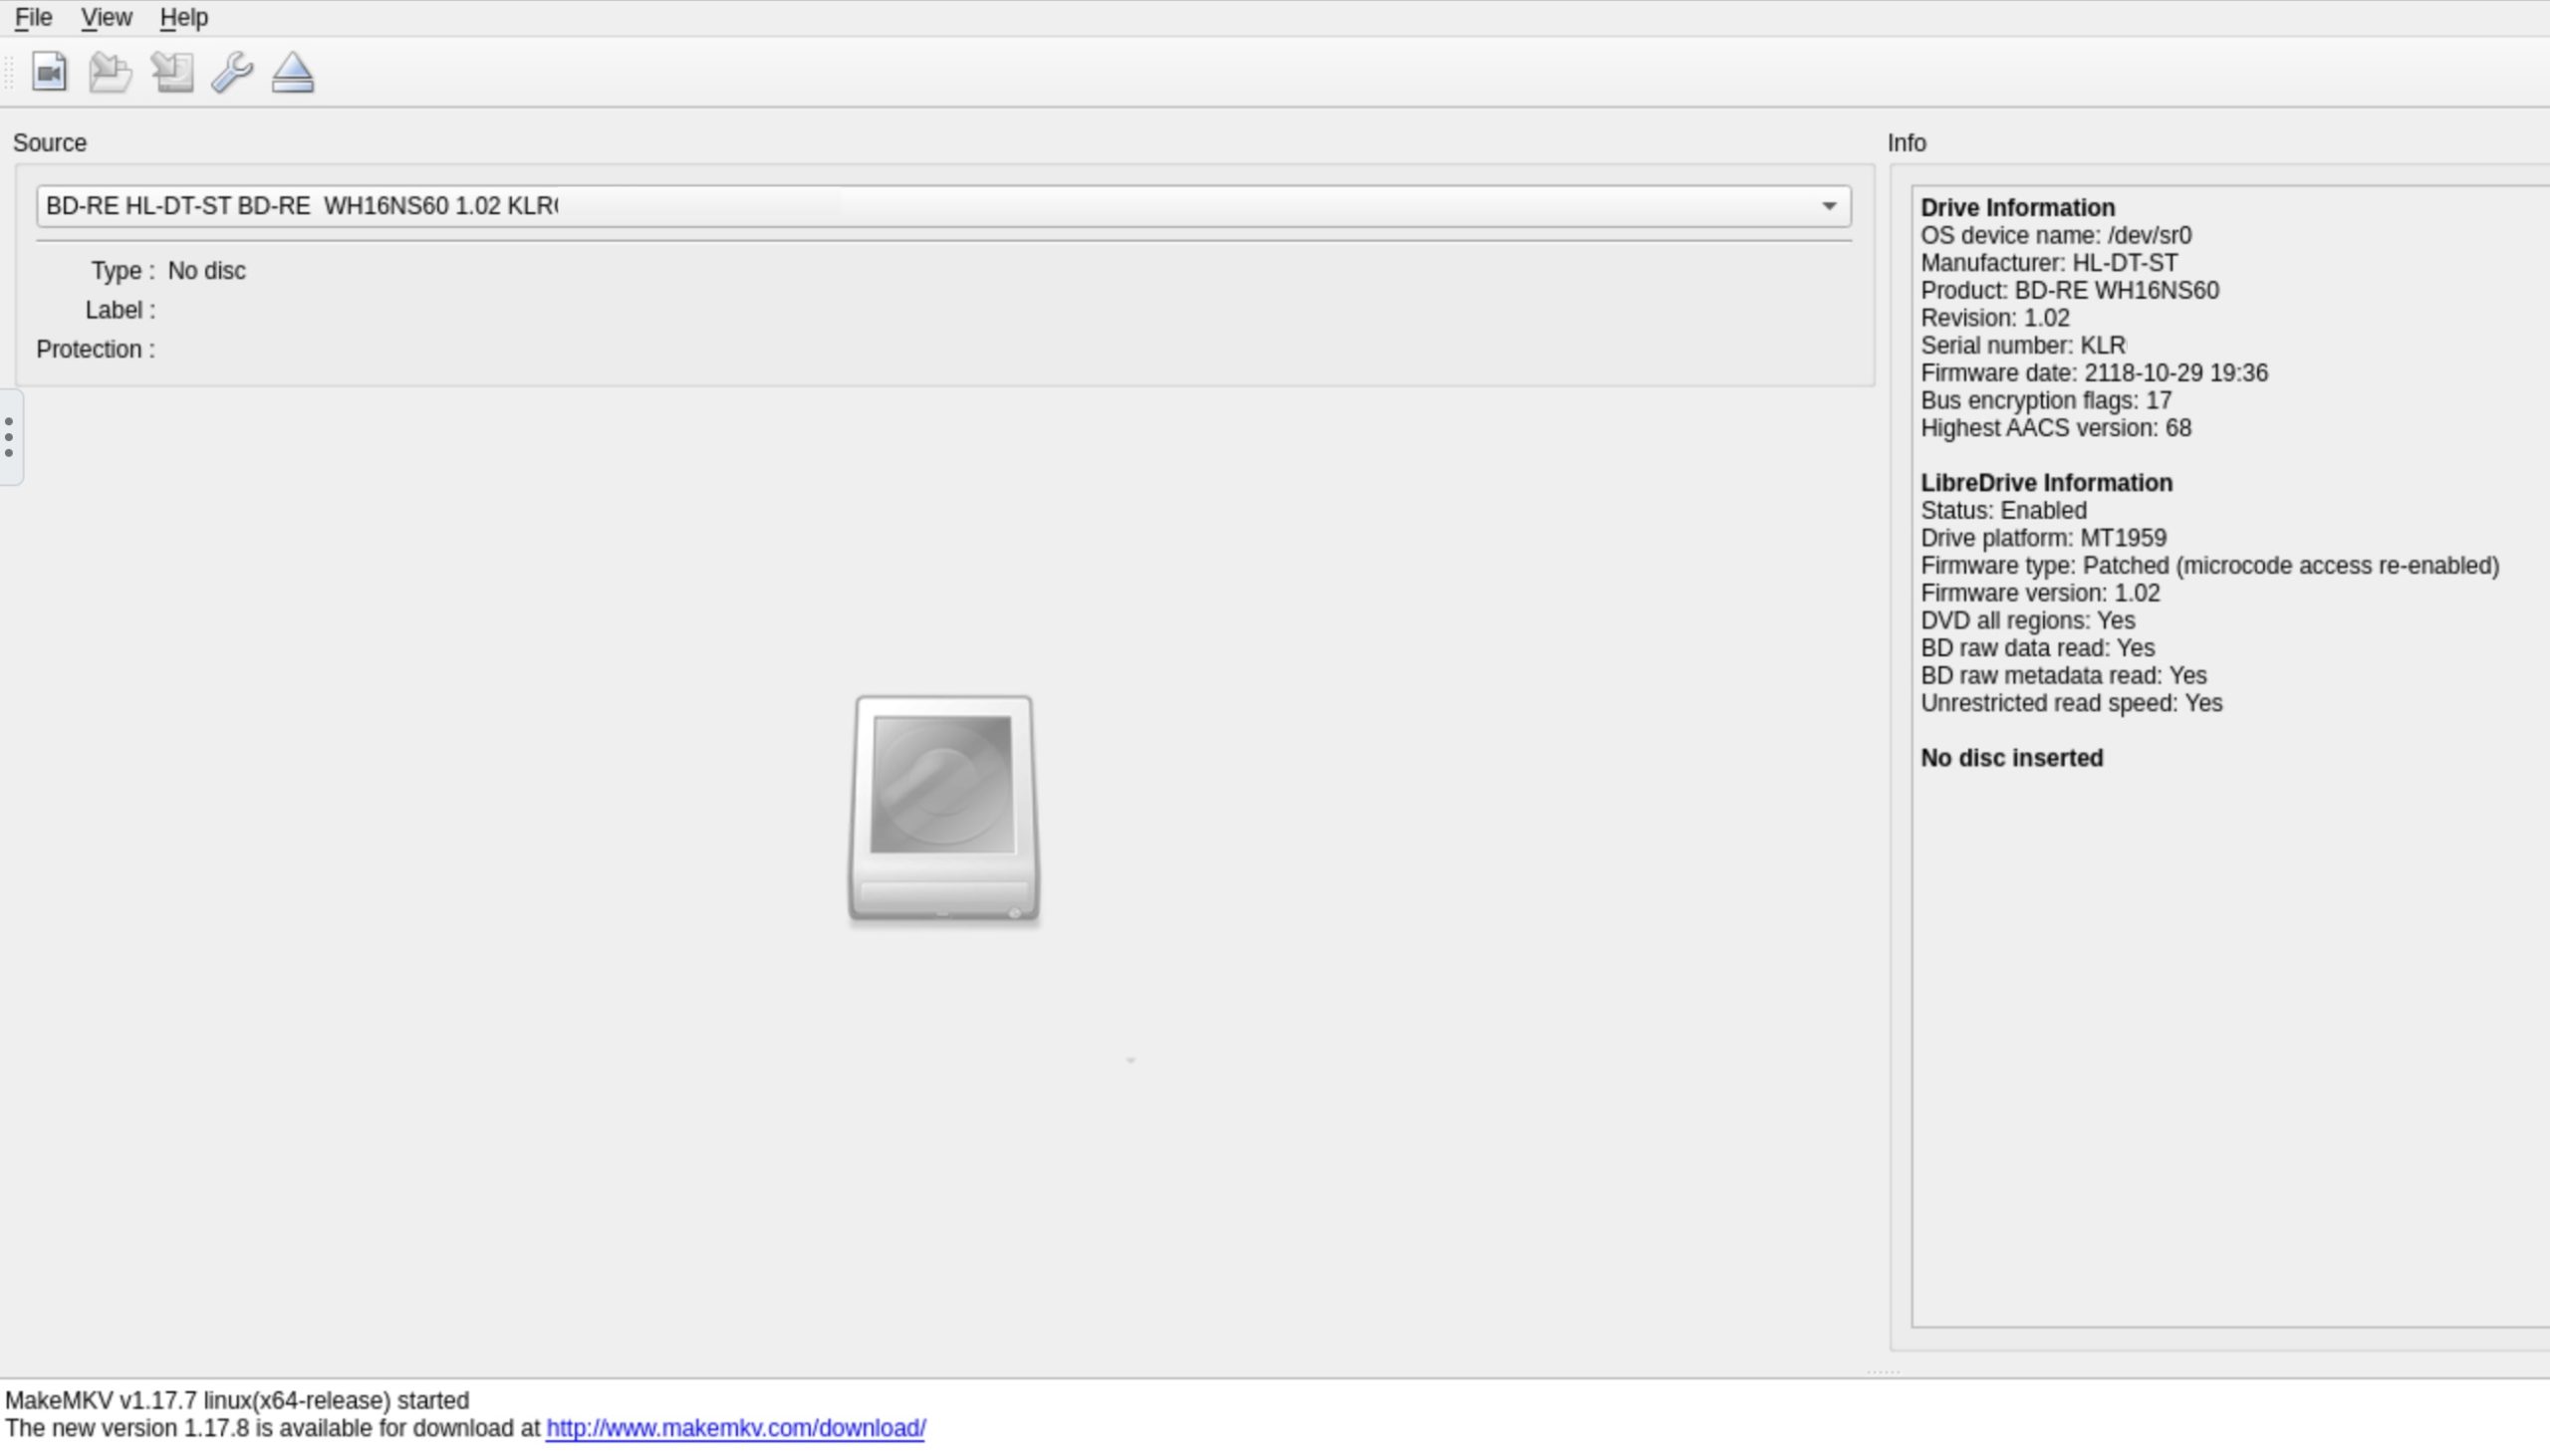 As you can see the LibreDrive information now shows
|
1 2 3 4 5 6 7 8 9 |
LibreDrive Information Status: Enabled Drive platform: MT1959 Firmware type: Patched (microcode access re-enabled) Firmware version: 1.02 DVD all regions: Yes BD raw data read: Yes BD raw metadata read: Yes Unrestricted read speed: Yes |
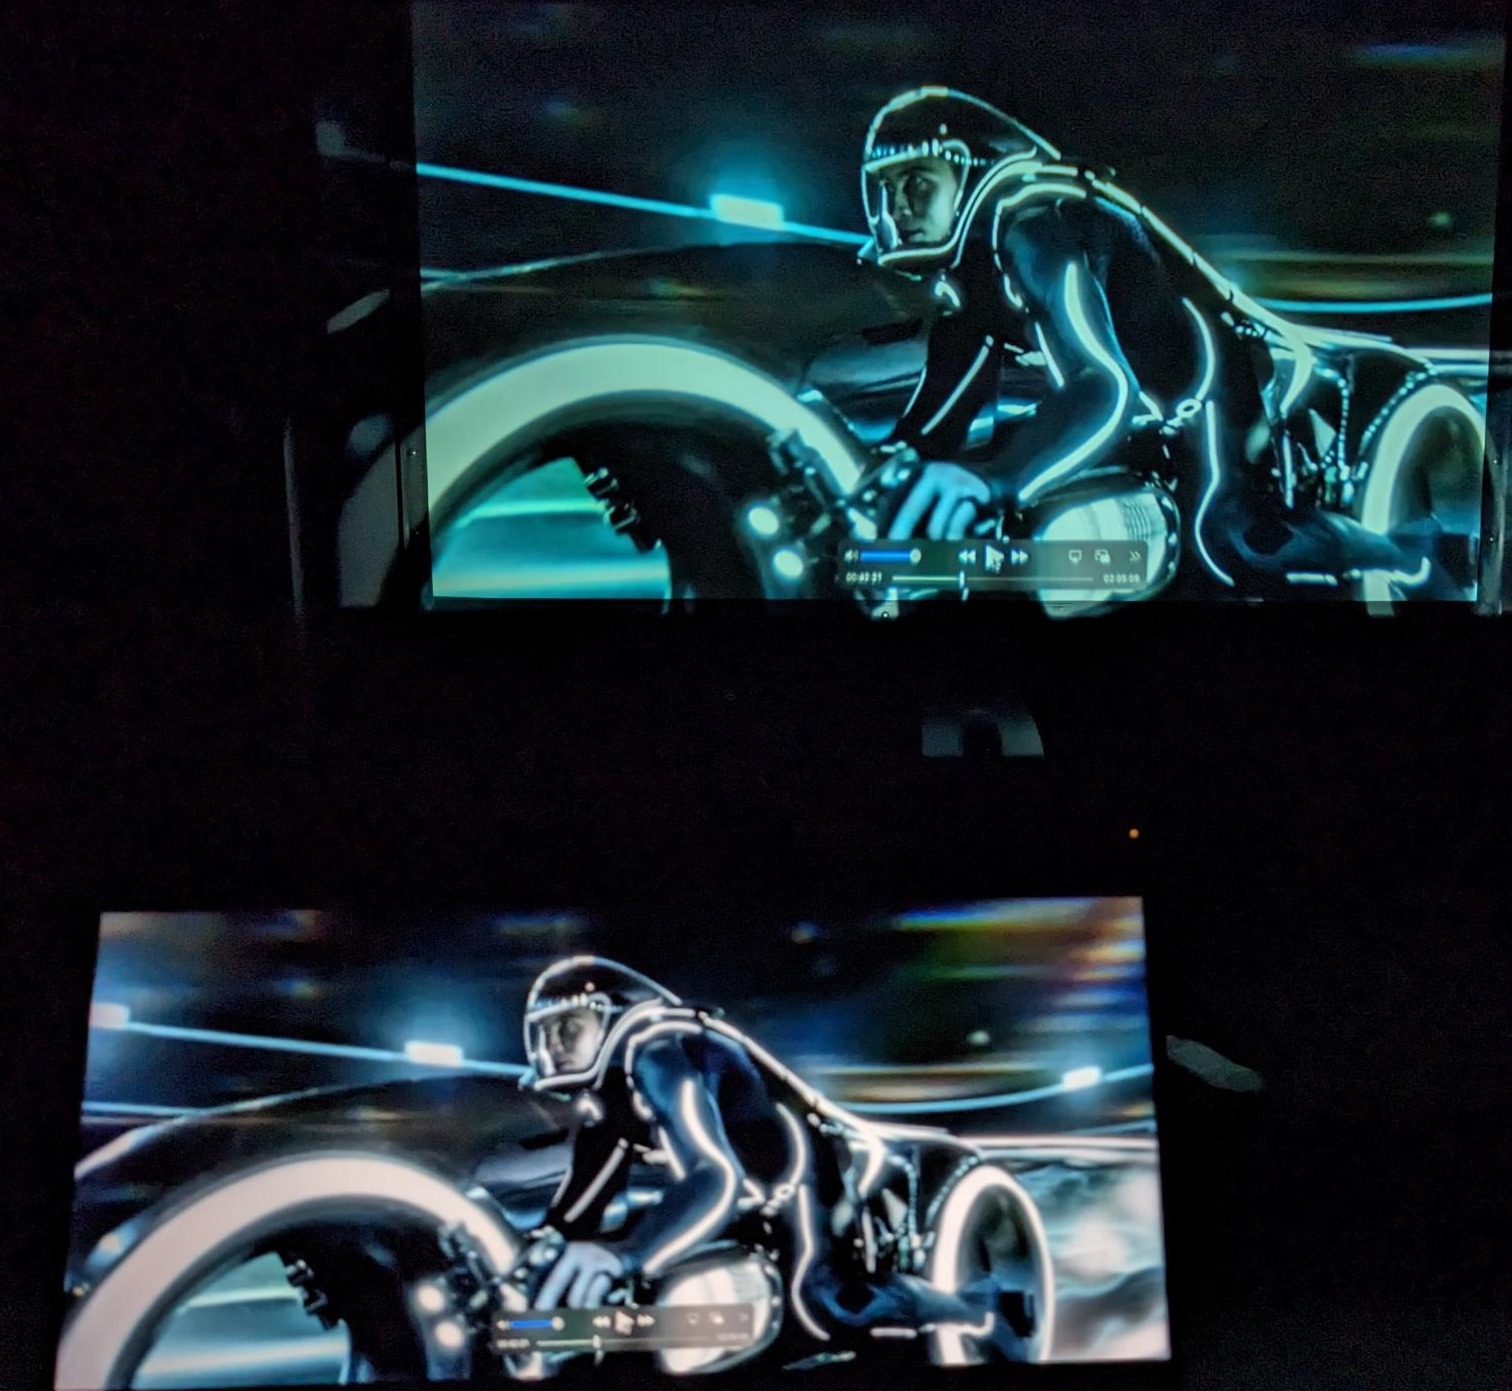
And I can now read 4k UHD blu-ray discs without problem. I was able to rip the 4k version of the Matrix (53Gb) without issue. My setup was only showing [4x] speed, but I suspect this is more a limitation of my overall system vs. the drive which I suspect can go faster. I’m still very pleased to be able to pull the bits.
Summary – the TL;DR version
Recent versions of the LG WH16NS40 can be modified to read 4k UHD blu-ray discs. This can be accomplished under Linux, using the MakeMKV container.
There is a bug in MakeMKV version 1.17.8 which causes it to hang with 100% CPU. Using version 1.17.7 still works as of the date of this post.
Absolutely read the guide.
Start up the MakeMKV container.
I downloaded the firmware bundle, and picked the matching one for my drive. I then copied it from my host filesystem into the container
|
1 |
$ docker cp HL-DT-ST-BD-RE_WH16NS60-1.02-NM00100-211810291936.bin makemkv:/tmp |
Then shell into the container and download the SDF.bin file.
|
1 2 3 |
$ docker exec -it makemkv sh /tmp # wget https://makemkv.com/sdf.bin |
Now we issue the flash command
|
1 |
/tmp # /opt/makemkv/bin/makemkvcon f -v -d /dev/sr0 -f /tmp/sdf.bin rawflash enc -i /tmp/HL-DT-ST-BD-RE_WH16NS60-1.02-NM00100-211810291936.bin |
That’s it. We have a modified firmware installed. Time to enjoy 4k goodness.