I may completely lose my credibility as a home theater enthusiast, but hear me out. We are fortunate to have a cottage where we can get away from it all, and one of our rules there is “no tech”. Over the years this has eroded a little as we’ve ended up with generous mobile data plans, and our kids have become more technology attached. I also put the cottage on the internet for some automation setting up a remote site with openwrt and wireguard. Still, as a general rule we put our devices away and enjoy the sounds of nature and the freedom of being disconnected.
Under the guise of making things more fun for our teenage son, we decide to bring a movie to watch the other day. Watching Ratatouille on a 16″ laptop screen on the screened in porch after sunset was pretty nice. You can imagine the slippery slope we are on, and it was not a huge leap to think about setting up a projector and getting the ‘outdoor movie’ experience.
There are many great, low cost, projectors now. A local dealer has a great Epson 1080p projector for $700, and I’m certain with a little shopping we can cut that price down significantly – or look on the used market for a great deal at half the price. The Epson would be suitable for a ‘home theater’ space, and I don’t need my “no tech get away” to have an amazing audio video setup. This sent me looking at much less expensive solutions.
There is a whole class of low cost “mini” projectors out there, with so many choices. How do you pick one? You also have to wade through all of the technical mumbo-jumbo descriptions and marketing claims, many of them which are there to confuse you. There is also the misleading ‘sponsored’ reviews. The only good news here is there are many low cost choices so you’re not risking a lot, but remember the golden rule here: You get what you pay for.
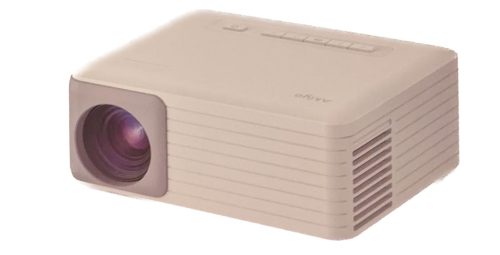
I settled on the Akiyo O1 Mini Projector which I found on Amazon.ca. It had enough reviews which helps gives some confidence that they are not all sponsored/bought reviews. The price is well under $100 including taxes and delivery. If you bump your budget to $150 there are many more options, and many more features they promise. I decided that I was going to keep my outlay low and avoid too many features, I just needed a display.
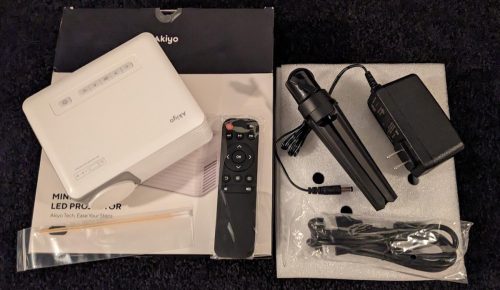
This is what came in the box: The projector, a remote (2 AAA batteries not included), mini-tripod, power supply, HDMI cable and a couple of wooden q-tips (for cleaning?). The projector itself is very small, roughly 5.5″ x 4.5″ x 2.5″ – literally about two soda cans side by side. The HDMI cable is fairly long (5 feet?), but the power cable lead is quite short (3 feet?).
My initial impression was the fan was much quieter than I expected, and this was setup in my dedicated theater room which is nearly silent. The focus is pretty finicky, it feels like getting precise focus will be challenging as the control is quite loose. Keystone is limited, and appears to interact badly with focus. If you use keystone (which you probably will want) it becomes impossible to focus the top and bottom of the screen as the focus plane appears to be on an angle. It is all trade-offs here. This is still impressive for the cost.
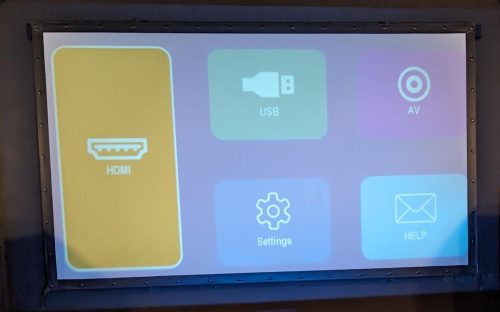
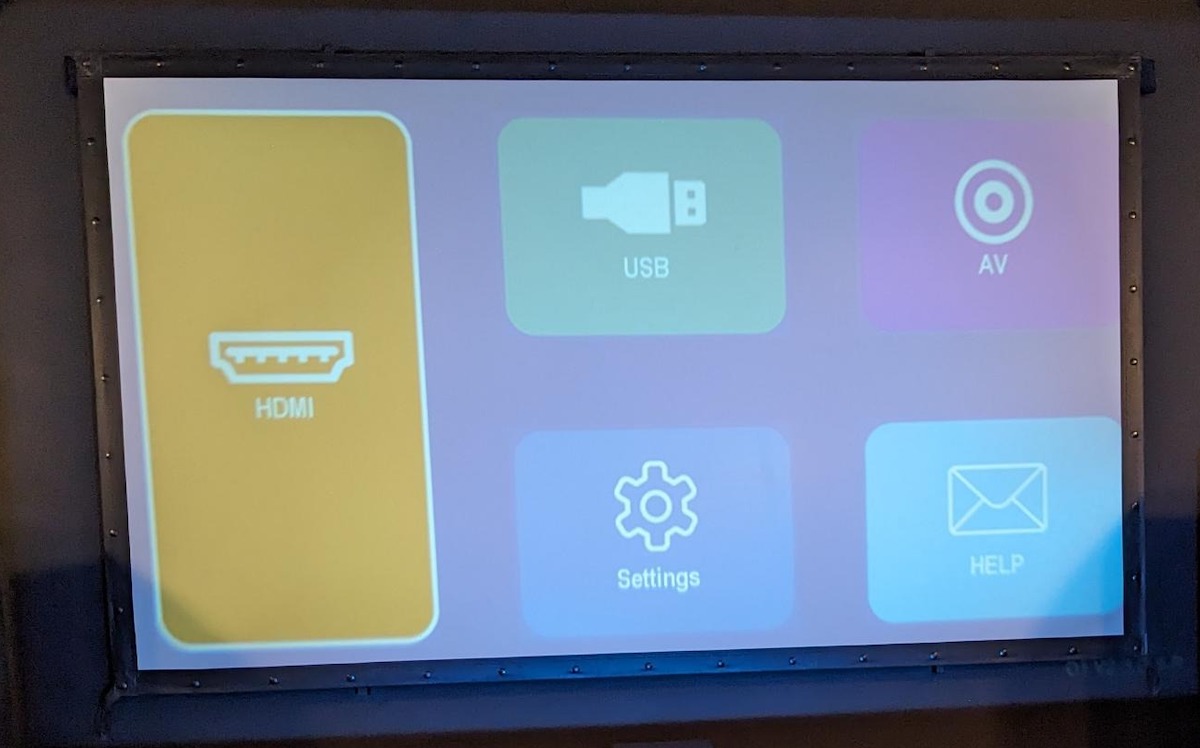
Above is the start up screen (once you’ve done the initial setup) on my 80″x45″ screen (92″ diagonal). The projected image is larger than this screen by a good 8″ all around and there is ambient light in the room (dim, but not dark). Compared to my normal setup (native 1080p) the image feels soft, based on the image quality I’m starting to doubt if this is 720p.

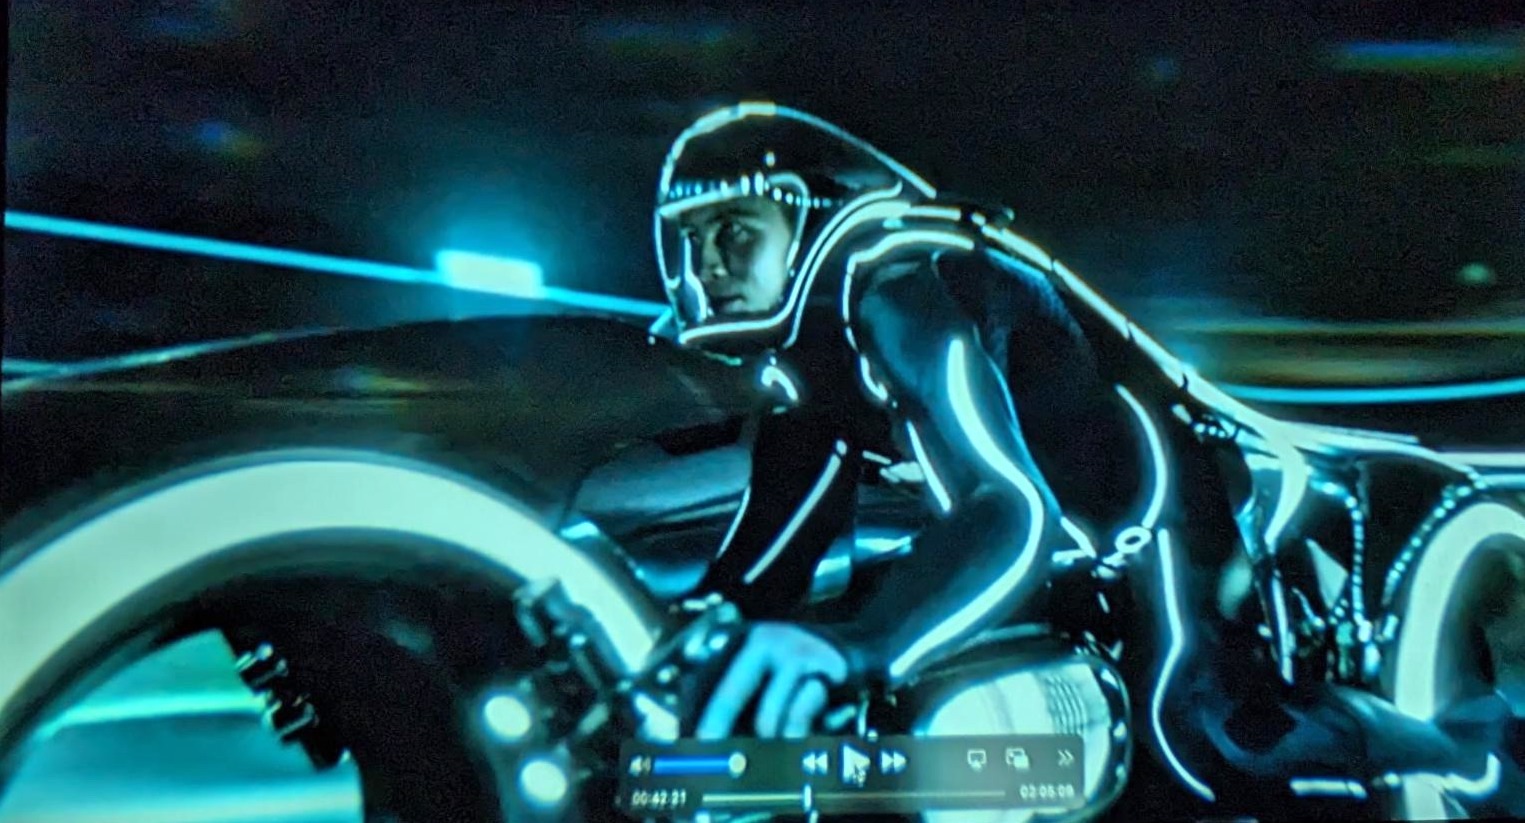
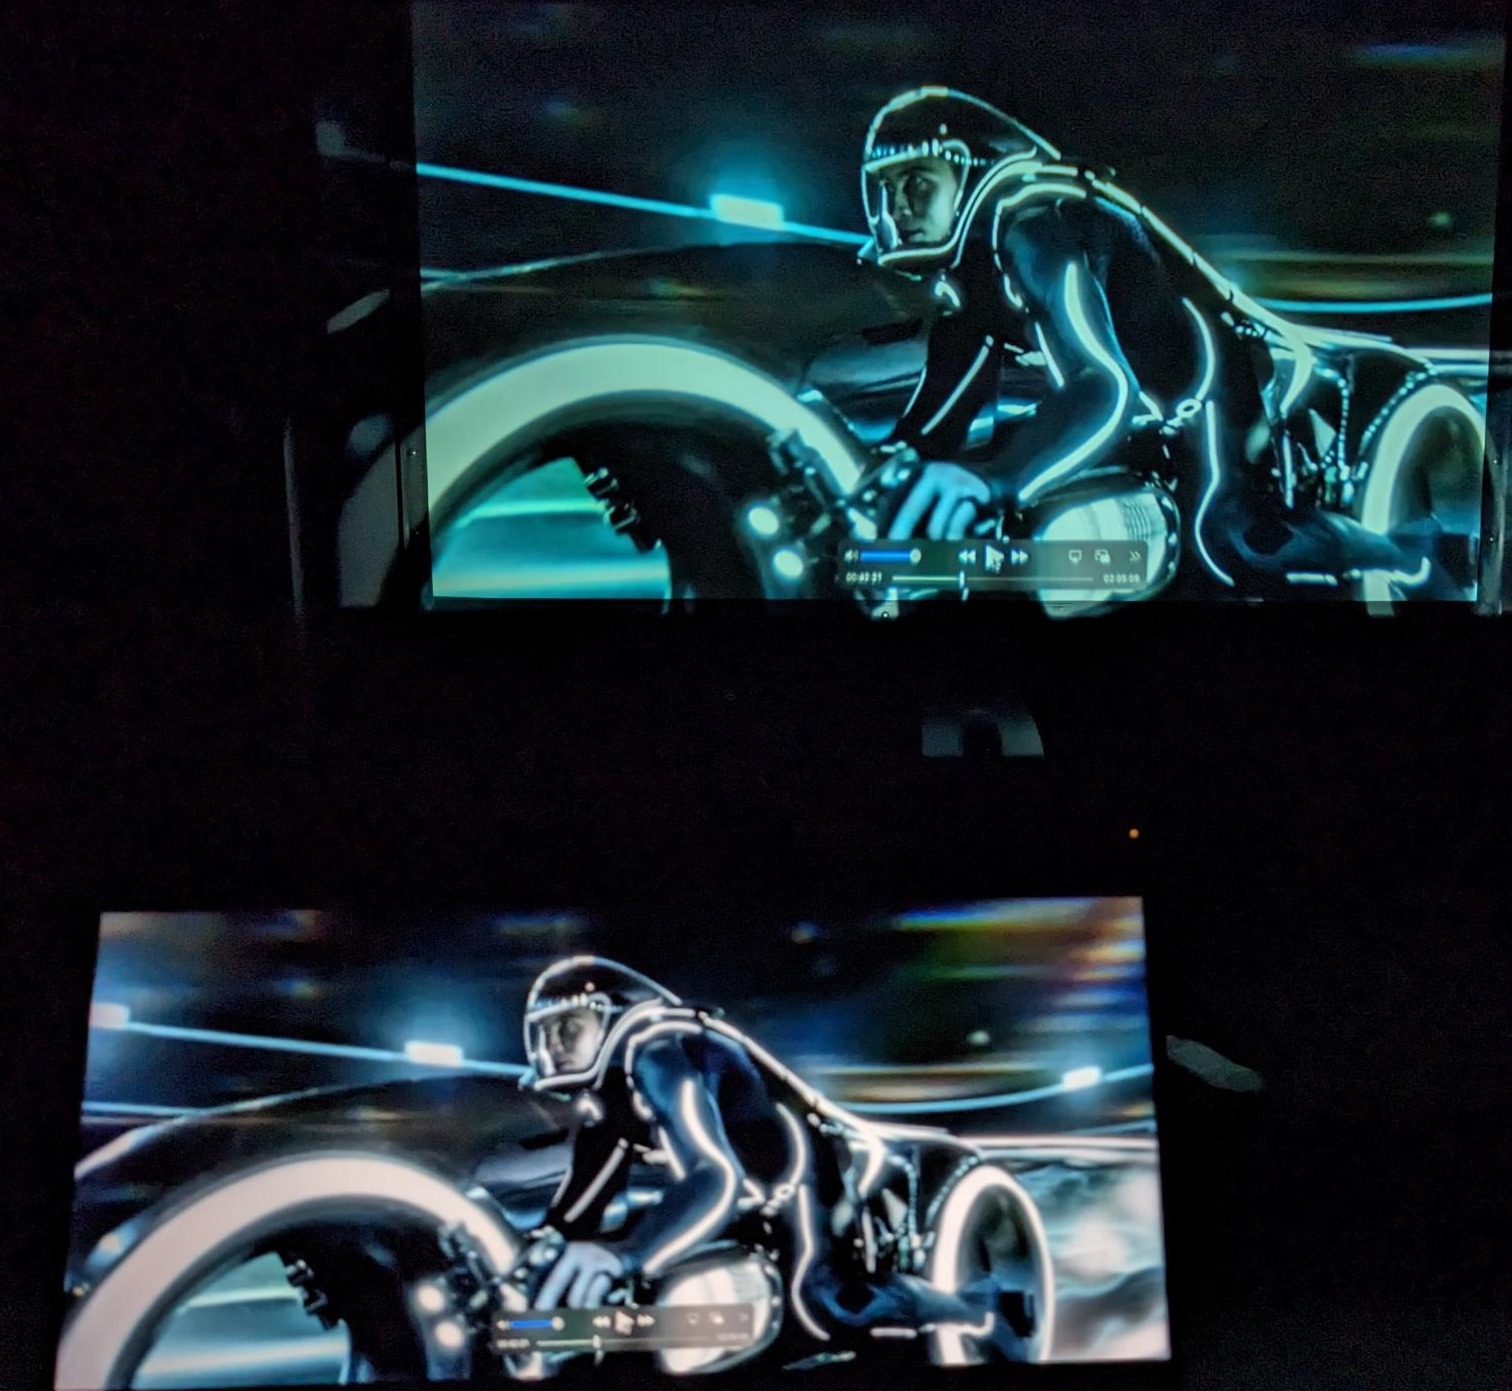
Above is a screen shot of the projected image. Not bad eh? Image is fed to the project from my Macbook via HDMI. Now let’s look at the Macbook screen and the projected image together.
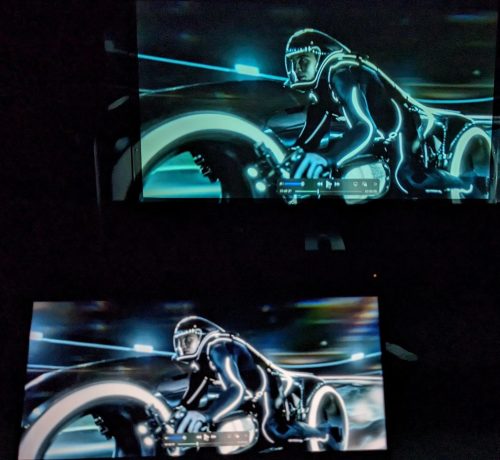
Ah, very different. This is a completely unfair comparison of course. While the projected image is watchable, the overall brightness and detail is lacking. The listed specifications for the Akiyo O1 are supposed to be 5500 lumens, but if there is any truth to this it’s the peak output of the light source not the amount of light coming out of the lens. I’ve seen guesses as to this being either 100 ANSI lumens, or 300 ANSI lumens. Maybe I’ll try measuring it one day, but it doesn’t matter for my needs.
I then moved the projector much closer to the screen, resulting in an approximately 45″ diagonal image. This made a huge difference, the on screen image now pops. Dark details are nice and visible now, and we still have good contrast. Viewing Ted Lasso, the colors were nice and bright and surprisingly good looking. No measurements here, and the human eye is very forgiving, but the feel of the image is impressive.
At this point in my notes, I call out that the fan noise is notably higher than my home theater projector. Certainly audible over the sound track of the movie during quiet parts.
My next steps were to put together something to feed the projector content. I tried just sticking one of my movies on USB stick and giving it to the projector, but this didn’t work. I decided while it was possible for me to figure out the right type of movie encode to feed the projector, having to re-encode any movie would be a pain. My choice here was to take a Raspberry Pi 3B I had sitting around and turn that into my media player.
To setup the Raspberry Pi, I visited the site and used the OSX specific installer. I took advantage of installer tool capability to pre-configure the install with a ssh server, my user and wifi information. The Pi booted and came up on my network with remote access, pretty slick.
I then installed mosh, one of my go-to utilities. To get sound working over HDMI I needed to run sudo raspi-config and navigate System->Sound->Output and change it from the headphone jack to HDMI. I also installed a screen keyboard: sudo apt-get install matchbox-keyboard, as I have a mouse plugged in but no keyboard. I finished up doing a system upgrade, just to make sure things are current.
Since VLC is built in to the base install, I was able to run that and play the movie just fine without having to worry about the format details.
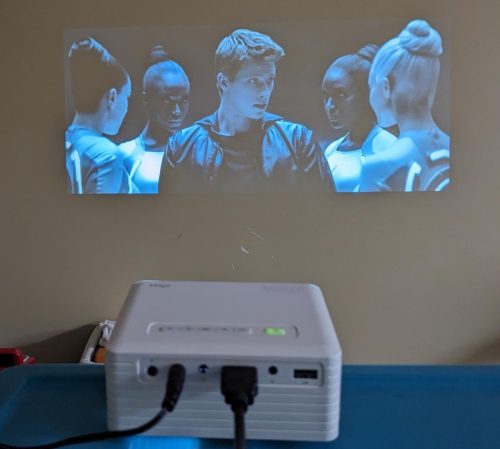
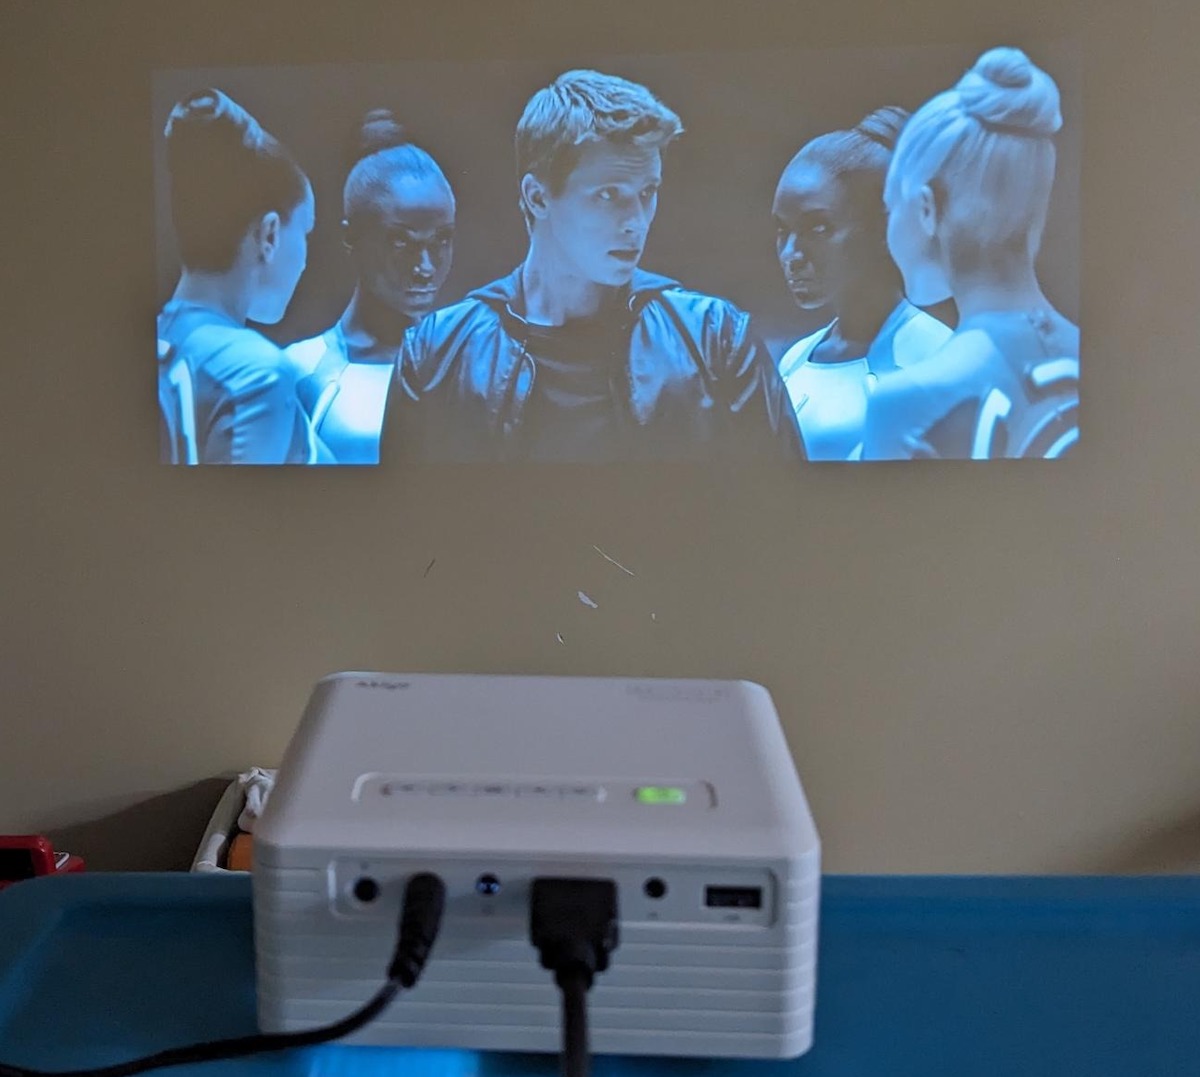
The projected image is again around 45″ diagonal, and the photo was taken close to the projector itself making it look much larger. This isn’t a great reference image because it is fairly dark content and mostly blue/black. Still, a very watchable image – especially considering there was ambient light in the room too. Also, the wall being projected on is (mustard) yellow. The screenshot may not be selling you on this, but this convinced me I’d made a pretty good purchase. Fed via the Raspberry Pi I’m getting both sound and audio out, and the audio is quite loud enough. The image is bright enough to be engaging, and the focus isn’t that bad.
A couple more software tweaks. I wrote a simple bash script to watch for the USB drive to be mounted (so I could boot the Pi and then insert the movie later). Once the drive is detected, the first movie found will be played using VLC. I then used cron’s @reboot to run this script on start up. I discovered that while I could ssh into the machine and run the script and it would work, for some reason the cron invocation would lack sound. A simple work around was to setup key based ssh access, and from the script ssh to localhost to fix this, works fine this way.
I notice the Raspberry Pi was detecting the projector as a 1080p display and setting the screen up that way. I used the desktop GUI to force the HDMI input to 720p, this helped make the image sharper because we now have the native resolution matched. I believe this was the root problem with the ‘soft’ image I’d noted at first, with a proper 720p source things were pretty sharp.
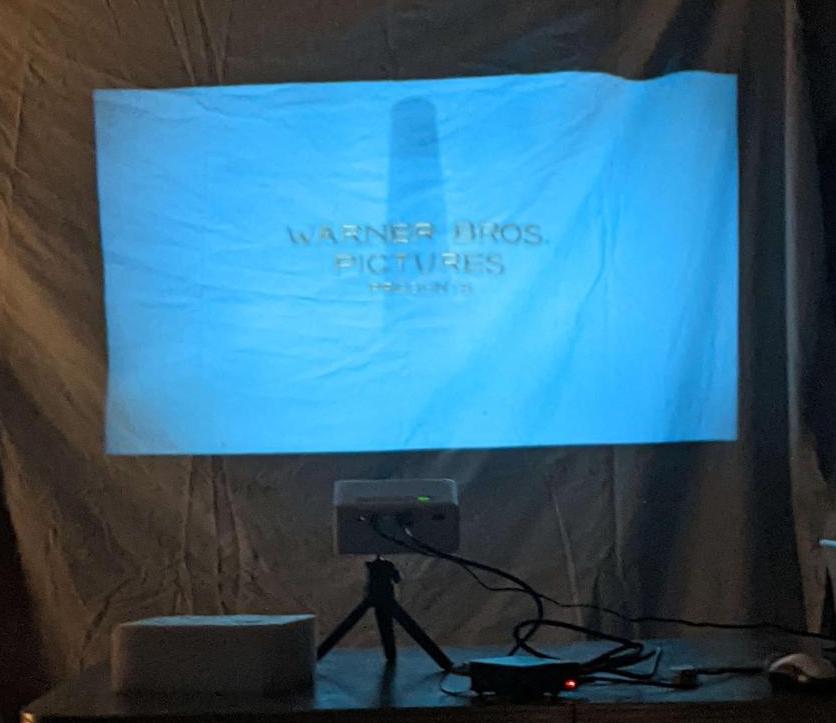
The real test was taking a movie up to the cottage and having this all work there. We had the opportunity to try this soon after I had this figured out and it worked brilliantly.

The screen is a white bed sheet we pinned up, you can see the wrinkles and waves. The movie was Charlie and the Chocolate Factory. The displayed image was not anything close to videophile levels, but still I found myself sucked into the movie and deeply enjoying the experience. Yes, from time to time the fact that the image was distorted due to the waves in the sheet did distract a little. The fan noise was not an issue at all, the natural sound of the woods was louder than the fan, and the projector speakers plenty loud enough even at about half volume. It was overall a fantastic experience and easy to look past any of the imperfections, some of which are compromises in the setup vs. the technology.
When I consider my start in home theater, with expensive and large CRT projectors which had loud fans and could only resolve 720p images at best – this sub $100 unit with a long lasting LED light source is amazing value.

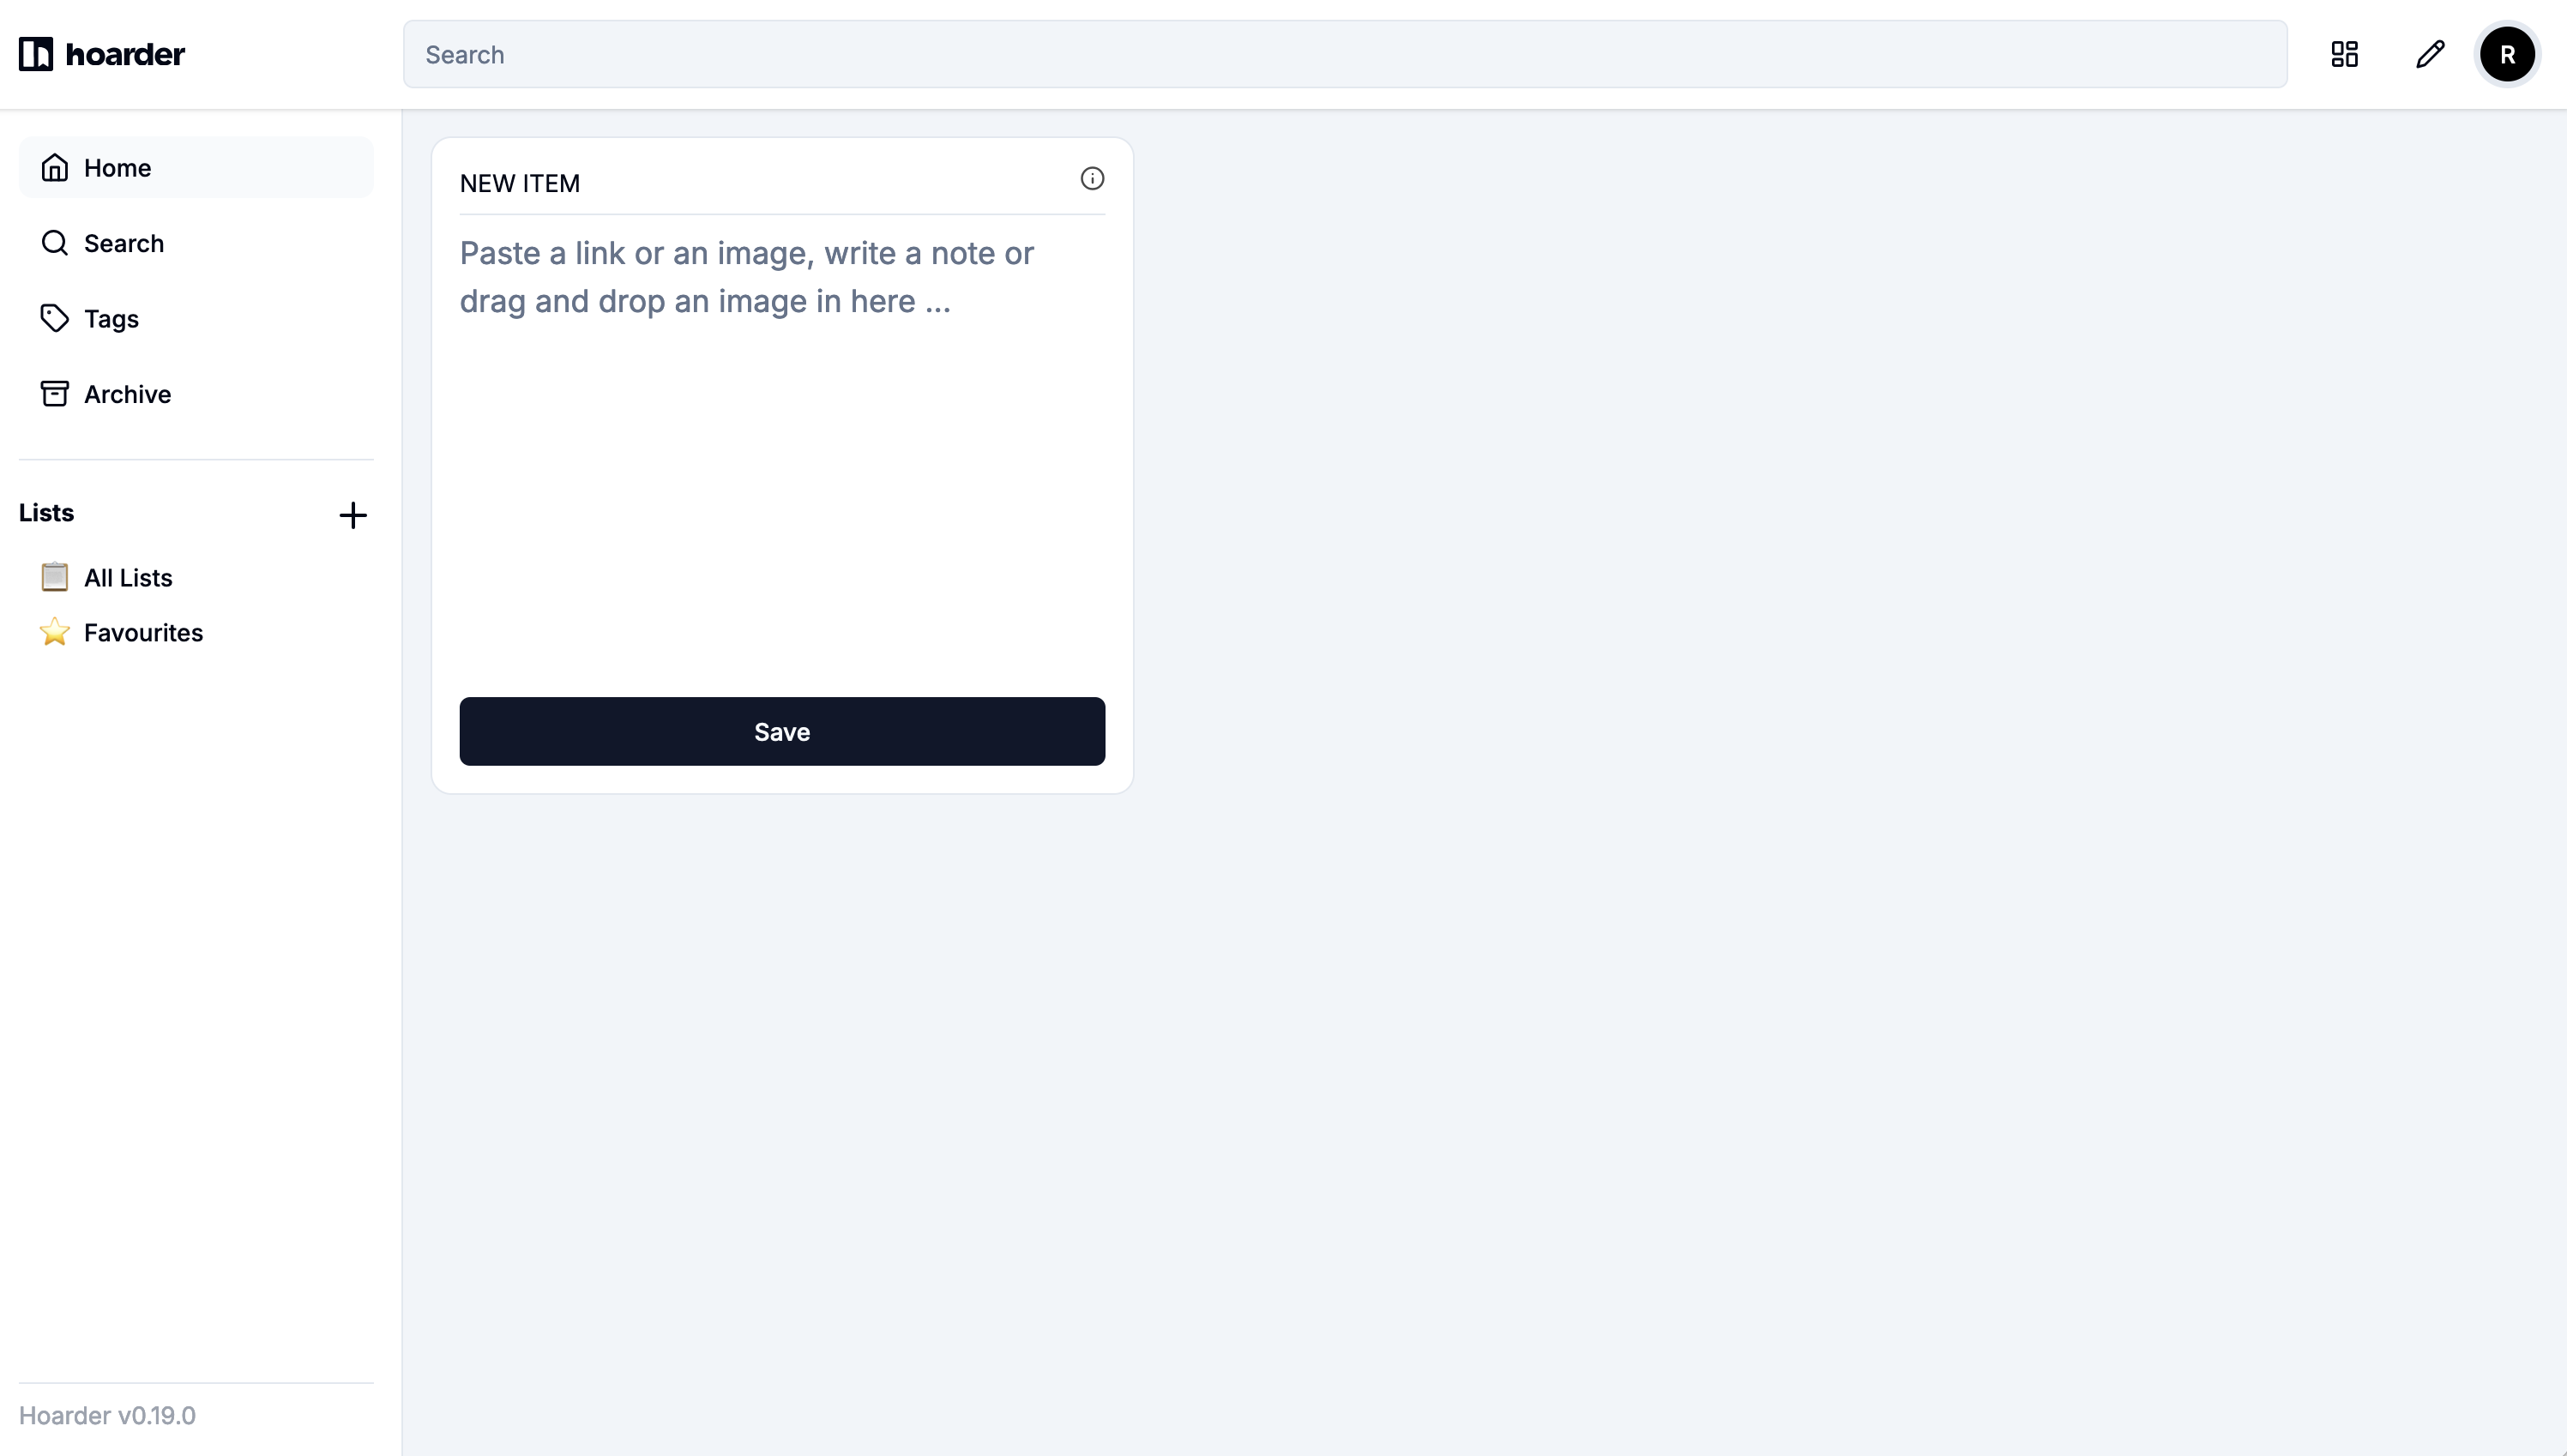 I currently run Wallabag – which I landed on after trying a few other choices. It was the best choice for my needs at the time, but also super basic. Wallabag has a mobile app which I find useful – as it makes sharing links I find on mobile easy to my Wallbag install.