This is the follow up posting to my tale of two iPods. Tonight I used the ‘extra hour‘ to perform the logic board swap on my busted iPod from the ‘used’ one I picked up a week ago.
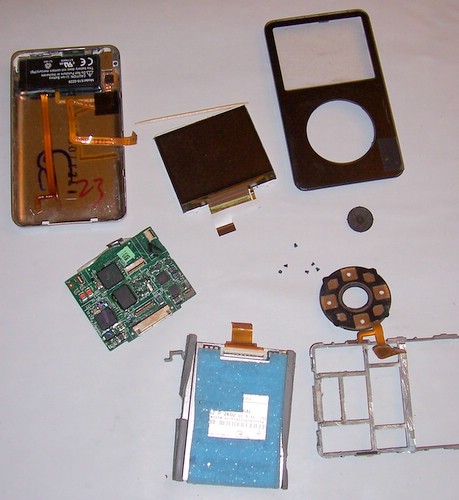
The first step was to take the used iPod apart. By starting with the used one, I could learn how to do it before taking mine apart. I knew the used one was a little beat up, but I was still surprised by how dirty it was inside as well (mostly lint). Below is a picture of it fully disassembled.
I found a pretty good .pdf file on powerbookmedic.com that documented the tear down, but found I had to also refer to the ifixit.com site to get a better idea of how some of the cable clips worked. Now that I’ve got hands on experience doing it, the process is pretty straight forward. Even cracking the iPod apart is quite easy now. I do need to point out how insanely small those 6 screws are.
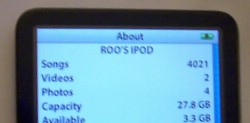
After taking everything apart – I wanted to verify the donor logic board was working. In the picture below you should be able to see the “Please Wait. Very Low Battery.” message. If I tried this with my non-working logic board, the screen did not light up at all.
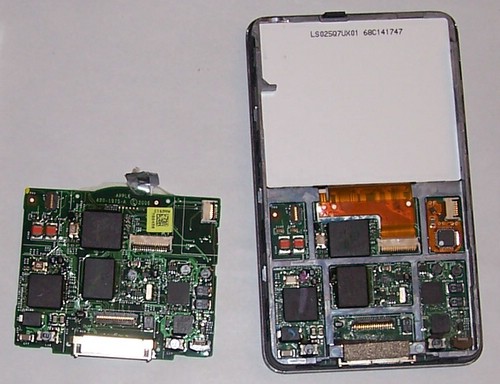
Once I had both iPods completely disassembled, I performed the logic board swap and began to re-assemble my (hopefully working) iPod. The reason for going to this extreme is that the used iPod was pretty beat up, and the only part I wanted to take from it was the logic board. In the picture below, I’ve swapped the logic board and reassembled the click-wheel and screen into the front panel.
From this point it was only a matter of minutes before I had a completely assembled iPod and was able to connect it to my PC. Again I was greeted by the ‘very low battery’ messaage and a pretty long wait – long enough I was starting to think I had done something wrong.
I was relieved when enough juice had made it into the battery and my Ubuntu system recognized the device. From this point on things were pretty smooth sailing. I booted up my vmware image of WindowsXP that I use for iTunes and there were no problems connecting and synchronizing the iPod. I had wondered if the logic board would be tied into my serial number, but apparently the data on the drive alone defines the iPod.
I then proceeded to reassemble the used iPod using the bad logic board. While I will likely sell this used one for parts, I figure it may as well be together instead of a jumble of parts. Once I did this, I was surprised to hear whirring coming from the device (sounded like the hard drive spinning). It was unresponsive to the reboot sequence (menu + center) and continued to whirr away. I figured this explains why my iPod had such a flat battery, clearly when the logic board failed – it went into this mode and drained the battery completely.
A few minutes later I realized that the used iPod was getting warm to the touch. This was a little bit alarming, so I popped the cover off and disconnected the battery. The battery was quite hot, clearly some unexpected load being drawn by the bogus logic board.
At this point it looks like things went as planned. I was able to tran splant the logic board from the used iPod which was pretty beat up into my “like new” iPod. I also have pretty good evidence to back up my guess that it was the logic board. And I was able to do it for less than a refurb nano would cost me.
I may still use the shuffle as it is certainly easy to carry around, but I’ll certainly appreciate the video capability on my next boring plane ride.


