My past experiments with ZFS were also based on NixOS, a Linux distribution that I am growing increasingly fond of. It has a declarative style for configuration, which means you can more easily reproduce your install. For my new server build out, I will be using NixOS as my base, layering up plenty of docker containers to operate the various services I self-host – and the filesystems will be ZFS with redundancy. In this post I will focus on the base install, specifically the setup of the hardware for the very first NixOS install.
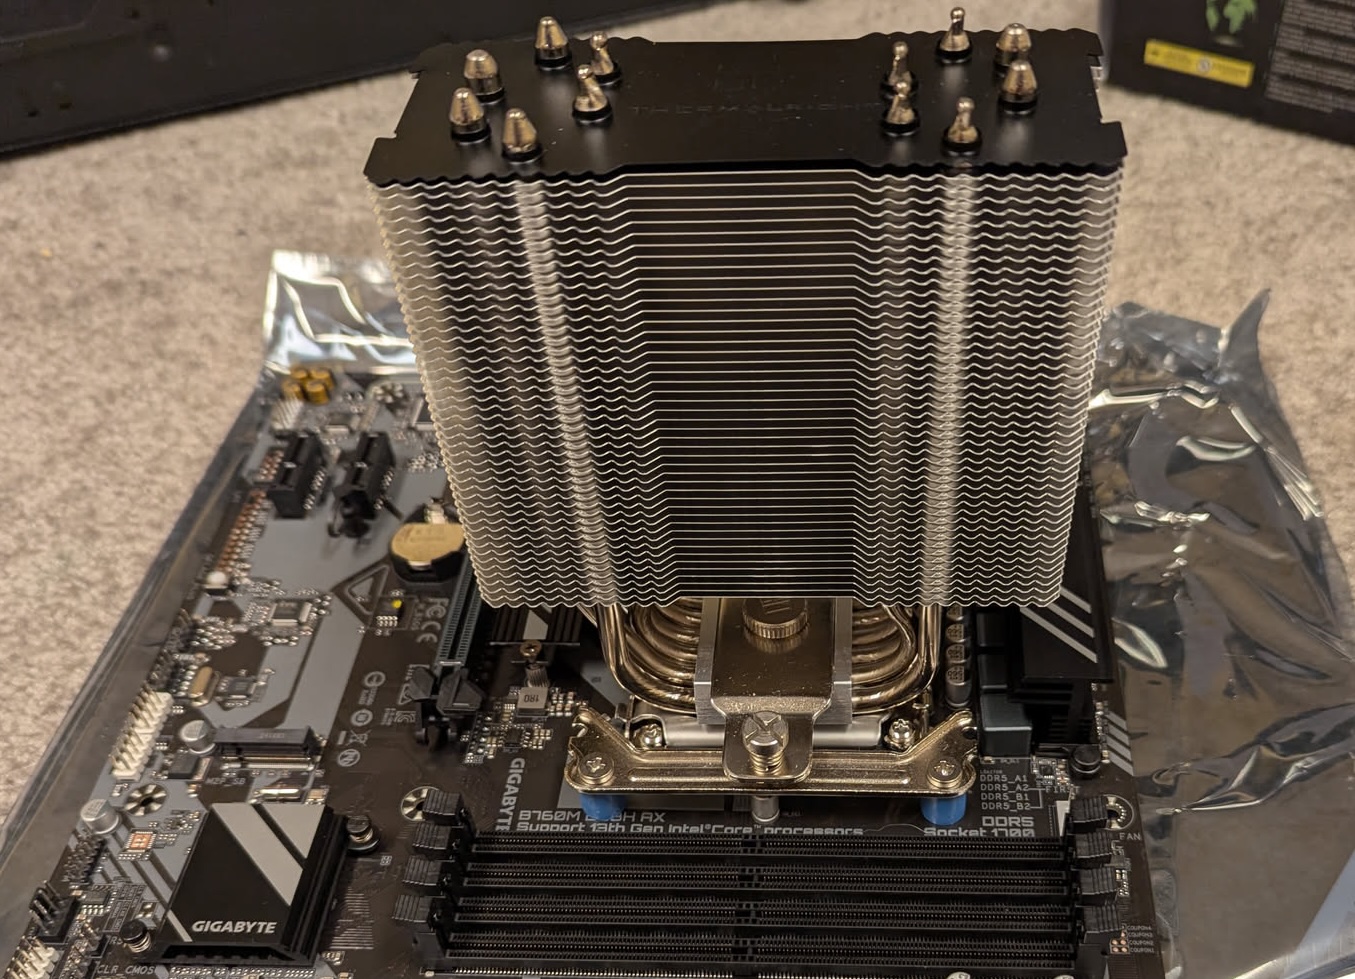
First I needed to learn how to get NixOS installed on a mirrored ZFS boot volume. Recall that my hardware has a pair of M2 SSDs which will hold the base operating system. There are many possible approaches documented: ZFSBootMenu looked really interesting, but it’s not native NixOS; I found a GitHub project that had some nice scripts, but it was a little too script-y for me and was hard to understand; The OpenZFS site documents installing NixOS which includes support for mirrored boot drives, but I wasn’t sure about how to mirror the EFI filesystem and recovery after a drive failure; the NixOS forum was informative; many of the other places that talk about this type of install point at a blog post, which I ended up using as my base.
While the original author does the partitioning and filesystem setup as a set of manual steps, I’ve captured mine as an install script. I had a side journey investigating disko which looks great but was one more thing to learn, and I already know how to cook a script.
|
1 2 3 4 5 6 7 8 9 10 11 12 13 14 15 16 17 18 19 20 21 22 23 24 25 26 27 28 29 30 31 32 33 34 35 36 37 38 39 40 41 42 43 44 45 46 47 48 49 |
# set up my disks by id DISK1=/dev/disk/by-id/nvme-QEMU_NVMe_Ctrl_F1905C9F-0356-43B3-B DISK2=/dev/disk/by-id/nvme-QEMU_NVMe_Ctrl_23AB37ED-C078-4AEF-8 # helper function partition() { sgdisk --zap-all "$1" sgdisk -n 1:0:+1GiB -t 1:EF00 -c 1:boot "$1" # Swap is omitted. sgdisk -n 2:0:0 -t 2:BF01 -c 2:zfs "$1" sgdisk --print "$1" } # partition the two disks partition $DISK1 partition $DISK2 # format the EFI partitions mkfs.vfat $DISK1-part1 mkfs.vfat $DISK2-part1 # created zfs pool - no encryption # zpool create -f \ -o ashift=12 \ -o autotrim=on \ -O mountpoint=none \ -O relatime=on \ -O acltype=posixacl \ -O xattr=sa \ rpool mirror \ $DISK1-part2 $DISK2-part2 # made root data set zfs create -p -o mountpoint=legacy rpool/root # mounted it mount -t zfs rpool/root /mnt # and mount the EFI paritions mkdir /mnt/boot mkdir /mnt/boot-fallback mount $DISK1-part1 /mnt/boot mount $DISK2-part1 /mnt/boot-fallback # Generate a NixOS configuration nixos-generate-config --root /mnt # edit configuration.nix and run `nixos-install` |
When editing the /mnt/etc/nixos/configuration.nix file you will need to add some specific sections to ensure that you get a working ZFS enabled system on the other side
|
1 2 3 4 5 6 7 8 9 10 11 12 13 14 15 16 17 18 19 20 21 22 23 24 25 |
# Use the systemd-boot EFI boot loader. #boot.loader.systemd-boot.enable = true; # Whether installer can modify the EFI variables. If you encounter errors, set this to `false`. boot.loader.efi.canTouchEfiVariables = true; boot.loader.grub.enable = true; boot.loader.grub.efiSupport = true; boot.loader.grub.device = "nodev"; # This should be done automatically, but explicitly declare it just in case. boot.loader.grub.copyKernels = true; # Make sure that you've listed all of the boot partitions here. boot.loader.grub.mirroredBoots = [ { path = "/boot"; devices = ["/dev/disk/by-uuid/1F23-447B"]; } { path = "/boot-fallback"; devices = ["/dev/disk/by-uuid/460E-0D39"]; } ]; # don't fail to boot if one of the mirror drives is missing fileSystems."/boot".options = [ "nofail" ]; fileSystems."/boot-fallback".options = [ "nofail" ]; boot.supportedFilesystems = [ "zfs" ]; # One time generated host id -> `head -c4 /dev/urandom | od -A none -t x4` # This value must be unique among your systems. networking.hostId = "a7895205"; |
First we need to change from the systemd-boot EFI boot loader, to a grub based boot. This let’s us make use of the grub.mirroredBoots support to keep both EFI partitions updated. We are also specifying the mirrored boot devices by uuid, and tagging both drives a “nofail” to allow the system to boot even if we lose a drive. Of course we also need to indicate that ZFS is supported, and create a unique networking.hostId which ZFS needs.
Other settings from the default you probably want to change. Setting a hostname, timezone, and enabling one of the networking options. You may also want to define a user and enable sshd. All of these are pretty standard NixOS configuration issues, all of the ZFS magic is captured above.
Once you’ve got this configured, you should be able to run nixos-install and reboot into your new system.
One nice trick I learned is that from the full graphical installer you can open up a terminal shell, and then run sudo passwd – followed by entering a password for root. This allows for ssh access (as root) from another machine, making it much easier to copy in your install script and configuration.
Details on the install script
While there are comments, let me walk through the install script above. You will need to edit the DISK1, DISK2 declarations at the top of the script. This assumes you have two identical sized drives you intend to use as a boot volume.
You will notice that relative to the source blog post, I’m not including encryption in my setup, for me this is an acceptable risk as it removes the need to enter a password on boot and I need my system to come back automatically after a power failure.
This setup doesn’t include swap and I went down a deep rabbit hole on swap, did I need it? How much swap should you setup? My original naive NixOS install (without ZFS) using the graphical installer resulted in no swap being setup. The GitHub project above suggests setting up swap on each of the mirrors, but I’m worried about what happens if you lose a drive. I found someone on reddit suggesting a partitioning scheme for ZFS that has no swap unless absolutely necessary. Then I found folks who said you must have swap to avoid problems. Another claimed that swap helps avoid performance problems. This great post gives some good reasons to consider using swap. I also found a RedHat post that suggested some production systems don’t use swap, and even some database related performance posts saying to avoid swap. After all that, while there are some downsides to not having swap, I decided to stick with a no-swap setup for now. I can always toss in a cheap SSD later and use it as swap if I end up needing it.
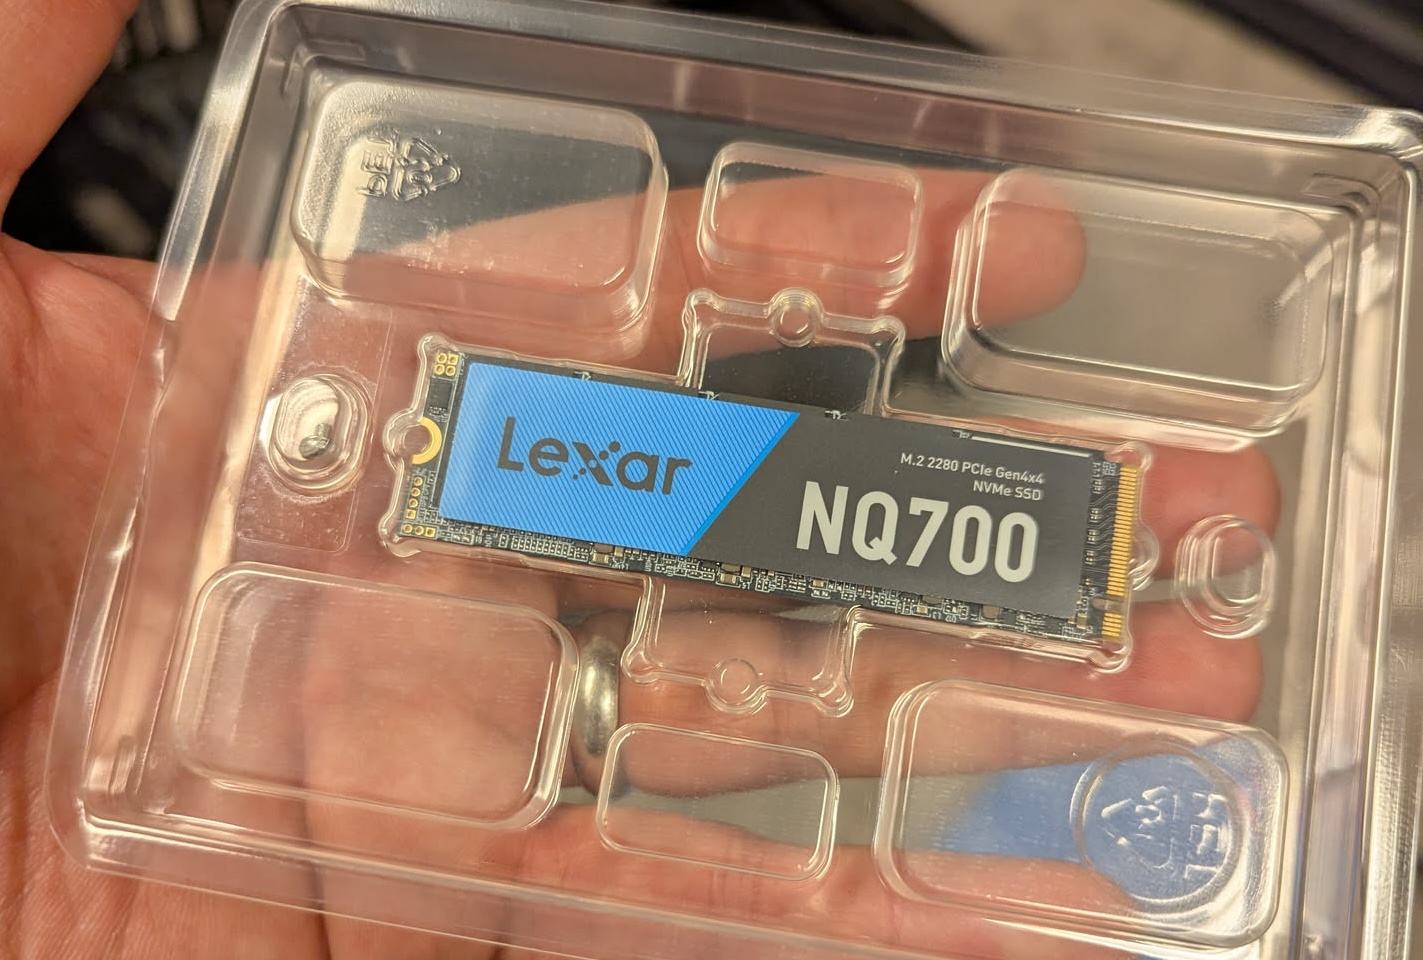
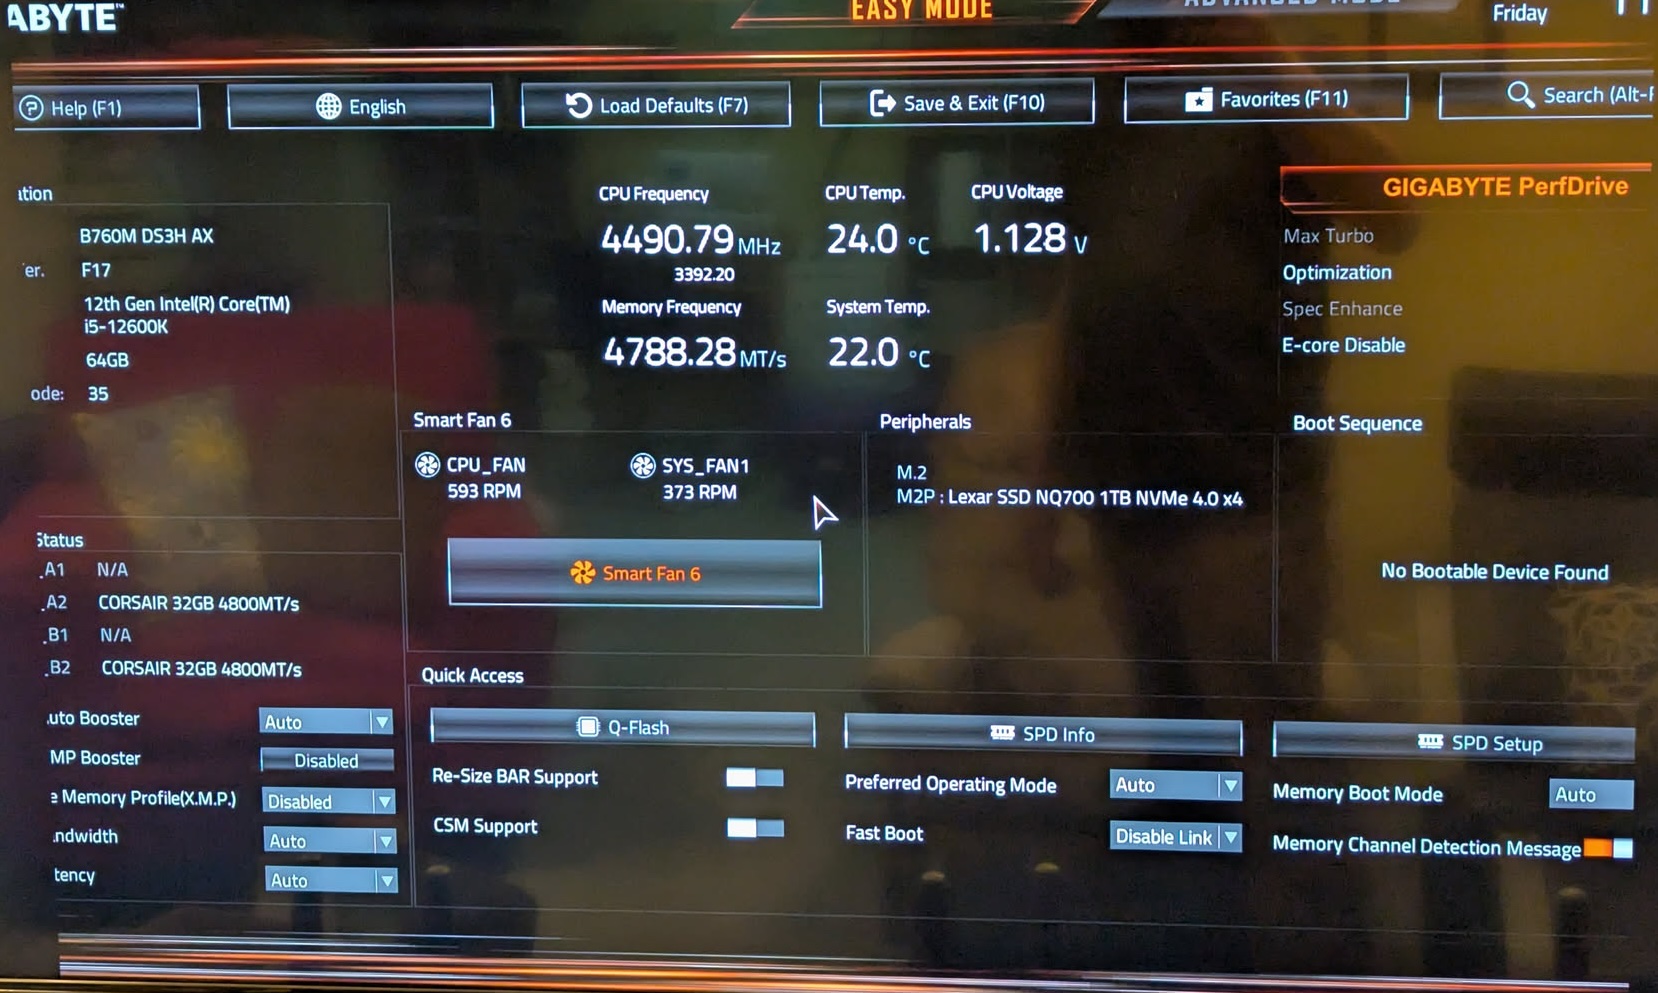
You may also notice that the partitioning scheme above is very simple. We reserve 1G for the EFI partition, and the remainder is for the ZFS mirror. It turns out that the two M2 SSDs I bought, don’t entirely agree on what 1TB means.
|
1 2 3 4 5 |
$ sudo fdisk -l /dev/nvme0n1 Disk /dev/nvme0n1: 953.87 GiB, 1024209543168 bytes, 2000409264 sectors $ sudo fdisk -l /dev/nvme1n1 Disk /dev/nvme1n1: 931.51 GiB, 1000204886016 bytes, 1953525168 sectors |
Yup, one thinks 1024 GB is 1TB, and the other says it’s 1000GB. Sadly, both are right. The good news is that ZFS seems to be happy to pair these two non-equal partitions together and offered up mirrored storage since we are passing the -f flag to force it to happen, so I’ll rely on that vs. try to partition both drives to exactly the same size.
The zpool create is where I differ from the source blog. This took a while for me to land on the right set of options, and maybe they don’t matter all that much.
ashift=12 This is instructing ZFS to assume 4k sectors, and while my SSDs actually report 512byte sectors it’s ok to go bigger. Some NVME drives can be reformatted, but they need to support the larger sectors (mine do not). I did find a few posts that convinced me that 4k (ashift=12) was the best choice. If you think about how flash memory works, 4k (or even larger) makes a lot of sense.
autotrim=on I adopted this from the OpenZFS recommendations. After reading a bunch about this, it does seem like a good idea if you are using a SSD. You should also consider doing a regular trim operation too apparently. In theory this will extend the lifetime of your SSD, and has a minimal performance impact.
mountpoint=none Every root on ZFS article uses this, given my past experience where zfs filesystems auto-mount it makes sense. The root filesystem should be special and we don’t want it mounted in any other way.
relatime=on Some approaches recommend using atime=off for performance reasons. However, the downside is that you can break some software which requires atime (access time) to be correct (an example given was email). The relatime setting is an in-between. It will skip most atime updates, but still keep it mostly correct. This also lines up with the OpenZFS recommendations.
acltype=posixacl This is another setting that many configurations used. I did find a good blog article talking about it.
xattr=sa This is both linked to the acltype above, but also is generically considered a good performance tweak.
Let’s talk about a few that I didn’t include from the source blog, aside from atime which I have already touched on.
compression=lz4 While you can find articles that recommend to specify this, the default compression setting is ‘on’ and I believe the default algorithm is lz4. I decided to go with defaults, and if there is a slight performance penalty that’s ok.
encryption=aes-256-gcm, keyformat=passphrase Hopefully obvious that these are both related to encryption of the data, and for my use would mean dealing with entering a pass phrase on boot.
If we review the OpenZFS doc on NixOS, they have more options I have not specified. I didn’t go quite as deep on each of these, but when I did a review it seemed that many of those settings were aligned with the defaults.
canmount=off Seems to be a almost a duplicate of mountpoint=none
dnodesize=auto Almost seems like a good idea, especially as it’s linked to xattr=sa which might store lots of attributes needing more size than the default legacy. This article has some details, and in the end they also elected to not use it.
normalization=formD I found a good post on ZFS settings overall, and this one specific to unicode filenames. It almost convinced me I should reconsider and add this, but how many weird unicode filenames do I have anyways? And if they don’t match, I can deal with the weirdness.
Recovering a broken mirror
While this is a lot of detail, we haven’t yet touched on recovery from a failure. I did a lot of experiments using UTM to run a VM on my Macbook. This let me build VMs with dual NVME drives and quickly iterate on both setup, and recovery.
To simulate a failure, I would simply shut the VM down, delete one of the drives, and re-create a new drive. Starting the VM up again resulted in one of two things:
- The VM would boot, but take a bit longer than normal. Looking at
zpool statuswould indicate that one of my mirrors was broken - The VM would dump me into the EFI Shell, this confused me as I hadn’t navigated this previously, but it was a simple matter of manually selecting the file/drive to boot and I’d end up in the same state as (1)
Awesome, so my install does result in a system that will survive the loss of one of the mirrored drives. I did stumble quite a bit on fixing the mirror.
The first step is to re-partition the new drive
|
1 2 3 4 5 6 7 8 9 10 11 12 13 14 15 16 17 |
DISK1=/dev/disk/by-id/nvme-QEMU_NVMe_Ctrl_F1905C9F-0356-4D45-A partition() { sgdisk --zap-all "$1" sgdisk -n 1:0:+1GiB -t 1:EF00 -c 1:boot "$1" # Swap is omitted. sgdisk -n 2:0:0 -t 2:BF01 -c 2:zfs "$1" sgdisk --print "$1" } partition $DISK1 sleep 10 # give the partitions a chance to settle in mkfs.vfat $DISK1-part1 mount $DISK1-part1 /boot |
Of course, the mount point may be /boot-fallback depending on which drive we have lost. Then similar to my post on doing this on a RAIDZ we simply do a sudo zpool replace rpool (target) (source). Because this is a bit complicated, let me walk through an example.
We will start with a working system and look at the zpool status
|
1 2 3 4 5 6 7 8 9 10 11 12 |
$ zpool status pool: rpool state: ONLINE config: NAME STATE READ WRITE CKSUM rpool ONLINE 0 0 0 mirror-0 ONLINE 0 0 0 nvme-QEMU_NVMe_Ctrl_2364D649-F152-4D45-A-part2 ONLINE 0 0 0 nvme-QEMU_NVMe_Ctrl_E4C81A3B-8F91-47F3-B-part2 ONLINE 0 0 0 errors: No known data errors |
Now we will remove one of the drives and boot again. The failed state boot will take some time (many minutes), you need to be patient – the amazing thing is that it will eventually boot and everything works.
Now when we look at zpool status we can see the mirror is broken, but we do have a fully running system.
|
1 2 3 4 5 6 7 8 9 10 11 12 13 14 15 16 17 |
$ zpool status pool: rpool state: DEGRADED status: One or more devices could not be used because the label is missing or invalid. Sufficient replicas exist for the pool to continue functioning in a degraded state. action: Replace the device using 'zpool replace'. see: https://openzfs.github.io/openzfs-docs/msg/ZFS-8000-4J config: NAME STATE READ WRITE CKSUM rpool DEGRADED 0 0 0 mirror-0 DEGRADED 0 0 0 nvme-QEMU_NVMe_Ctrl_2364D649-F152-4D45-A-part2 ONLINE 0 0 0 7440232031259992333 UNAVAIL 0 0 0 was /dev/disk/by-id/nvme-QEMU_NVMe_Ctrl_E4C81A3B-8F91-47F3-B-part2 errors: No known data errors |
Time to do some re-partitioning using the script above (obviously with changes to address which mount point and drive). Pro-tip: you may need to install some of the partitioning tools: nix-shell -p gptfdisk parted
Now that our disk is partitioned, we can repair the pool.
|
1 |
$ sudo zpool replace rpool 7440232031259992333 /dev/disk/by-id/nvme-QEMU_NVMe_Ctrl_40E8496A-851E-4133-8-part2 |
Using zpool status we can verify that things are good again
|
1 2 3 4 5 6 7 8 9 10 11 12 13 |
$ zpool status pool: rpool state: ONLINE scan: resilvered 1.89G in 00:00:06 with 0 errors on Sat Oct 18 12:16:15 2025 config: NAME STATE READ WRITE CKSUM rpool ONLINE 0 0 0 mirror-0 ONLINE 0 0 0 nvme-QEMU_NVMe_Ctrl_2364D649-F152-4D45-A-part2 ONLINE 0 0 0 nvme-QEMU_NVMe_Ctrl_40E8496A-851E-4133-8-part2 ONLINE 0 0 0 errors: No known data errors |
Now we just need to fix our boot problem. As I said, this tripped me up for a bit but the NixOS discourse was very helpful.
There are two references to the boot drives. One in /etc/nixos/configuration.nix, and one in /etc/nixos/hardware-configuration.nix. Both need to be updated to reflect the new drive.
We can fix the latter by doing the following
|
1 2 3 |
$ sudo nixos-generate-config writing /etc/nixos/hardware-configuration.nix... warning: not overwriting existing /etc/nixos/configuration.nix |
Once we edit the /etc/nixos/configuration.nix to correctly represent the new uuid’s for the drive(s) – we can issue a rebuild, then reboot to test.
|
1 |
$ sudo nixos-rebuild boot |
This final reboot should be normal speed, and we will see that both /boot and /boot-fallback are mounted automatically and fully populated.
Cool, so we have a basic NixOS install, running on a mirrored ZFS root filesystem – and we have some evidence that we can recover if a bad thing happens.