Recently I’ve been working on some IR remote control stuff, this has me digging through my bin of old remotes looking for one I could use as the controller.
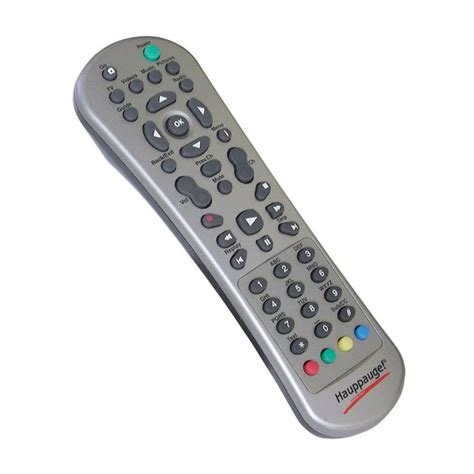 I had one of these classic Haupauge remotes which I’d used a long time ago with a MythTV setup. I’ve long ago retired this machine and tossed the remote into the bin. Sadly I didn’t remove the batteries, and when I opened up the battery compartment I saw that they had leaked and corroded.
This has happened to me before, and usually cleaning out the battery compartment and putting some new batteries is all that’s needed. Unfortunately not this time.
It turns out that opening this remote is easy enough, but I needed some force. The top part snaps onto the lower part – no screws. I used a metal blade to get the two parts separated a little and then was able to get a pry tool in to pop them apart. The case was surprisingly durable and it did need more force than I was comfortable using – but in this case, I figured it didn’t work so I had little to lose.
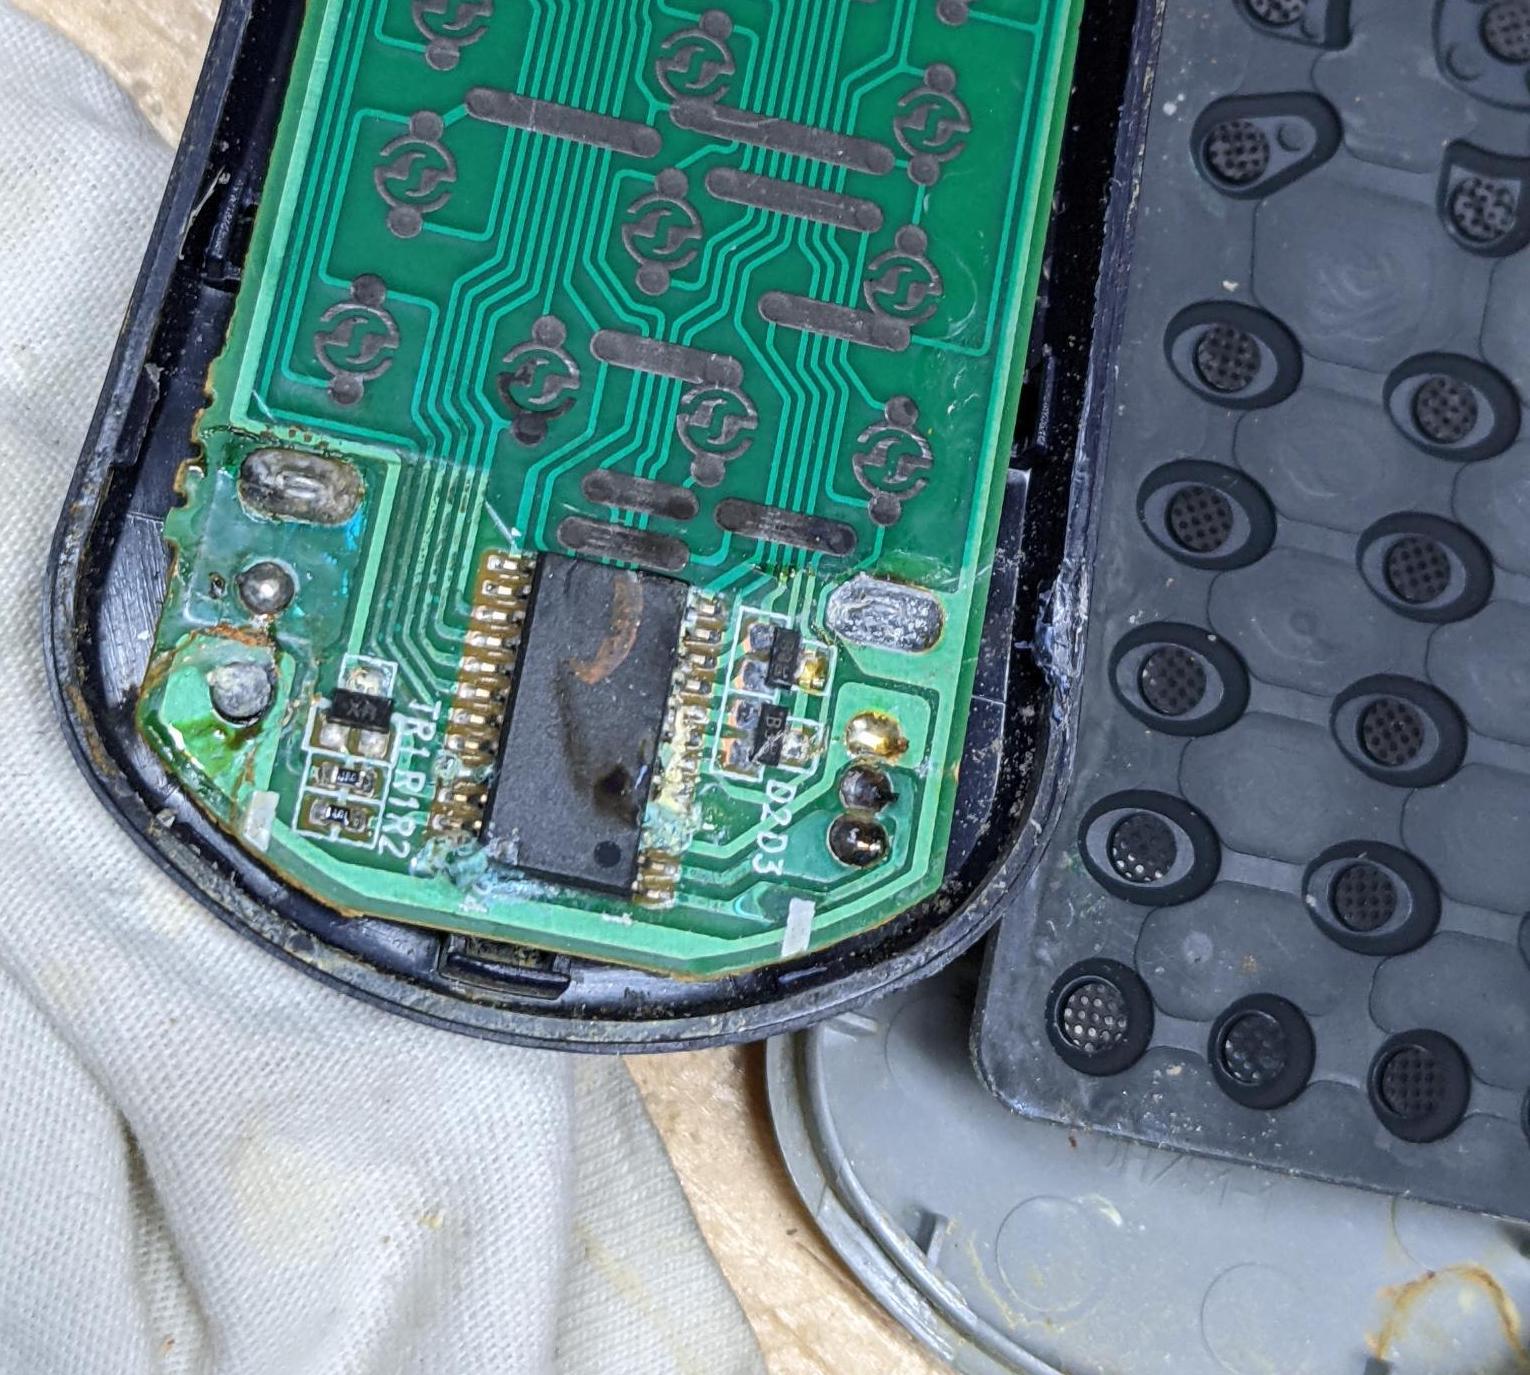
Here you can see the circuit board before I’d cleaned it up. There was quite a bit of white build-up around the chip and generally around the circuit board at the bottom. There was a recent hackaday post on restoring an old gameboy that had similar problems.
Unfortunately I was not as lucky with this remote.
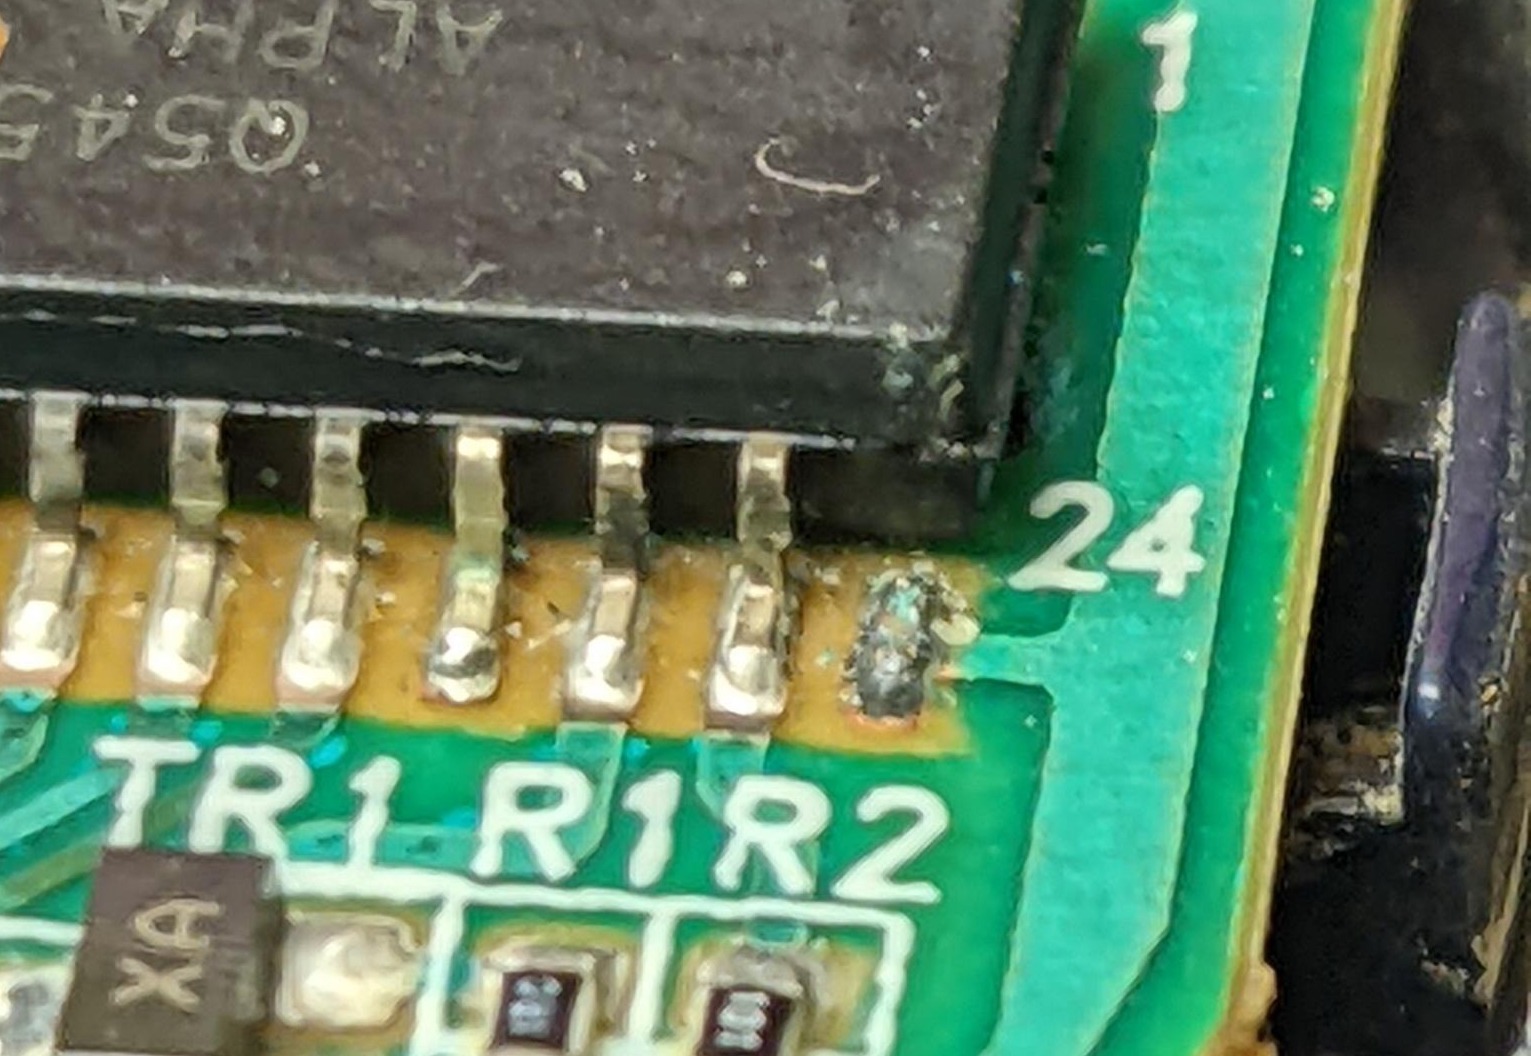
The chip lost an entirely leg – and this is the power pin as well. I suppose if I was highly motivated to repair I could try grinding off the corner of the chip and then soldering a bridge inside. However, this is a bit beyond my ability to work at microscopic levels.
The lesson here is that when you stash an old remote control away – remove the batteries. For me, the remote is junk – I might strip out the IR led and re-use it somewhere, but that’s about it.