 We print at home fairly infrequently, this meant that our inkjet printer ink cartridges were often gummed up or not working right when we did want to print. Moving to a laser printer was a good move, and the Samsung ML-2010 served us well, and was relatively easy to refill. The ability to refill the toner was one of my pre-requisites for a color laser printer – enter the HP CP1518ni, a reasonable cost but refill friendly printer.
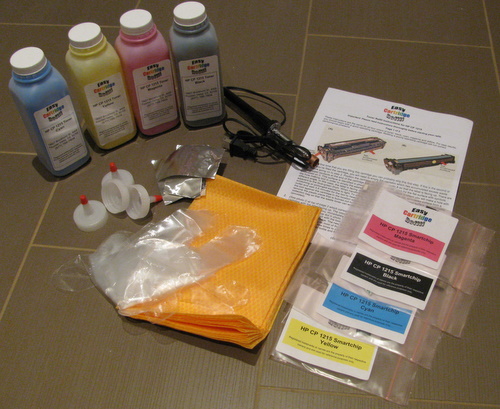
It took about a year to drain the toner down to the level where it needed a refill. So it was off to eBay to look for a deal. In 2009, refill kits were available and were about $100 for all four colors. By 2011 the price had dropped to $50 for all four colors, including reset chips and the cutting tool. I bought mine from easycartridgerefill and had a good buying experience. At the top of this post is a picture of everything that was shipped in the box: toner, cutting tool, instructions, funnel tips, sealing tape, gloves, microfiber cloth, and reset chips.
 Step 1 – RTFM. The instructions are 2 pages of fairly detailed instructions. Having refilled toner before I just skimmed them, that was a mistake. The photo above you can see I’ve used the hole cutting tool on the wrong part of the cartridge.
Step 2 – We need to use the hole cutting tool to make a hole in the correct part of the cartridge (see below). For your first refill you only need one hole, the instructions cover a 2nd area to make a hole if you need to empty the ‘wastebin’ – as this was the 1st time I was doing a refill I skipped that part having already made enough extra holes.
 Step 3 – Empty the toner cartridge prior to refilling. The instructions warn that mixing old toner with new is likely to result in less optimal results.
Step 4 –  Fill using the new toner. If you look at the picture of the yellow toner bottle, you can see quite clearly that it is no where near close to full. This picture was taken before I used any toner, the bottles are quite over-sized. You may need to gently swirl the bottle around to loosen the toner prior to trying to pour it. Use the entire bottle, this may take some effort and patience.
Step 5 – Seal the hole with the provided tape. The tape provided was simply metallic duct work tape that you can get at HomeDepot. Toner is a very, very fine dust – it will leak out any tiny hole or gap.
Step 6 – Now we need to swap the tiny chip that provides status on the cartridge to the printer. Sadly, this chip also prevents the printer from continuing to use a toner cartridge after you’ve passed the estimated number of pages. The original chip is pictured on the left, and the refill (reset) chip on the right. The chip swap is very easy.
That’s it, we’re done – install your newly filled cartridge and start printing.
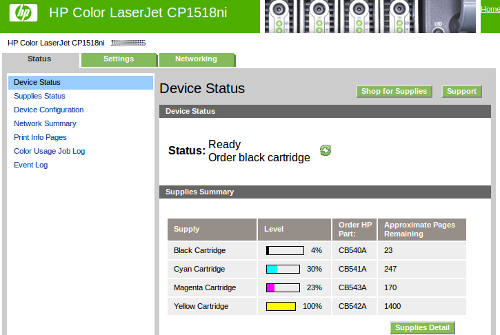
A quick visit to the web-ui shows a full yellow cartridge with 1400 page capacity.
There are some folk who apparently run the toner down to nothing by buying new reset chips only and swapping those until they are low on toner. This could save you a little money in the long run – but at $50 for a full refill kit it is hard to argue that you need to be that frugal. Sadly, the reset chips are not reusable.
I had a few mishaps on the way to complete success..


