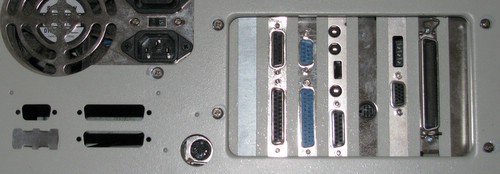
I had previously posted about the server than runs lowtek.ca and that it had been given me trouble. Well, the new parts came pretty quickly and it was a good thing – as just last week the old server packed it in. It turns out that the most likely reason for the instability was the CPU fan, as it totally seized on the failure day and my CPU temperature climbed up past 90C. An $8 fan might have solved my immediate problem, and been a lot less headache — having temperature graphs of the server would have helped spot this, something I plan to do with the new one.
At least I had a good excuse to buy new hardware.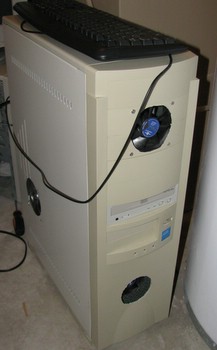 So here is a picture of it hanging out in my furnace room next to the water heater. While the new system is based on a MiniITX mainboard, I’ve opted to use a full size ATX tower case to house it (the case was a free hand me down from a friend).
I did modify the case quite heavily. The stock fan grills were simply holes drilled in the case – it was more grill than not, so the airflow was pretty poor. A couple of minutes with the dremel removed the grills entirely. I also opened up the front bezel to provide easy inflow of air for the lower case fan. The upper case fan is mounted to a pair of drive bay covers I’ve glued together.
This case has 6 x 5.25 drive bays, and 3×3.5 bays. My system drive lives down in the bottom and the data drives are up where the top fan is.
I also cut a fan vent in the side panel to blow down onto the mainboard itself. This I did with a jigsaw, and I think it turned out well considering it was my first attempt a something like this.
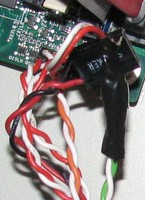 This older ATX tower case had all of the right connections for this new motherboard. Power, reset and HDD connectors hooked up no problem. The power LED was a 3 pin connector vs. the required 2 pin connector. Karl was able to hook me up with a spare HDD connector that I spliced onto the power LED.
Since there were mounting loca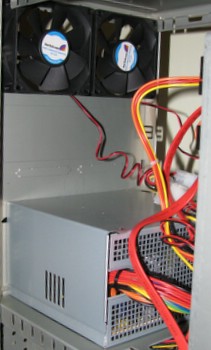 tions for 2 more exhaust fans, I couldn’t help myself and added two more at the top/back of the case.
If we count fans, I’ve got 5 case fans, 1 more in the power supply, and a chipset fan on the mainboard. Overkill? Yes. Required? No, probably not. There seem to be plenty of folk out there running exactly the same board with very minimal cooling.
My motivation here was the current system failing due to heat death, and I’d like this new system to run problem free for years. The extra cost of a few fans isn’t a big deal, and its very quiet relative to the furnace. I may further duct / optimize the cooling as the measurements thus far don’t show much of a delta from other peoples numbers on the net.
One more picture of the guts, to give you a sense of how small the MiniITX board is:
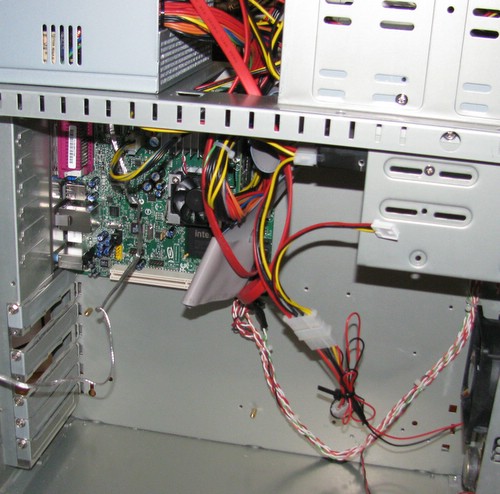 The transition from the old system to the new one should have been as simple as dropping in the drives and booting. Unfortunately the old version of Ubuntu (Dapper) didn’t have support for the new Atom board and couldn’t make use of its network drivers etc.
Worse still, the system drive refused to boot in the new machine. It is something that still has me scratching my head. I even went to the effort of cloning the boot drive onto another which I had proven would boot with the new system – and still no go. It was almost as if the MBR was in an unexpected location. Last week I lost a bunch of sleep.
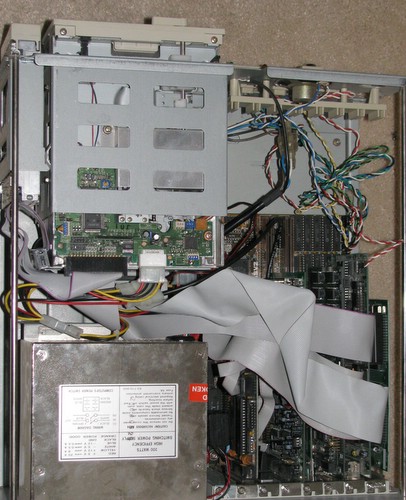
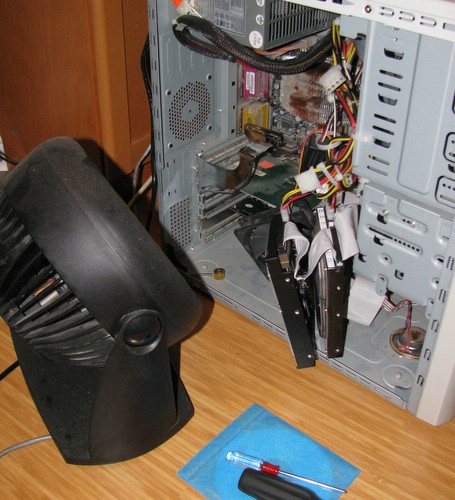 Above is a picture of the old server while it was cloning the boot drive (which as I mentioned, turned out to be a waste of time). After five hours of beating my head on the problem, I simply moved the data drives to the new system – and did a clean install on a fresh boot drive. The old server continued to host lowtek.ca on the old system drive using the external fan to keep the CPU cool.
Yesterday I turned off the old server. Here are a few URLs that I found helpful in the migration:
- Mounting LVM volumes that already exist
- Setting up an email server on Ubuntu
- Using imapsync to migrating IMAP mailboxes
As I host a number of wordpress blogs here migrating them required a database backup / restore. I simply copied over the /var/www directory data instead of re-installing the blog software itself.
Backup:
mysqldump --add-drop-table -h localhost -u sql_username \

--password=sql_passwd sql_database_name > blog.bak.sql
Create DB on new host:
$ mysql -u root -p
mysql> CREATE DATABASE sql_database_name;
mysql> GRANT ALL PRIVILEGES ON sql_database_name.* TO “sql_username”@”localhost”
-> IDENTIFIED BY “sql_passwd”;
mysql> FLUSH PRIVILEGES;
mysql> exit
Restore:
mysql -h localhost -u sql_username -p sql_database_name < blog.bak.sql
Well, if you’re still hanging in there – let’s talk about power consumption. I borrowed Trent’s Kill-A-Watt meter and did some measuring. My home desktop machine draws around 150Watts, and up to 200Watts of power when loaded (and using the CD drive). The old server machine used 2W in standby, 120W during boot (loaded) and 112W steady state. The new machine uses 1W in standby, a peak of 100W at boot (when the drives are spinning up), and 60W steady state.
In conclusion: Server machines need to have monitoring setup to track potential problems (temperature). Migration of your data is less painful if you keep an install log with notes and links (thank goodness I did one last time). New hardware usually needs a new software install, don’t fight it.

