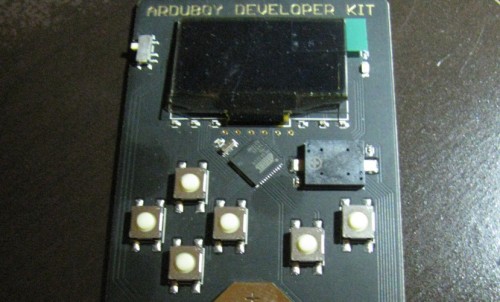
When I saw Arduboy on KickStarter I knew I had to get a couple. Micro-controllers & retro-gaming in a teeny-tiny package. The KickStarter rewards haven’t shipped yet, but when I saw that there were going to be Dev kits available on tindie I leapt at the chance to get my hands on some hardware. I’m really glad they decided to make more Dev kits than were needed to fulfil the Kickstarter.
Dev kits in stock now! Get them while they last! https://t.co/y5hm15X9V8
— Kevin Bates (@bateskecom) September 22, 2015
While the device can be run on a CR 2016 battery, it will also power up via micro-USB cable. The device ships with a breakout game (ArduBreakout) installed, so you just have to power it on to have some black & white retro gaming fun.
So now what? Well, of course we want to get setup to write some code and run it on this thing. Luckily there is a community site with instructions.
My desktop is Ubuntu, so here’s what I needed to do:
|
1 |
$ sudo apt-get install arduino |
Then you’ll want to go to GitHub to grab the Arduboy library and some examples.
|
1 |
$ git clone https://github.com/Arduboy/Arduboy.git |
Launch the Arudino IDE and load up one of the examples (FloatyBall, a Flappy Bird game)
Before this code will compile – there are 3 things you’ll need to do
- Add the Arduboy library files to the Arduino IDE
Sketch -> Import Library -> Add Library
If you don’t do this, you’ll get an error saying Arduboy.h can’t be found. - Set Leonardo as the target
Tools->Board->Arduino Leonardo
Using the wrong board will result in errors like: “error: ‘OCIE3A’ was not declared in this scope TIMSK3 &= ~(1 << OCIE3A);” - Select the correct serial port
Tools->Serial Port->/dev/ttyACM0
When I hadn’t done this, the led on the board would flash like it was uploading, but then I’d get an error saying it couldn’t upload
At this point I just wanted to stay up all night hacking code..
More games can be found on the community site.

