Pi-hole was first released back in 2015, I’m not certain when I became aware of it but given my interest in the Raspberry Pi I’m pretty sure I heard about it fairly soon afterwards. I did find this tweet from 2016
Now while I was aware of the project, I didn’t start running it for a while. It was only at some point during my containerization of my server that I started to run pi-hole in a container (Oct 2018 give or take a bit)
Running it as a container isn’t too hard – but you’ll probably have to turn off the DNS server than is running already to avoid the port conflict.
Here is the Makefile I was using to manage my pi-hole deployment.
1 2 3 4 5 6 7 8 9 10 11 12 13 14 15 16 17 18 19 20 21 22 23 24 25 26 27 28 29 30 31 32 33 34 35 36 37 38 39 40 41 |
# # pi-hole # https://hub.docker.com/r/pihole/pihole/ # IPV4 := $(shell ip route get 8.8.8.8 | awk '{ print $$(NF-2); exit }') IPV6 := $(shell ip -6 route get 2001:4860:4860::8888 | awk '{for(i=1;i<=NF;i++) if ($$i=="src") print $$(i+1)}') # ServerIP is required for pi.hole to resolve locally build: docker create \ --name pihole \ --dns=127.0.0.1 \ --dns=8.8.8.8 \ -p 53:53/tcp -p 53:53/udp \ -p 8080:80/tcp \ -v "$(CURDIR)/pihole/:/etc/pihole/" \ -v "$(CURDIR)/dnsmasq.d/:/etc/dnsmasq.d/" \ -e ServerIP="$(IPV4)" \ -e ServerIPv6="$(IPV6)" \ -e WEBPASSWORD=secretPassword \ --restart=unless-stopped \ pihole/pihole:latest # Start the container start: docker start pihole # Update image update: docker pull pihole/pihole - docker rm -f pihole-old docker rename pihole pihole-old make build docker stop pihole-old make start rollback: docker stop pihole docker start pihole-old docker rm pihole docker rename pihole-old pihole |
Unfortunately – something happened to my configuration / state – such that I could not update my container without it hanging. Fortunately having the rollback target let me quickly restore the previous version. I’ve tested the makefile on another temporary machine and it appeared to work, so it should be a reasonable base if you wanted to go the container route.
One of the problems of running in a container is the networking in general. I struggled with the mapping of the web UI access as the same machine is also running my public facing web server. While I could map the DNS port (53) and access it over IPv6 – all of the IPv6 traffic appeared as if it were coming from the docker network vs. from the source machines.
This takes away from one of the great values of running pi-hole – the additional insight it gives you to what your various devices are doing on the network. With the docker networking mess, I was missing all of the IPv6 traffic effectively (because I couldn’t tell the devices apart).
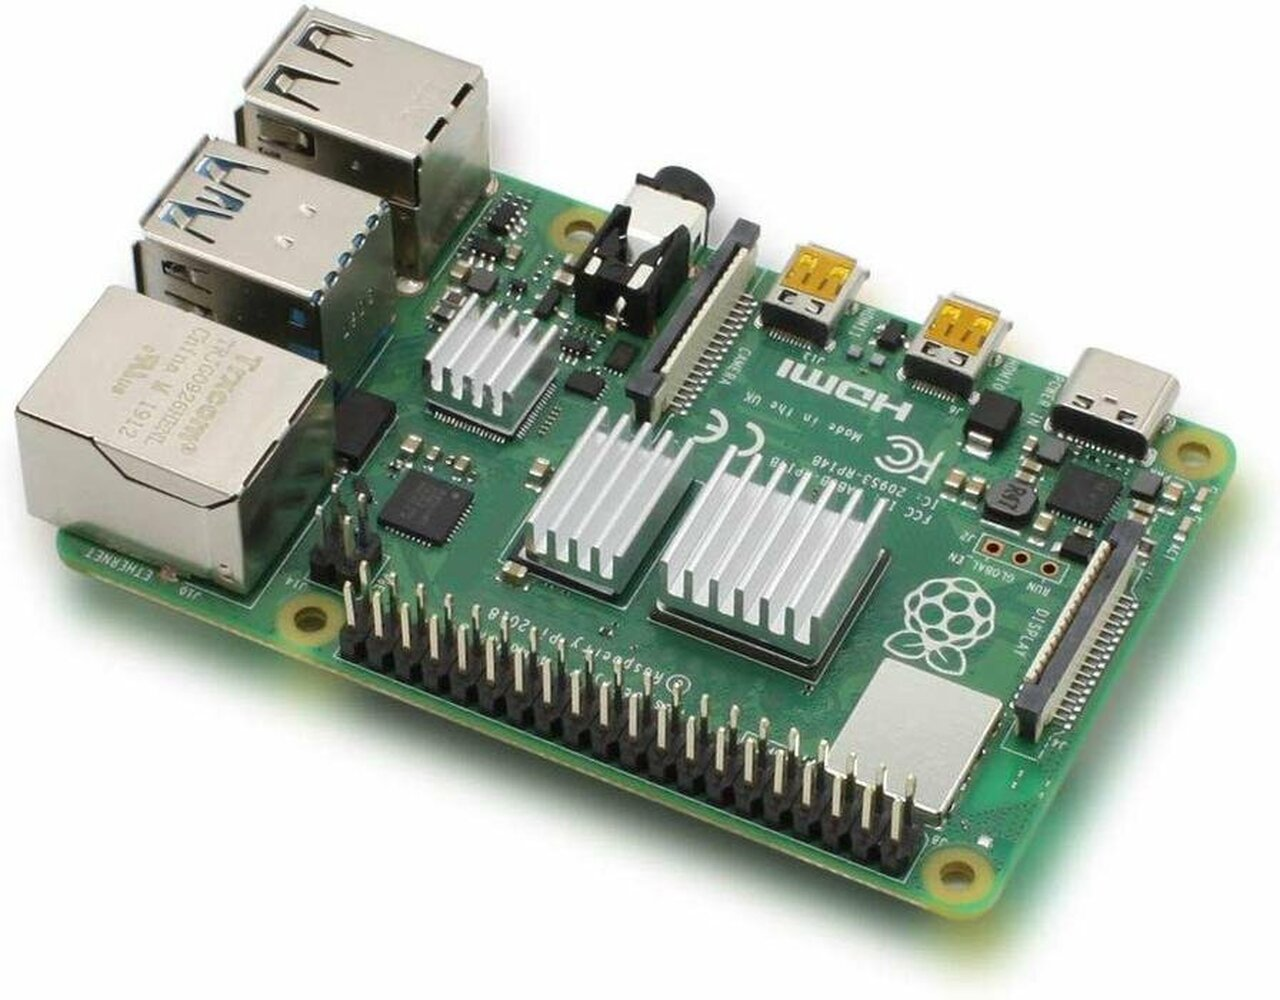
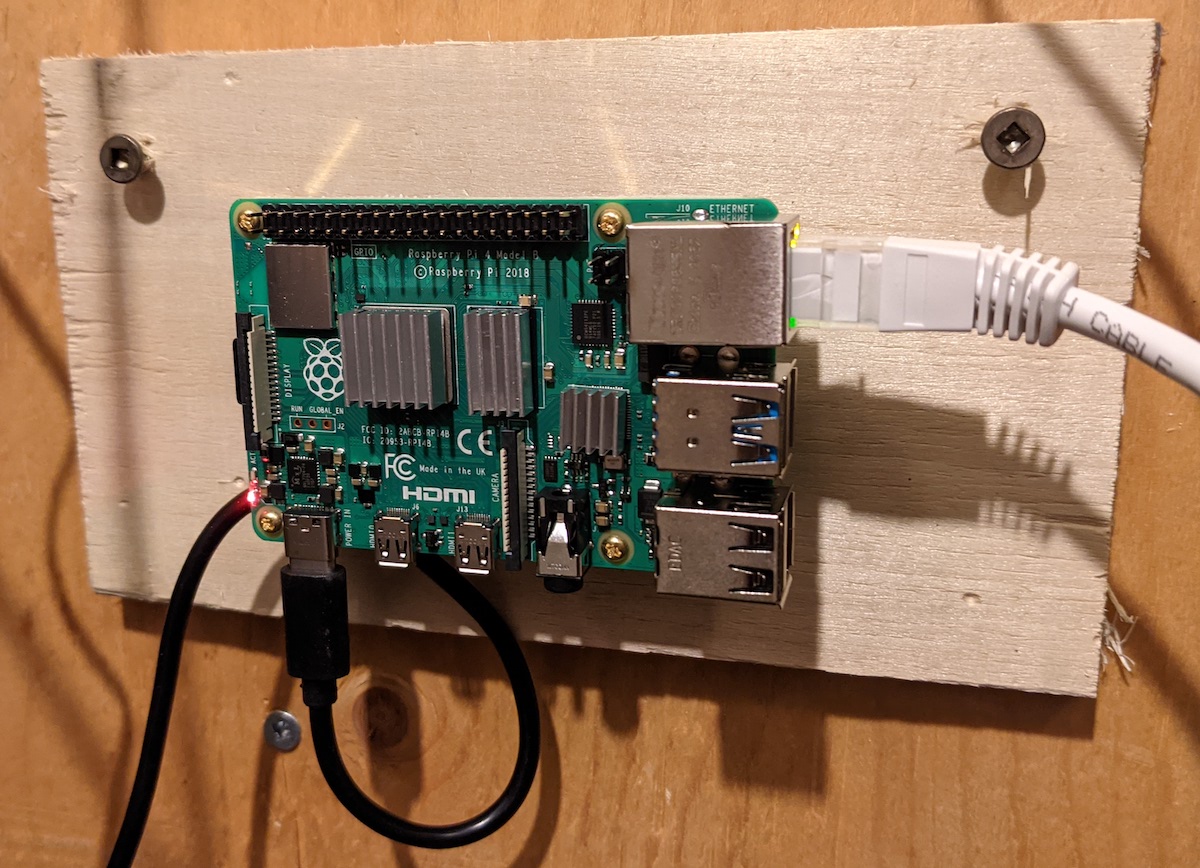
After stalling on the decision, and some explorations on how I could use macvlan support in docker to give a container a unique (from the host) IP address – I just bought some nice hardware to solve the problem. Setting that hardware up is covered in the previous post.
Now we can install pi-hole. I would encourage you to read the script before just piping it into bash, however in the big picture we’re going to trust the folks that wrote this code to also provide updates – and those updates could be evil too.
|
|
# Very scary but easy way to install curl -sSL https://install.pi-hole.net | bash |
The script is interactive, you’ll need to answer some questions to perform the install. I found it interesting that the setup script doesn’t ask for IPv6 DNS severs, but does allow you to specify customer IPv4 servers. During the setup it looks like it is changing my network setup to be a static IP address. Post install script I know I’m going to have to tweak things.
Since the default web password is generated, you probably want to set one.
Visiting the web interface under “Settings->DNS” I added my upstream IPv6 DNS servers. I’m using the CIRA DNS and if you’re a Canadian I would encourage you to do the same.
On the same settings page I enabled conditional forwarding and specified my local lan range and main router which is running my DHCP server. It was pointed out to me that additional configuration is required for IPv6 conditional forwarding, I haven’t done this yet.
My OpenWRT router provides multiple IPv6 addresses and the setup script detected IPv6 address isn’t the right one. Poking around, it appears /etc/pihole/setupVars.conf contains the information and I just need to tweak it. Generally you should not change that file by hand, but I did for this one thing and it fixed the problem.
As I feared, the setup script changed my /etc/dhcpcd.conf to reflect a static IP address. I may later change this but I had already effectively tweaked the DHCP server to answer the same static address.
At this point – I have a working pi-hole, I just need to configure some clients to point there.
As mentioned above, I run OpenWRT as my router. There are 2 places we need to configure to point all DNS queries to the pi-hole. This can be done by modifying how it responds to DHCP requests – as it will provide the DNS server as part of that transaction.
An alternative approach to this would be to set your upstream DNS server to be the pi-hole. I didn’t take this approach because I was concerned about DNS loops and networking was a lot more complicated when things were in a container, the approach I’ll cover is what worked with the container version as well.
Changing the DNS entry that is provided by the DHCP exchange is easy to find in the config file /etc/config/dhcp file – there are two lines in a section that looks like:
|
|
config dhcp 'lan' option interface 'lan' option start '100' option limit '150' option leasetime '12h' option dhcpv6 'server' option ra 'server' option ra_management '1' list dhcp_option '6,149.112.121.30' list dns '2620:10A:80BB::30' |
Finding the place in the LuCI UI to add these always causes me to stumble around for a while. The two options list dhcp_option and list dns are in slightly different places.
The IPv4 setting can be found under Network->Interfaces, edit your Lan interface. Then pick the Advanced tab. We need to add a dhcp option 6,149.112.121.30.
Then select the IPv6 Settings tab. Here we add to the Announced DNS Servers section 2620:10A:80BB::30.
Once you’ve done this your pi-hole will start getting traffic from devices that get an address on your network. You may have to wait for the devices to update their connections.
I noticed that IPv6 addresses were not reverse mapping – but specifically asking my router for the bad addresses seems to indicate that it also can’t reverse map, so maybe there is an OpenWRT problem here. Also – it seemed to get better after a while, and more address->name mappings were discovered. I asked in the pi-hole forum about this behaviour.
It turns out that this is an ordering problem. Pi-hole won’t look up a failed address again, but it does build the network table and bind things together by MAC address. The work around is to modify your /etc/pihole/pihole-FTL.conf to have REFRESH_HOSTNAMES=ALL. There is a slight downside to this that every hour there will be a storm of reverse DNS lookups as all hosts are refreshed.
A few final observations.
- The magic DNS name pi.hole now works on my network. This brings you directly to the pi-hole dashboard.
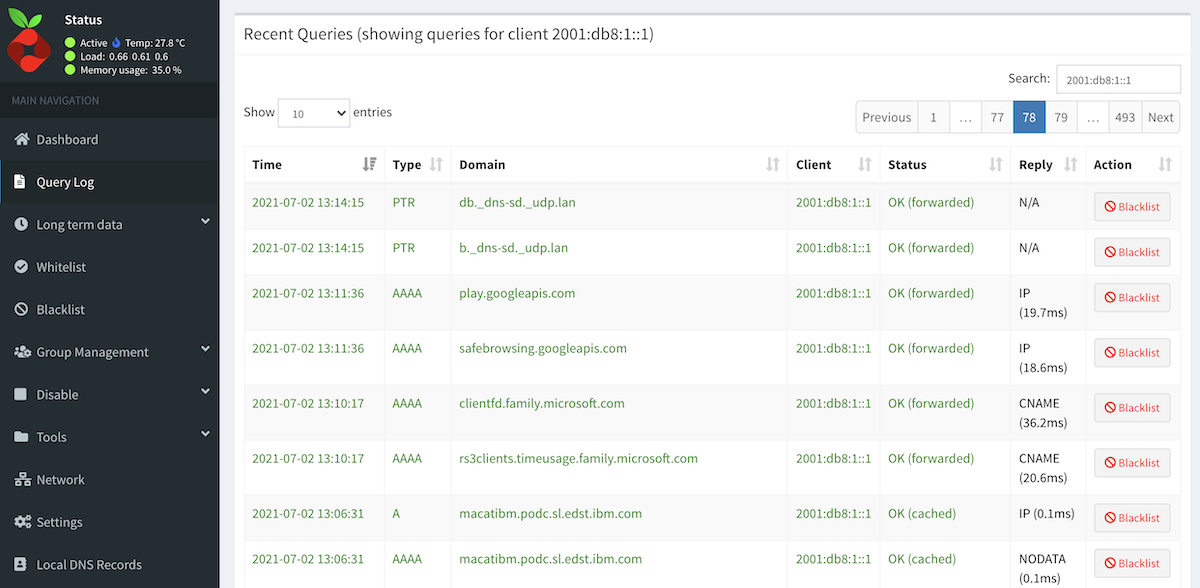
- Tools->Network shows lots more useful information. In docker you didn’t get MAC addresses and generally things were more chaotic.
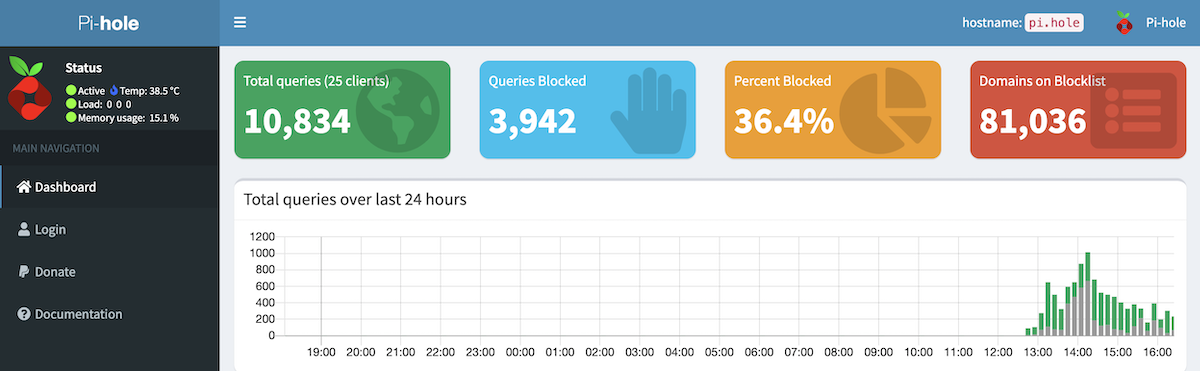
- Pi-hole is blocking more than 1/3 of the DNS lookups. Sure some of this is because the ad-software is probably failing and trying again, but still that’s a lot of DNS queries.
- I discovered the Group Management feature, and this seems to be a way to allow clients to opt out of ad blocking. This is super useful as previously I was just changing the DNS on the clients.