 I’ve had my eye on the Ecobee 3 Lite for a while. My previous thermostat was starting to show it’s age. The cloud service had been discontinued, but it still worked well with Home Assistant. However, recently it started to be colder at home than was comfortable – this turned out to be the fact that the temperature was set 2 degrees lower than the schedule?! Sure I could have worked around this, but when you can’t trust the device to do what it is supposed to do – time for a change.
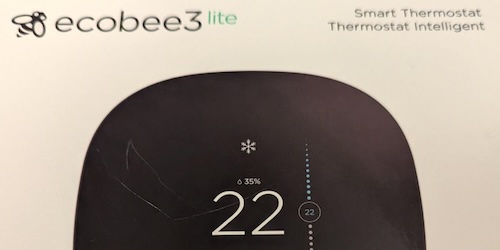
I was able to get a used Ecobee 3 Lite pretty much new in box for $60 from someone locally. This is a good price, but I’ve seen it as low as $50, but often higher. Keep in mind the new price is currently only $179.99, so it is a reasonable cost even new.
The Ecobee comes with a white plastic shield you can use to cover up any unsightly holes left in the wall from the previous thermostat. As my drywall patching skills are finally getting to an acceptable level, I opted for a ‘clean’ install and patched and painted the mounting damage.
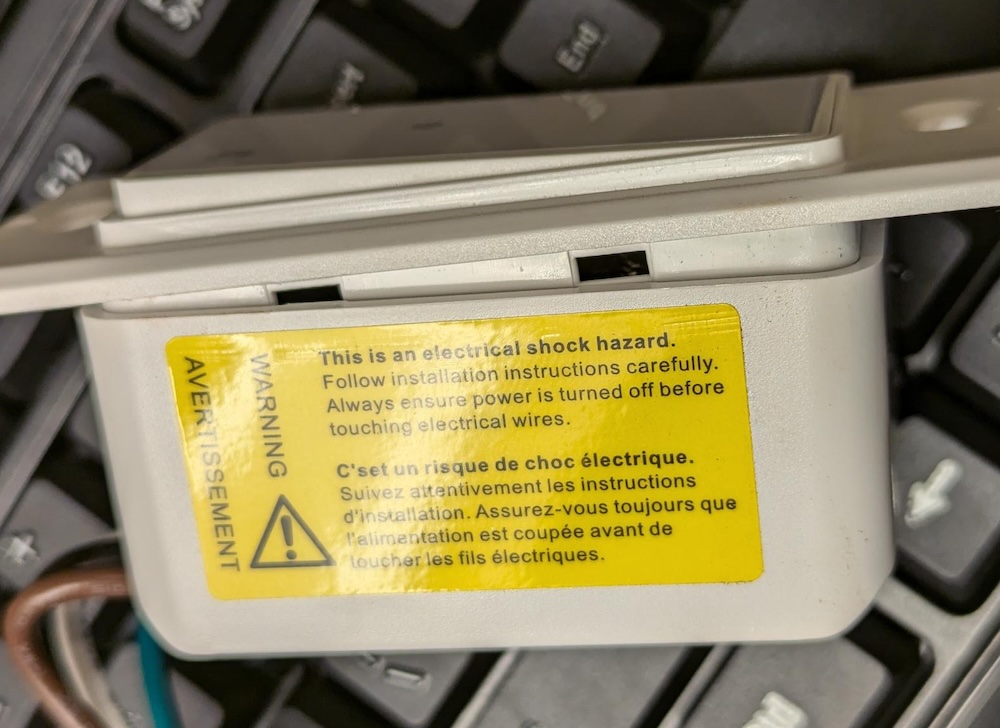
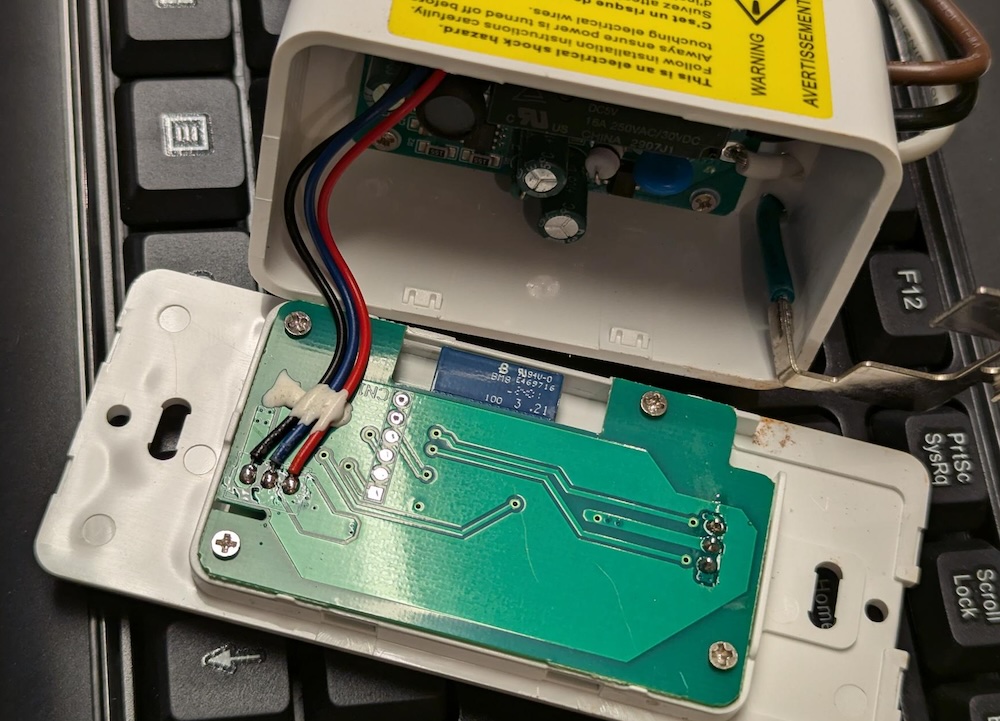
 Since I’d already sorted out the whole C-wire thing for the previous smart thermostat, it was just a matter of removing the old one – and installing the new Ecobee. Included with the Ecobee is a magic box that will let you fix your missing C-wire problems, it is involved and you have to mess with the wiring in your furnace but at least they have a solution.
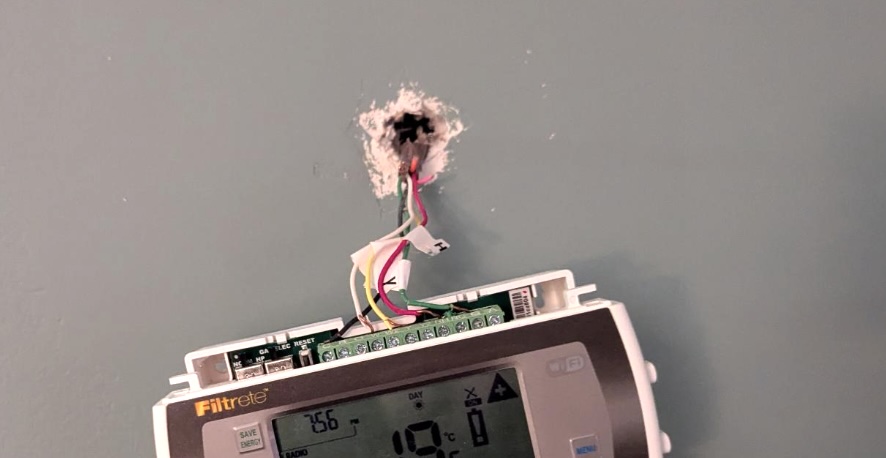
Here is a photo of my existing wiring.
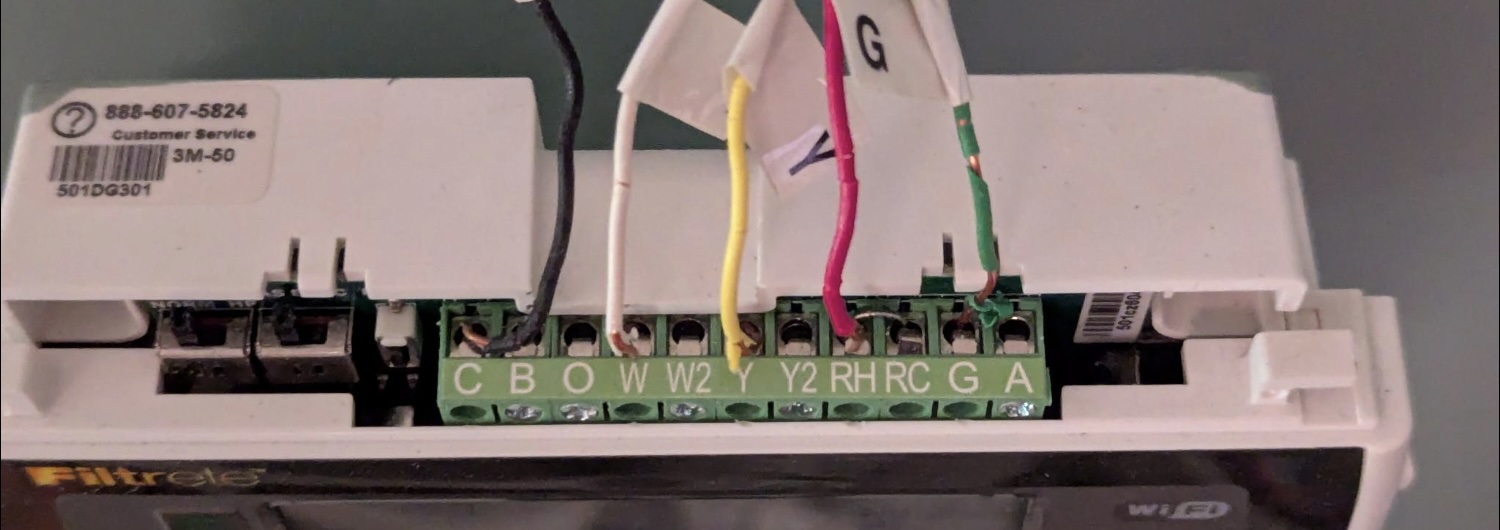 I’ve got C, W, Y, Rh and G. Following along with the installation manual, it’s easy to map this over to the Ecobee wiring harness.
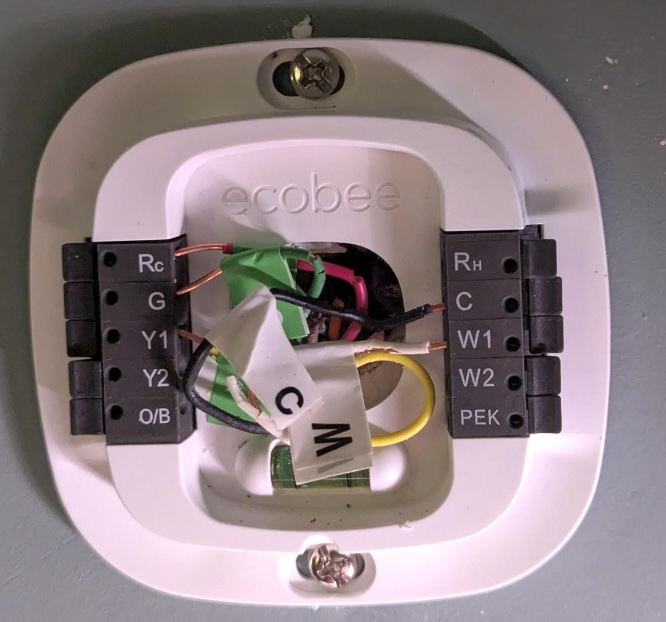 The old -> new wiring
- Rh -> Rc
- G -> G
- Y -> Y1
- W -> W1
- C -> C
Once this is done, you just snap the thermostat in place. I thought it was pretty cool that it detects the wiring setup and confirms as part of the first start experience.
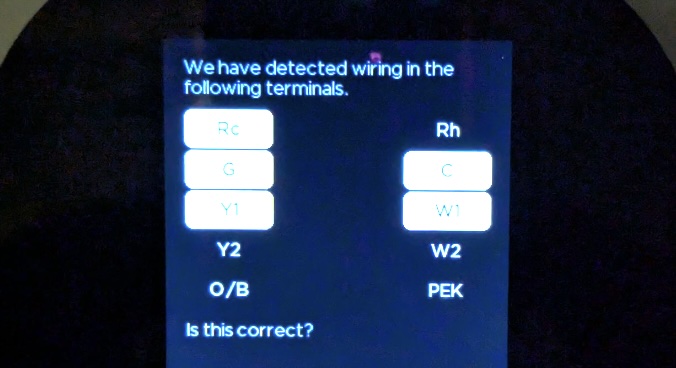 This is a good way to confirm that you’ve got at least good connections to each of the wires on the back plate.
Next up it’ll send you off to download the app and sign up for an account with Ecobee. For now I’m using the ‘cloud’ service but I will say that I wasn’t a huge fan of how much information it wants to gather about your location, size of house, number of people in the house. I can rationalize why they might use that information to provide a better experienced – but we are talking about just a thermostat that is going to turn your HVAC system on and off. It does sound like you can disable it’s internet connectivity and run with just local and you can get by fine.
I do have it integrated with Home Assistant. It seems that Ecobee is no longer offering the ability to create new API keys so the only way to connect is via the HomeKit integration. HomeKit really wants to use mDNS to discover things, and running HomeAssistant (HA) inside of a docker container can make this tricky. Most solutions suggest you run the container using the host networking mode --network:host, but I opted to give my HA a macvlan IP address.
I probably should have done this a while back. Suddenly my HA install was able to find all sorts of compatible devices on my network. The Roku Ultra, the HD Homerun, my printer, and the Sonos speakers. While I was able to make all of these integrations work previously the auto-discovery wasn’t happening.
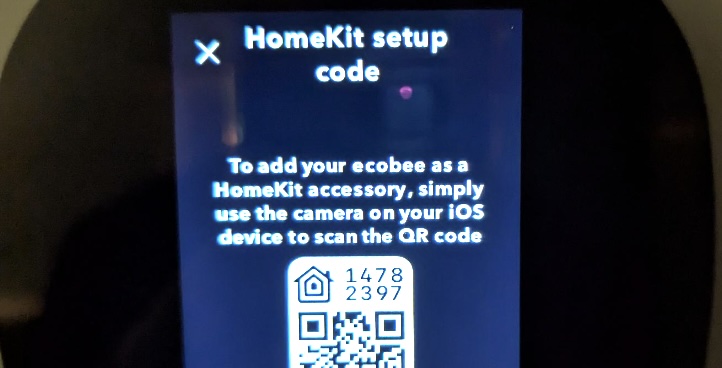
I was able to easily integrate via HomeKit without any Apple devices in the mix. From the thermostat itself you can enable HomeKit integration, then just use the 8 digit value from the screen to connect to the HA integration.
 Of course, many of my IoT devices also live on an isolated network, and I haven’t quite figured out how to get the mDNS reflection stuff to work yet. Hopefully at one point I’ll get there, and maybe that will let me shift the thermostat and Sonos speakers to the IoT network as well.
It’s been a couple of days, and the Ecobee has been working fine. It’s integrated into Home Assistant via HomeKit and as a bonus I now get both temperature and humidity readings from the thermostat. It also look pretty nice on the wall – and no more surprise cold wake ups. The thermostat user interface is touch screen and feels pretty intuitive.