
 The Pixel 4a continues to be my “daily driver”. I still mostly only need to charge it every 2 days, but by the second day the battery is well into the red and I’ve needed to top up to make it through. Using Android Auto in the car (wired) has also changed things a little, as my phone is getting charged while I drive. Still, on a full battery I can go all day.
Of course, battery life is completely related to usage. I have a very modest number of apps, and I spend all day attached to a keyboard so I’m not using the phone very much at all.
I’ve had a screen protector on the phone from day one. My preference, and it seems to be where the industry has gone too, is to have a ‘tempered glass’ screen protector. This particular brand doesn’t even have a selfie camera hole – it’s just a rounded rectangle of glass. I bought these on eBay way back in October 2020 – the listing is still active. I’d recommend this vendor as the product I got was very good, they also carry many other sizes for other phones.
I’ve also got a bumper case on the phone which has saved it from many a drop. I finally got unlucky and dropped it 4 feet onto ceramic tile and the screen protector cracked.
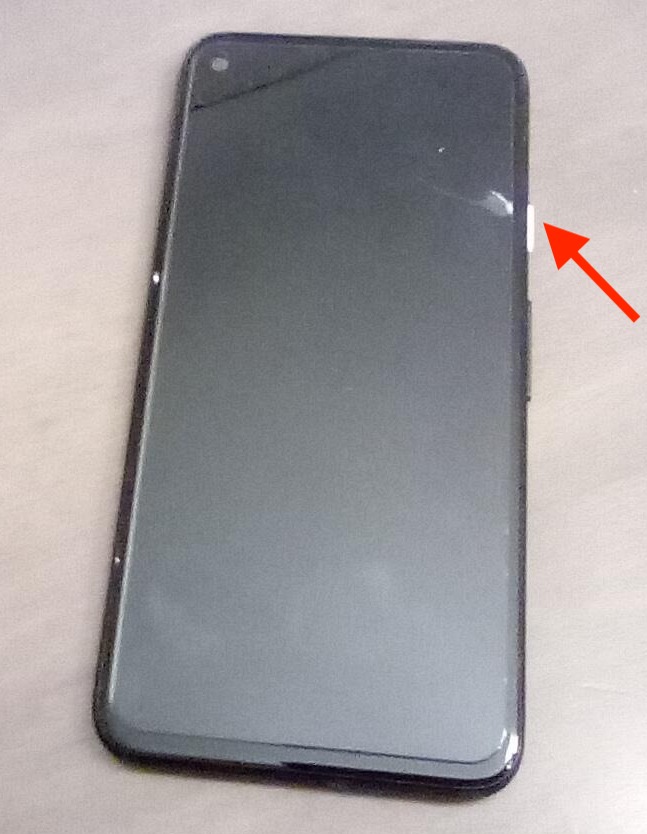 This wasn’t the first tumble onto hard tile, but it finally landed the wrong way and cracked the screen protector. I will say that after being tossed around and living in my pocket for years, the screen protector itself was still in good shape.
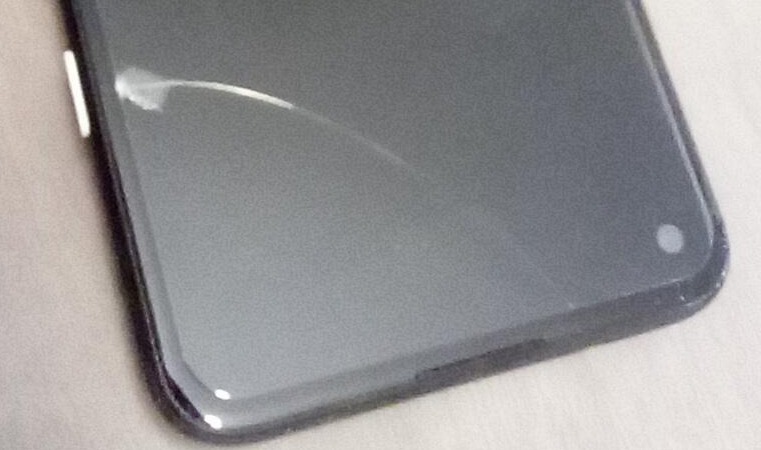 As you can see, the damage to the screen protector was pretty obvious.
Since this was a 2 pack of protectors, I had another one waiting to go. Peeling the old one off revealed the pristine 4a screen, exactly what I want to protect.
 The protector ships with a couple of generic wipes. After sitting around for a couple of years the wet wipe had dried out. I didn’t need much cleaning power anyways so I just gave it a good wipe down with the dry one.
The screen protector itself has a protective sticker only on one side. This is the screen side. I like to leave it in the foam sleeve until I’m about to install as that helps reduce dust. The install kit comes with a couple of stickers that you use as a ‘hinge’ once you’ve placed the new screen on the phone (with protective sticker still on). Once the hinge is setup, you lift the screen and peel off the protective sticker.
Let the clean screen flop down on the clean phone, and watch the magic ‘bonding’ happen. If you’ve managed to stay dust free, it’ll be a nice clean match up and you’re good to go. I wasn’t so lucky this time.
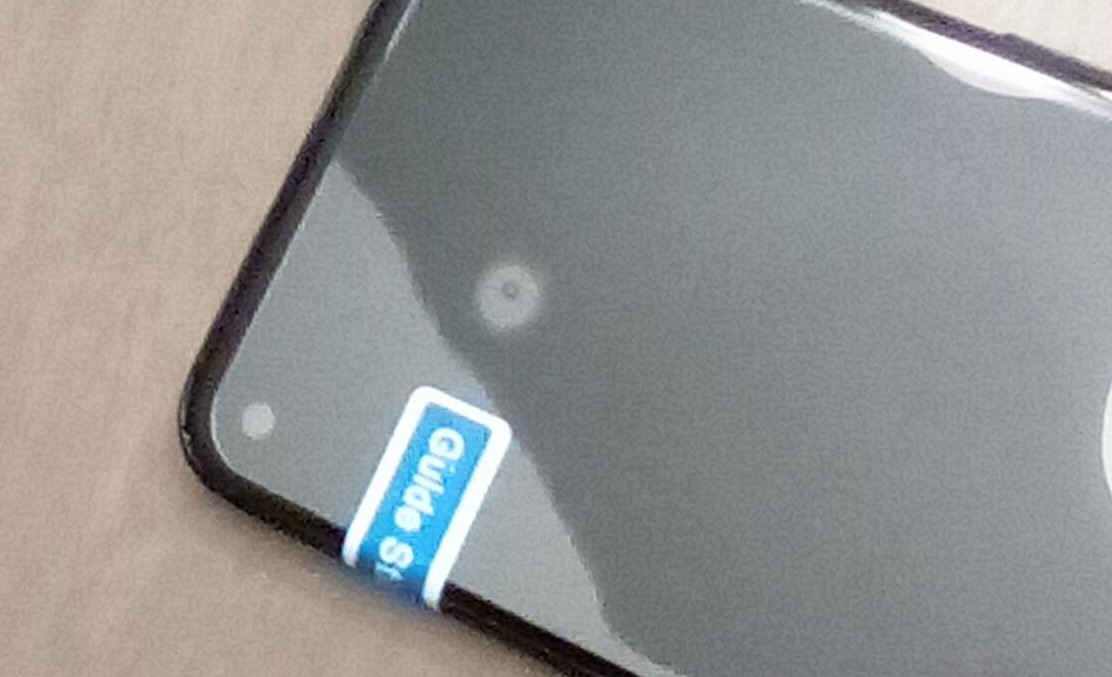 Yup, a dreaded dust blob between the screen protector and the phone screen. Along with the guide stickers (hinges) you get a dust remover sticker. Gently peel the new screen up, it’ll stay attached due to the sticker hinges. Then dab at the dust blob – in my case it was stuck to the new screen protector, but you can do both sides (gently). The dust remover sticker should pick up the dust and leave a clean surface behind. Re-flop the screen and if you’ve not introduce more dust it should be good to go. Carefully remove the hinge stickers and put the case back on.
Here is a good youtube video on the hinge method for screen installs.
If you need to put a screen on without the stickers – just use scotch tape. It works exactly the same. You want to avoid touching anything directly with your fingers (which are slightly greasy). I’ve installed many screen protectors, and it does get easier – but even someone doing it the first time can succeed if you go slowly and try to be in a dust free location. One hint would be to do this in the bathroom just after you’ve had a shower – the moisture in the air tends to cut down on dust.
For me, screen protectors work well. I’d rather scratch/crack the screen protector than risk a ding in my phone screen. In the past, I’ve used screen protectors to cover up / mask scratches in the screen of a used phone I’ve bought – so even if you have a scratch, a screen protector can help make your phone seem new.