Hmm, I had a bunch to say about used phones and my history with different models, skip to about halfway down to find the actual details on returning a phone to stock.
It’s interesting to look back over my personal smartphone ownership history. All of them have been purchased ‘used’ but some were barely used, where others saw heavy use. For the most part I’ve not had any real problems with the phones, but there have been a few exceptions. My price point has generally been under $200, but I’ve scored a few at the $150 mark too.
Resale of the phones hasn’t been a strong point of mine, I usually keep them (sometimes idle on my desk) to the point where I’m getting less than half what I paid for them. Still I think I’m ahead in terms of the diversity of the phones I’ve had, and my total layout in cost.
The Nexus 4 was a great phone for me, I used it for almost 2 years before swapping to a Nexus 5. It wasn’t without problems, something went wrong with the charging circuitry (part of the motherboard) and it was destroying batteries by mis-charging them. I went through a couple aftermarket batteries before finding a donor phone that had a good motherboard.
Gave my nexus 4 a motherboard transplant last night.. Maybe that'll resolve the battery over heating issue.
— Roo (@andrew_low) March 20, 2016
I flipped the donor phone with now bad motherboard and ended up $20 out of pocket to fix my Nexus 4. I ran with this fixed phone for nearly another year.
In the Nexus 4 ownership phase, I ended up having Jenn switch from iOS to Android, and so I started getting 2 of the same phone. Late in 2016 the Nexus 5 (32GB) came below the $200 price point. I ended up buying 3 within the span of a couple of weeks.
Hmm. Seems I now have too many smart phones. Nexus 5 (3), Nexus 4 (2), Galaxy S2, iPhone 4s.. And a partridge in a pear tree!
— Roo (@andrew_low) December 16, 2016
Of the 3 Nexus 5’s, it turns out one of them had something wrong with it. After a little while that bad phone started to randomly reboot, and sometimes even turn itself off and refuse to power back on. You could get it back, but had to fiddle with it for some time. I ended up taking this phone and using it as my daily driver to see if I could isolate and fix the issue. It felt like it might have been the very common power button problem, but a local repair shop didn’t think it was. Instead of trying to fix it myself, I just upgraded to the Moto X Play and sold the bad Nexus 5 (with full disclosure on it’s issues) as a parts phone for $50.
Oh yeah, and that gets us to the returning to stock story..
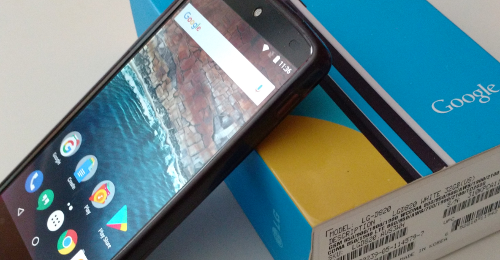
Continue reading “Returning a Nexus 5 to ‘stock’, including re-locking bootloader”
